• projects
  • About
  • services
  • Consultation
  • contact
  • blog
wilder design co.
  • projects
  • About
  • services
  • Consultation
  • contact
  • blog

TOMS Williamsburg Retail Store

Hi guys!

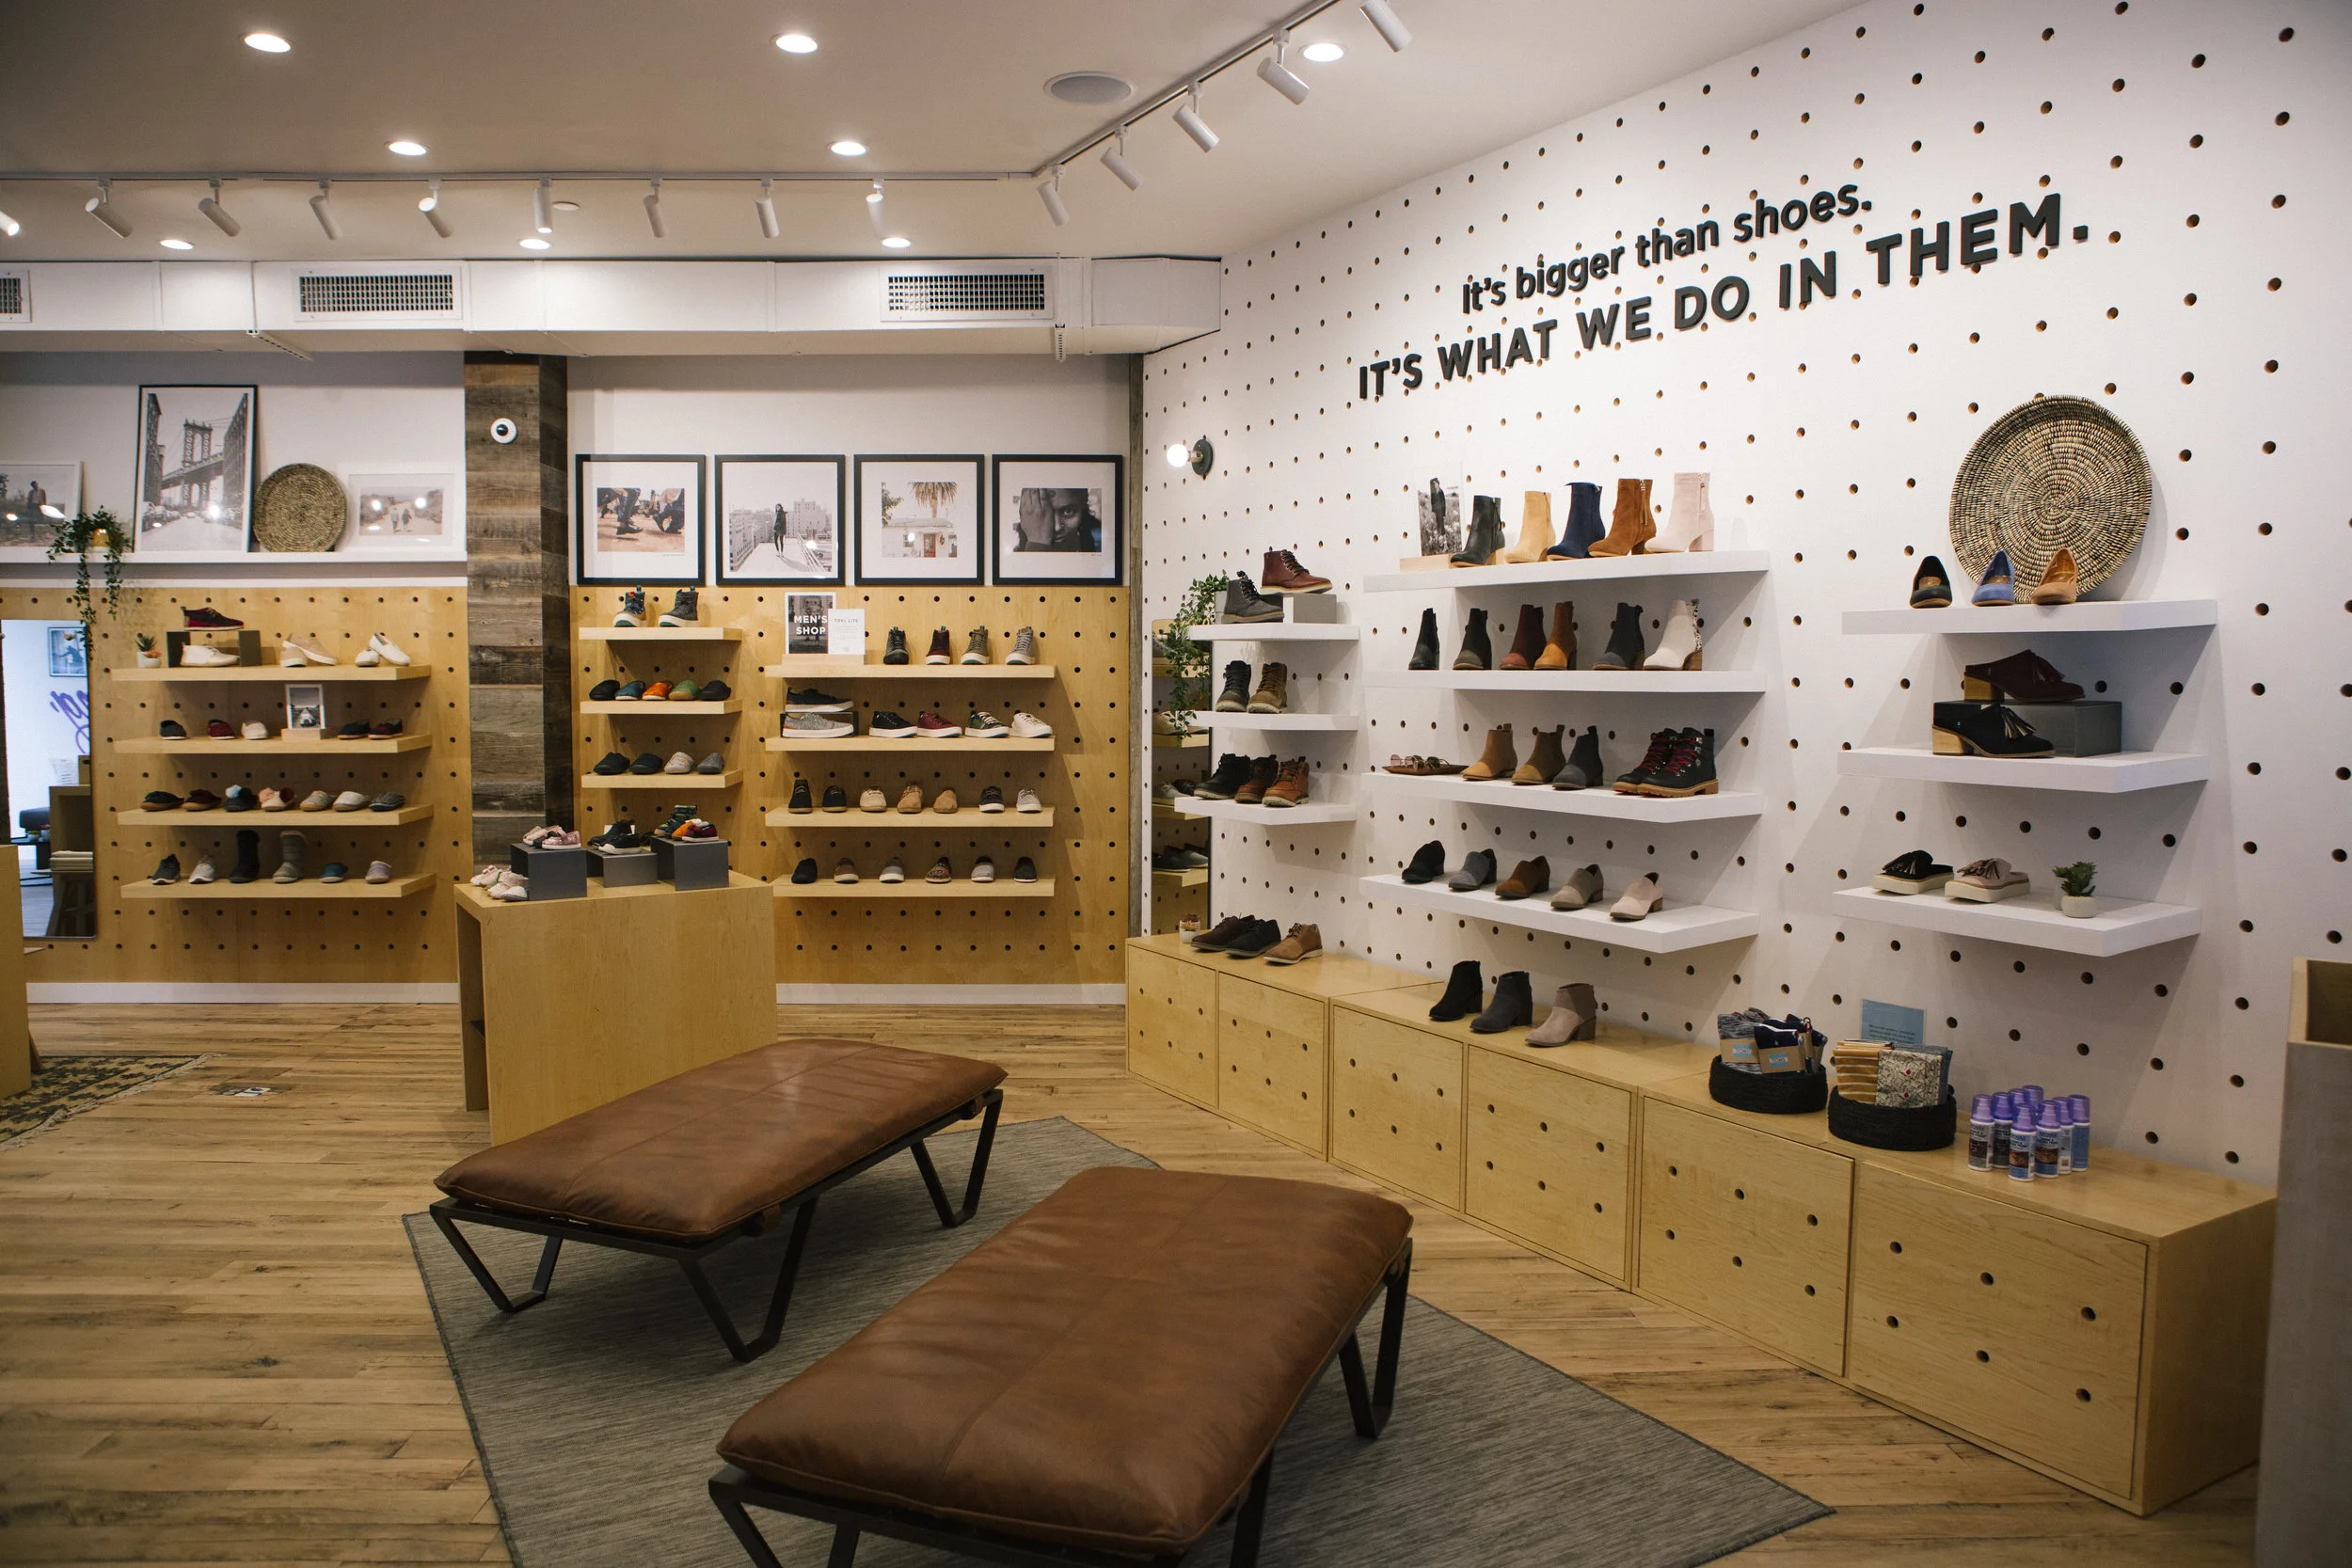
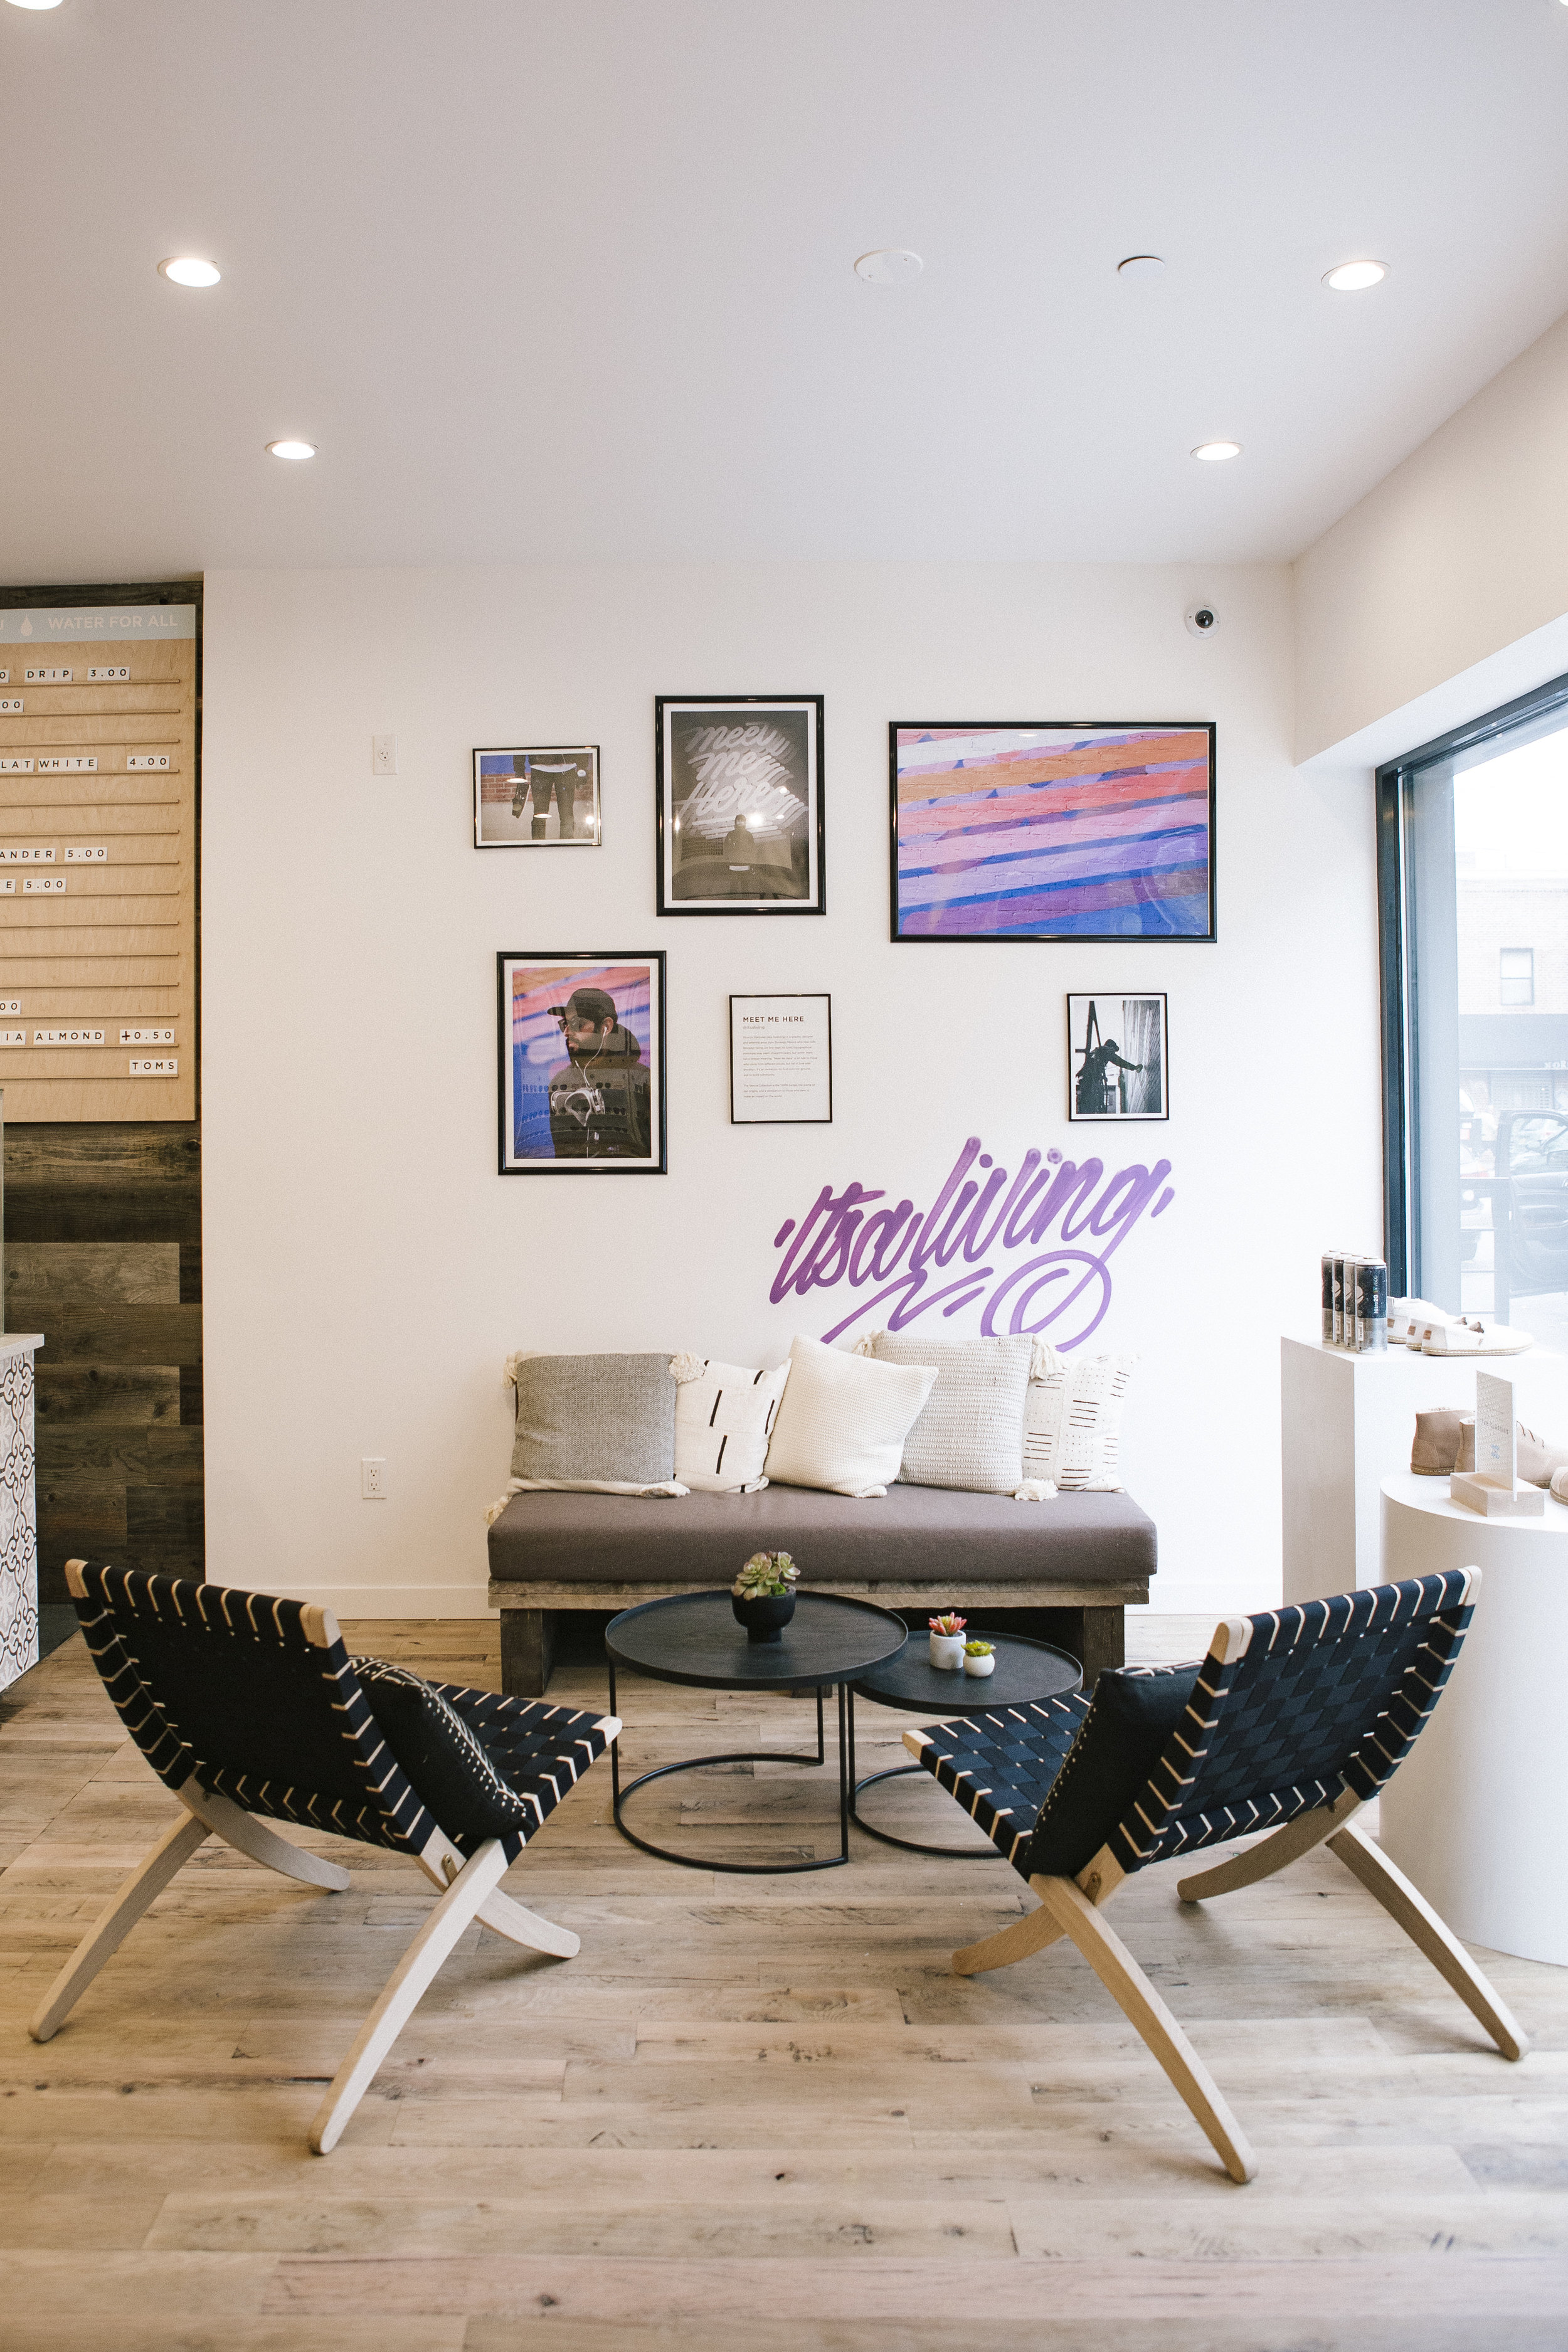
I’m so excited to share photos of the recently completed TOMS retail store in Williamsburg, Brooklyn. It was a privilege to be asked to reimagine the TOMS retail experience after having had the privilege of designing their first five retail stores when I was an in house designer at TOMS two and a half years ago. This was a great opportunity to breathe new life into the TOMS retail aesthetic to stay in step with the evolution of the brand.

The goal was to brighten things up, simplify and keep the focus on product and brand messaging. On the interior, we used a signature TOMS material - reclaimed wood, but used it in small doses, pairing it with lots of bright white and neutrals to balance it out. Product fixtures were also re imagined to be lighter and much more flexible for merchandising stories. We developed a peg wall system that can accommodate shelving, eyewear panels, mirrors and graphics. The nesting waterfall tables add a modern feel and are modular, allowing for neat and tidy product merchandising. In the cafe I played with tile in neutral tones to maintain that airy feeling. The store has a pretty small footprint but also has the luxury of having one of the largest outdoor patios in Brooklyn. Score! The in house team at TOMS did a great job of signing on Ricardo Gonzalez to create a striking mural on the exterior of the building which creates the ideal backdrop for leisurely hangs outs.

Overall really happy with how this turned out and so grateful to have had the opportunity to partner with TOMS again. Now let’s do another one! xo! jojo

View fullsize BROOKLYNOPENING-EDITS-4568.jpg
View fullsize BROOKLYNOPENING-EDITS-4709.jpg
View fullsize BROOKLYNOPENING-EDITS-4706.jpg
View fullsize BROOKLYNOPENING-EDITS-4656.jpg
View fullsize BROOKLYNOPENING-EDITS-4687.jpg
View fullsize BROOKLYNOPENING-EDITS-4620.jpg
View fullsize BROOKLYNOPENING-EDITS-4728.jpg
View fullsize BROOKLYNOPENING-EDITS-4726.jpg
View fullsize BROOKLYNOPENING-EDITS-4717.jpg
View fullsize BROOKLYNOPENING-EDITS-4584.jpg
View fullsize BROOKLYNOPENING-EDITS-4588.jpg
View fullsize BROOKLYNOPENING-EDITS-4589.jpg
tags: reveal, commercial design, retail design, interior design, cafe design, TOMS
categories: commercial design, interior design, design process, before and after
Monday 12.03.18
Posted by Joanna Harrison
 

Harrison Hacienda Kitchen Reveal

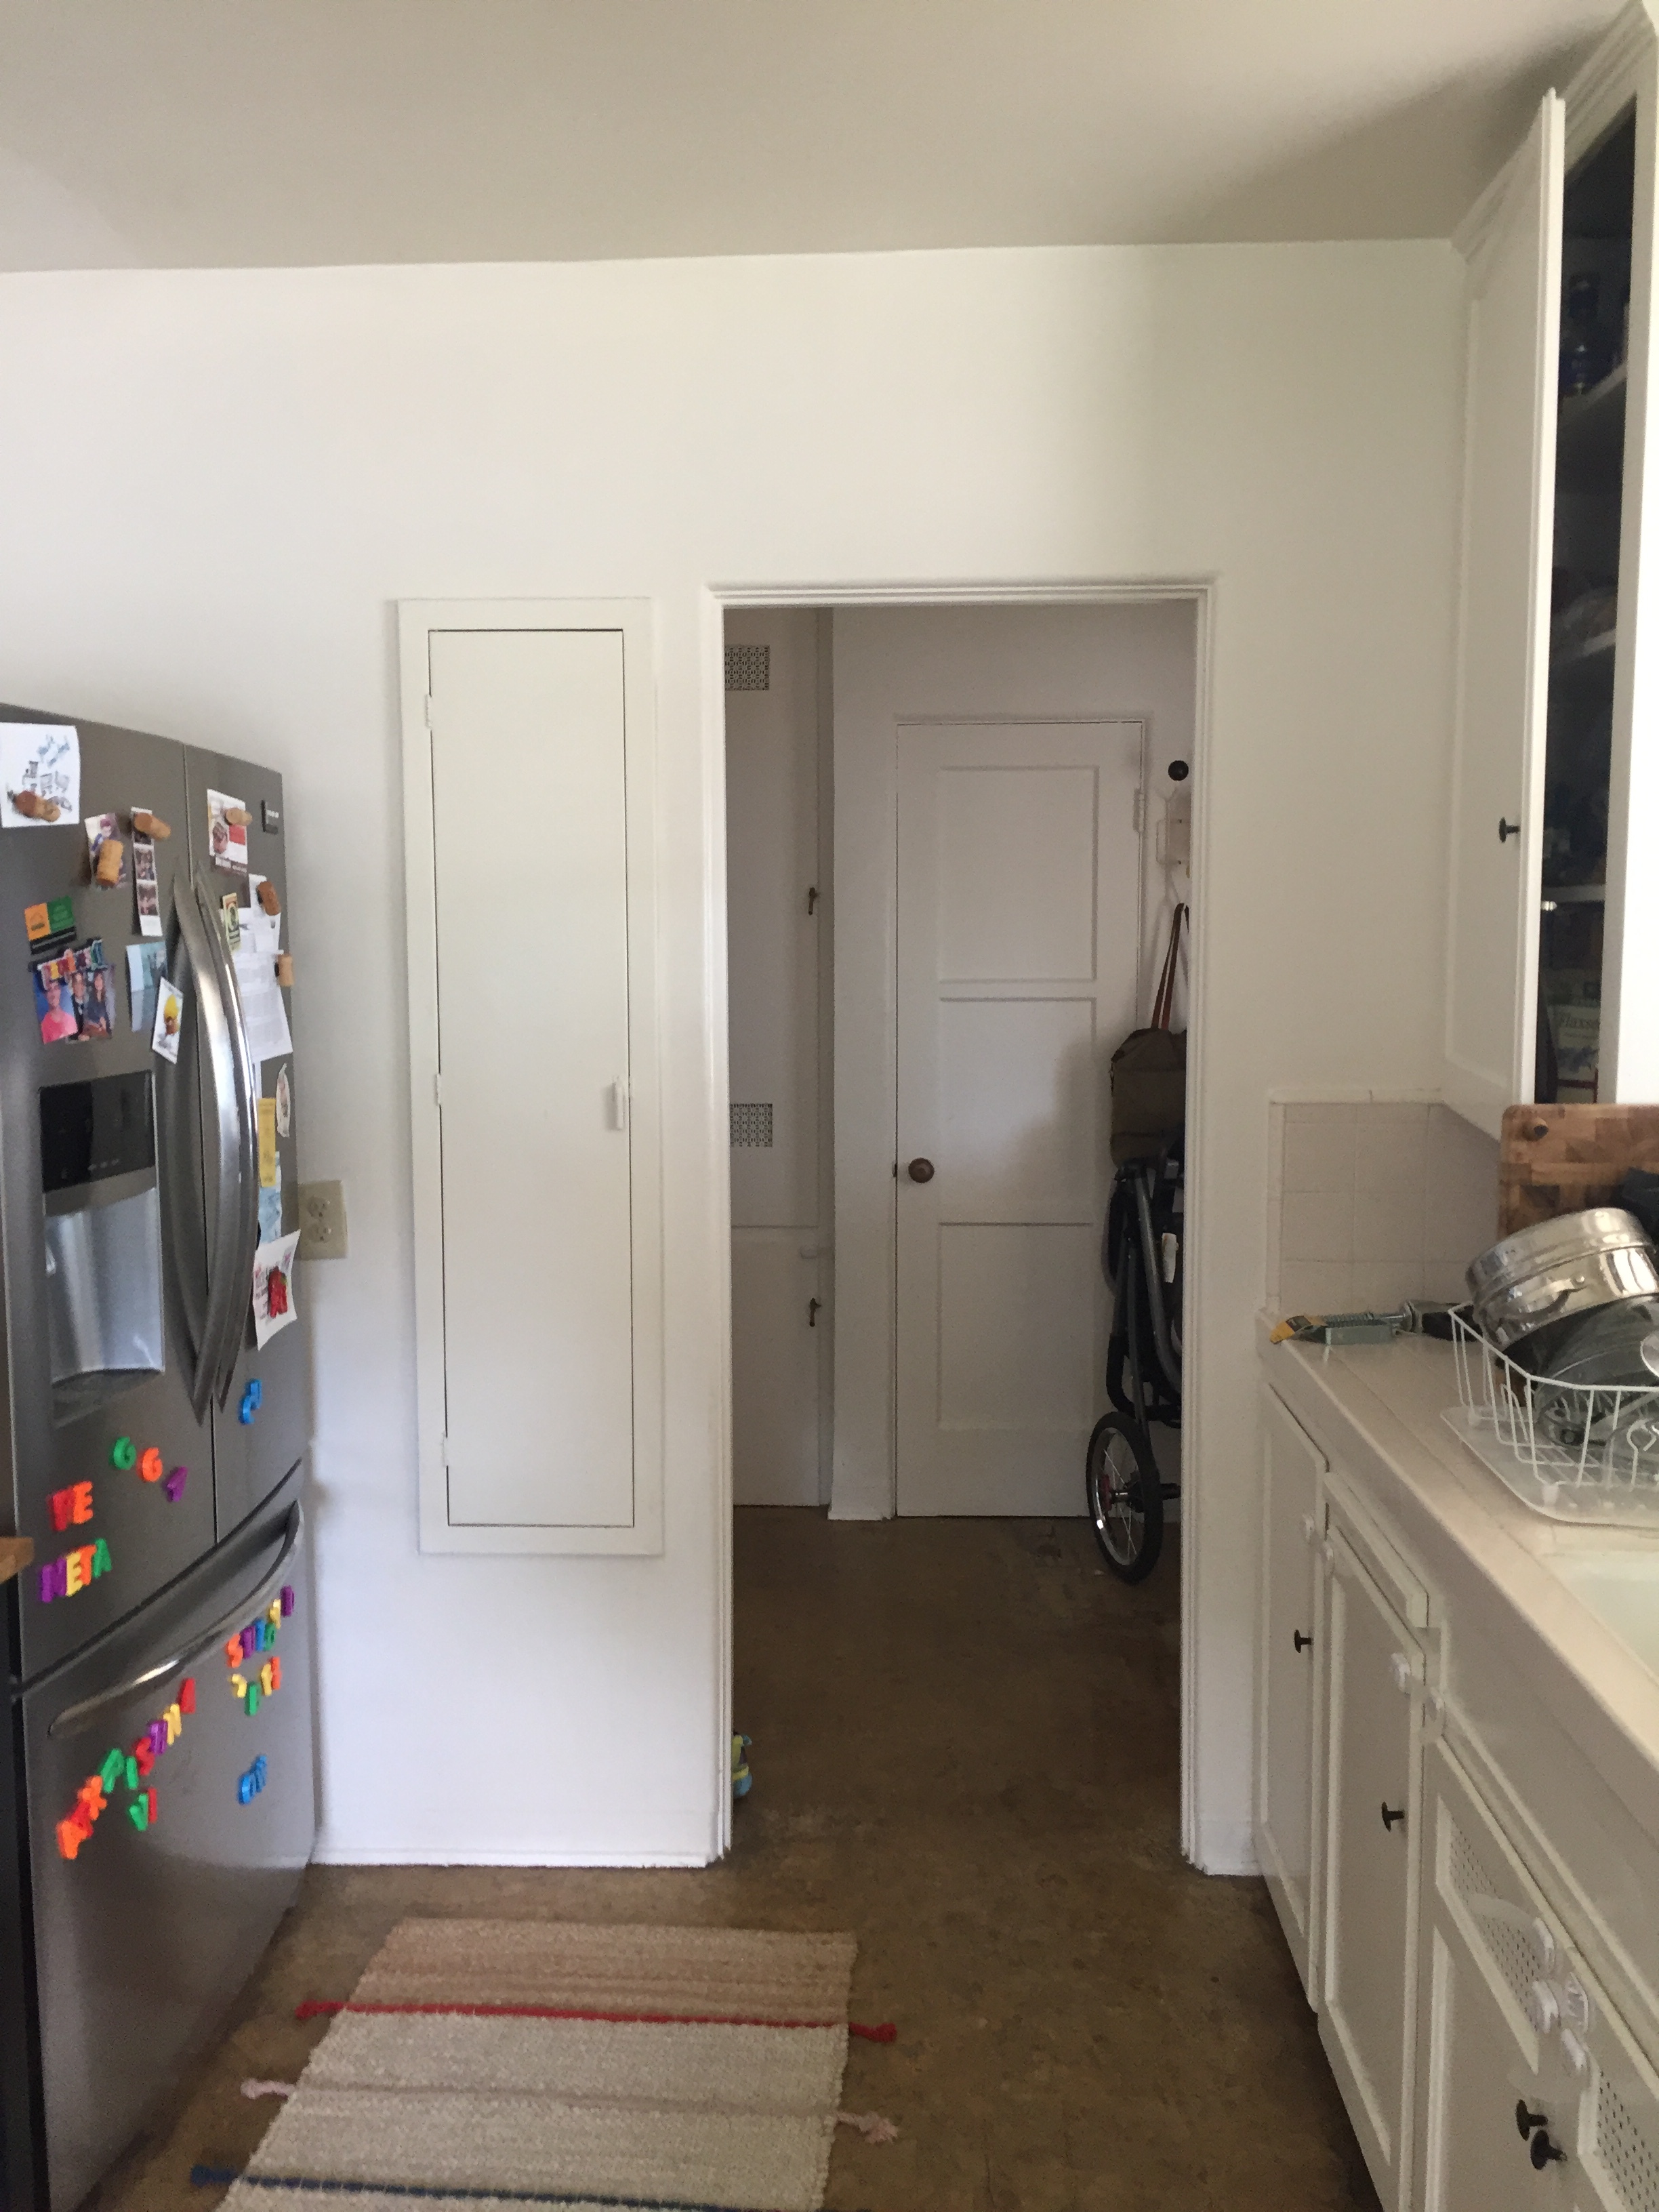
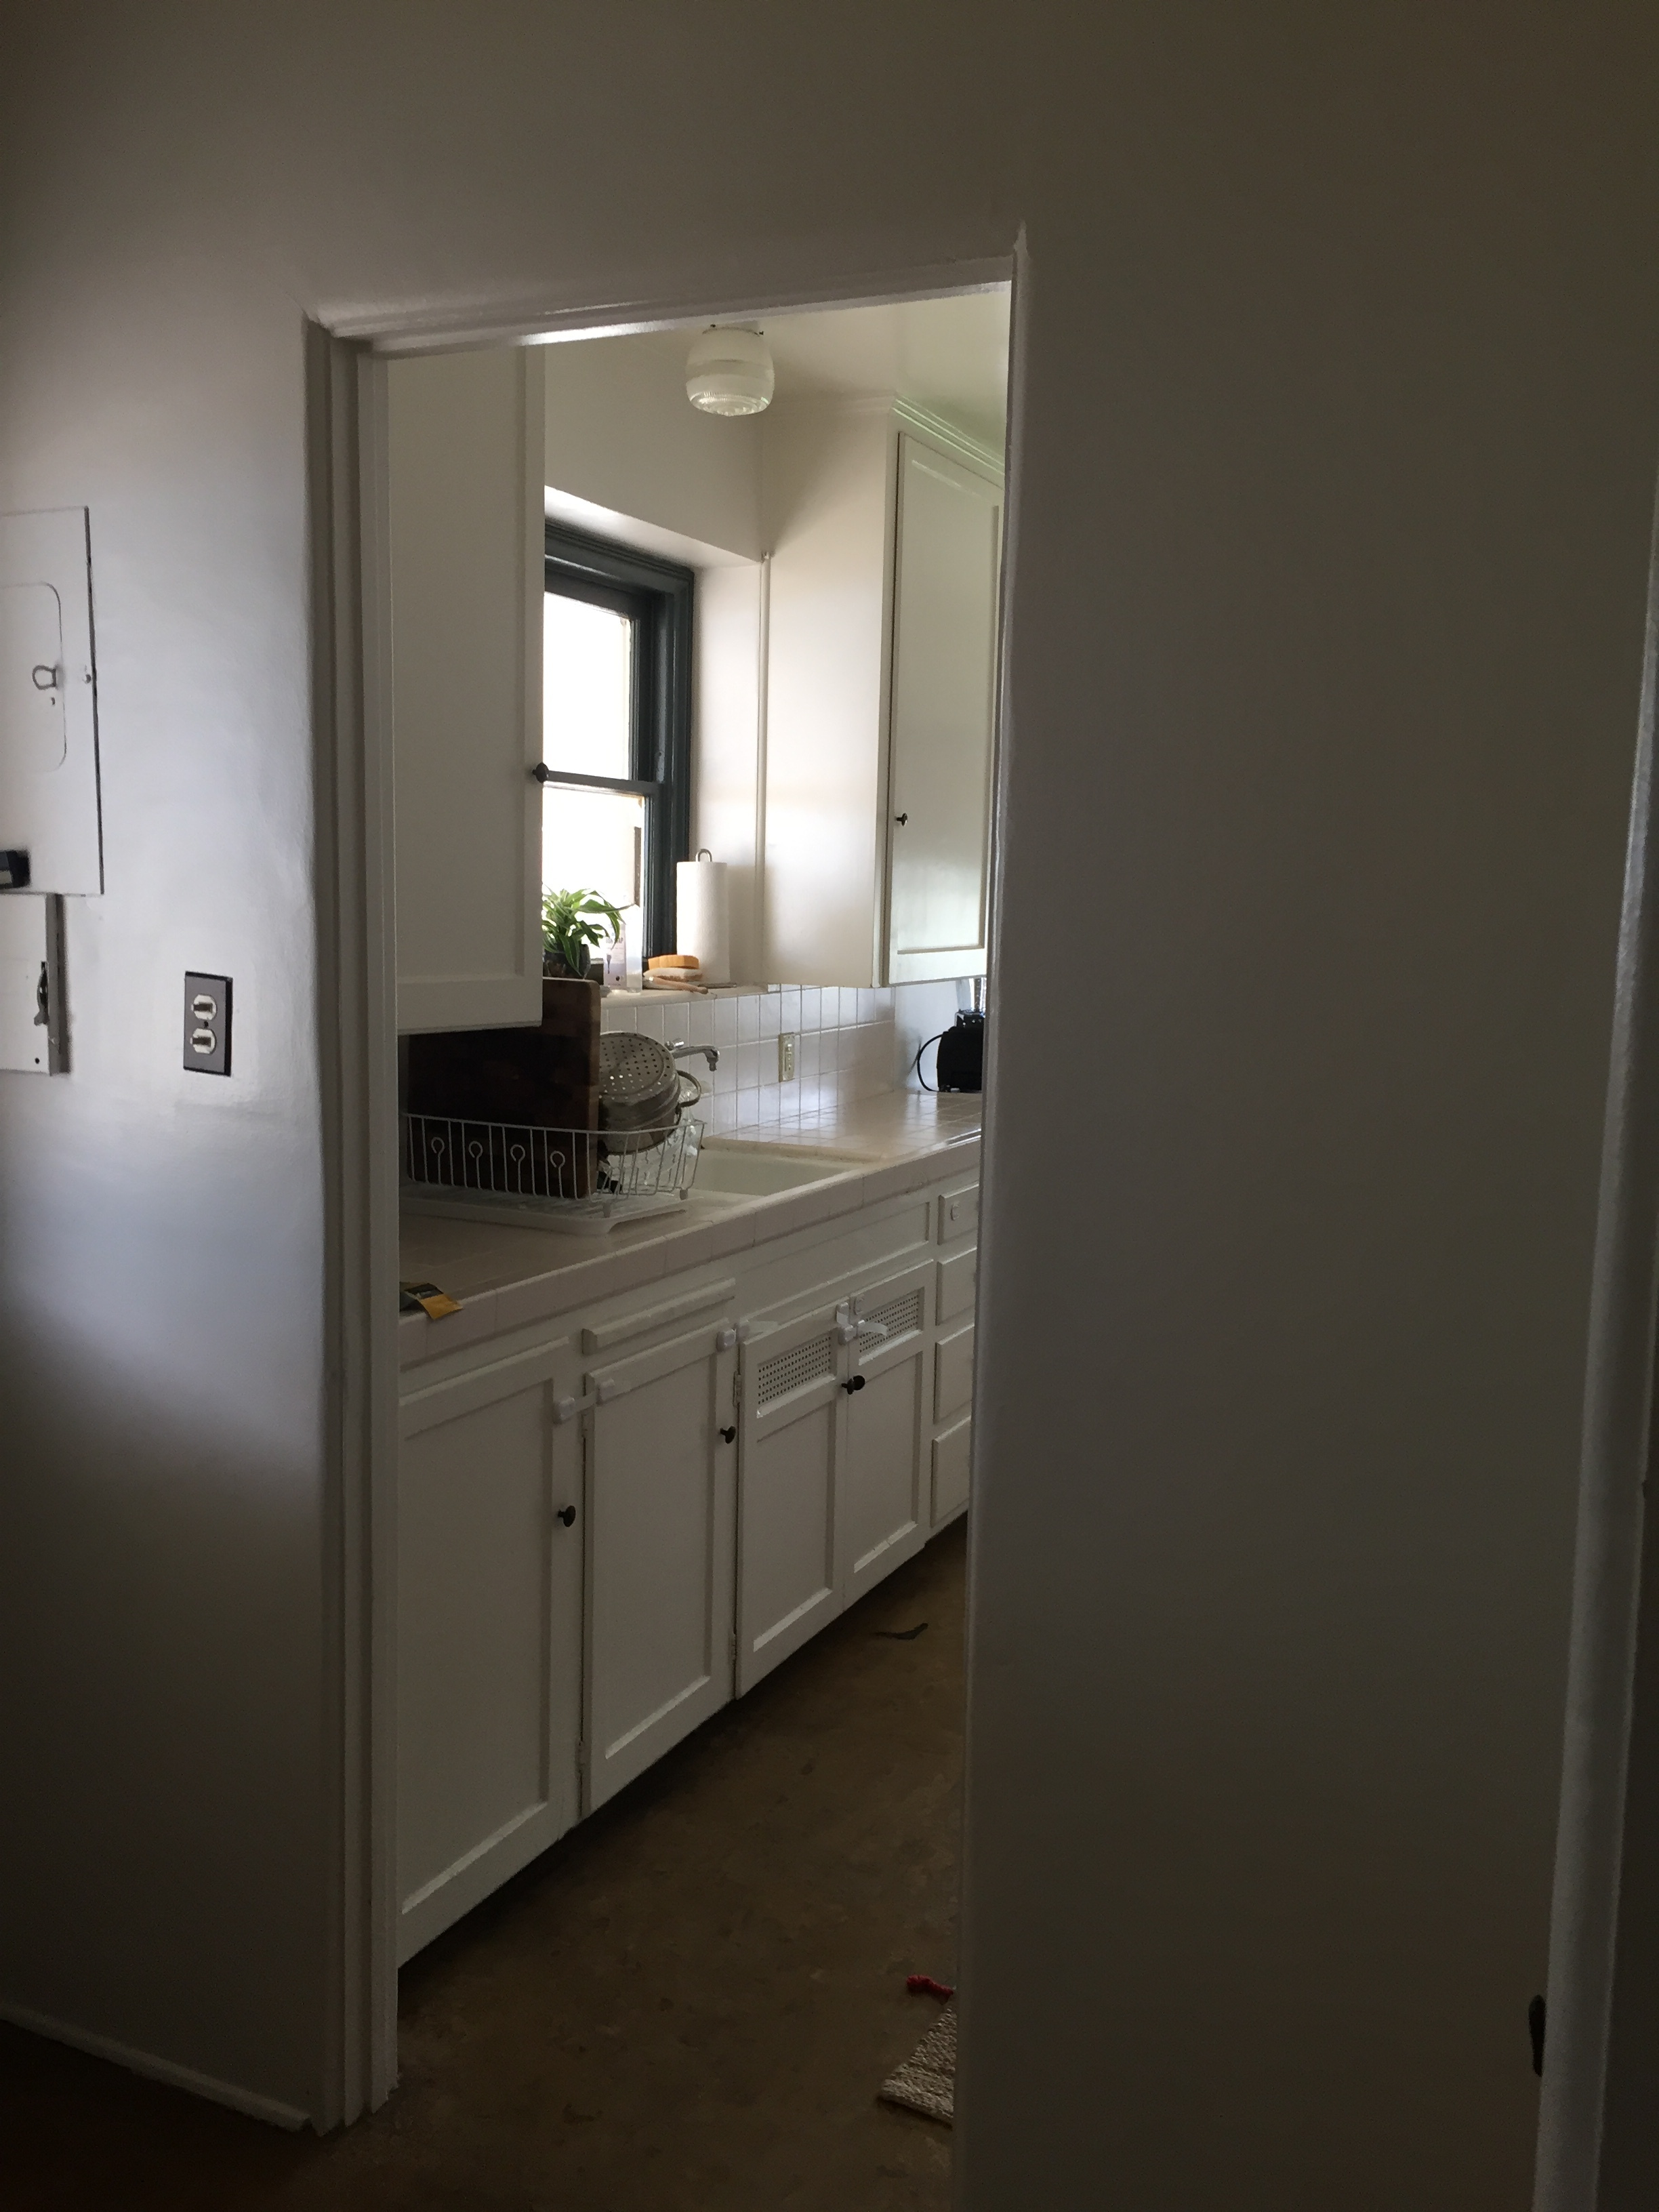
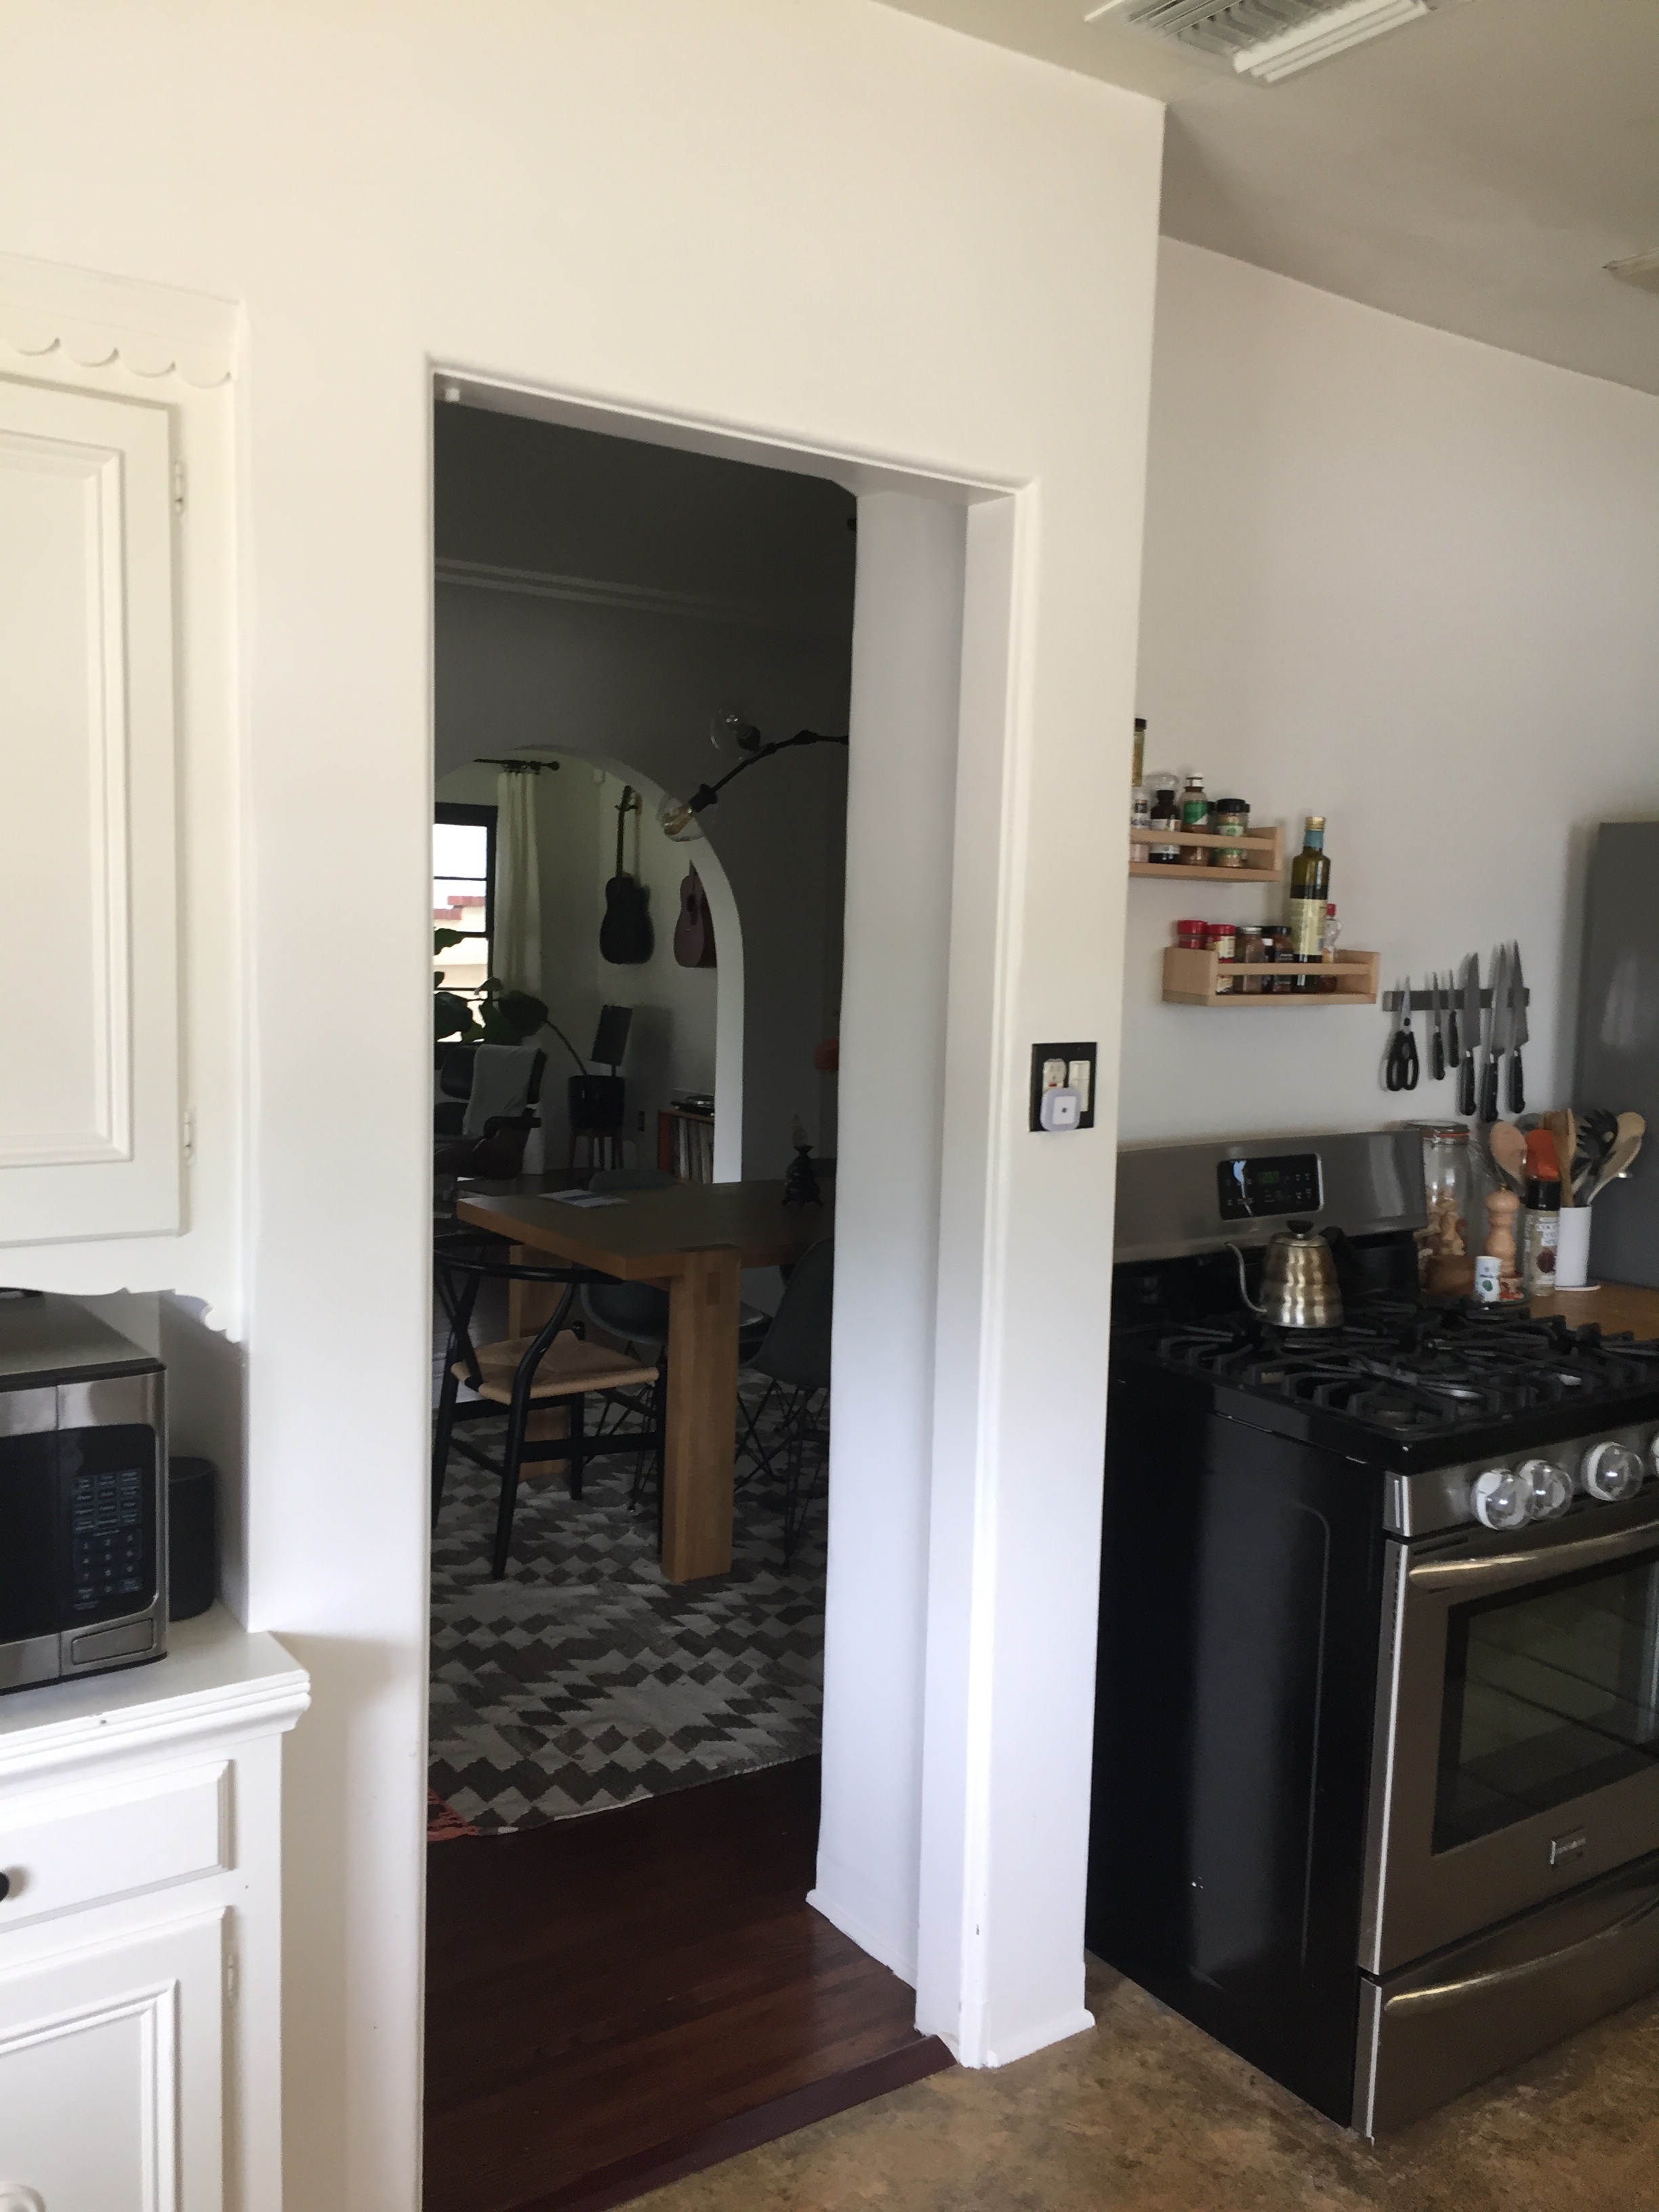
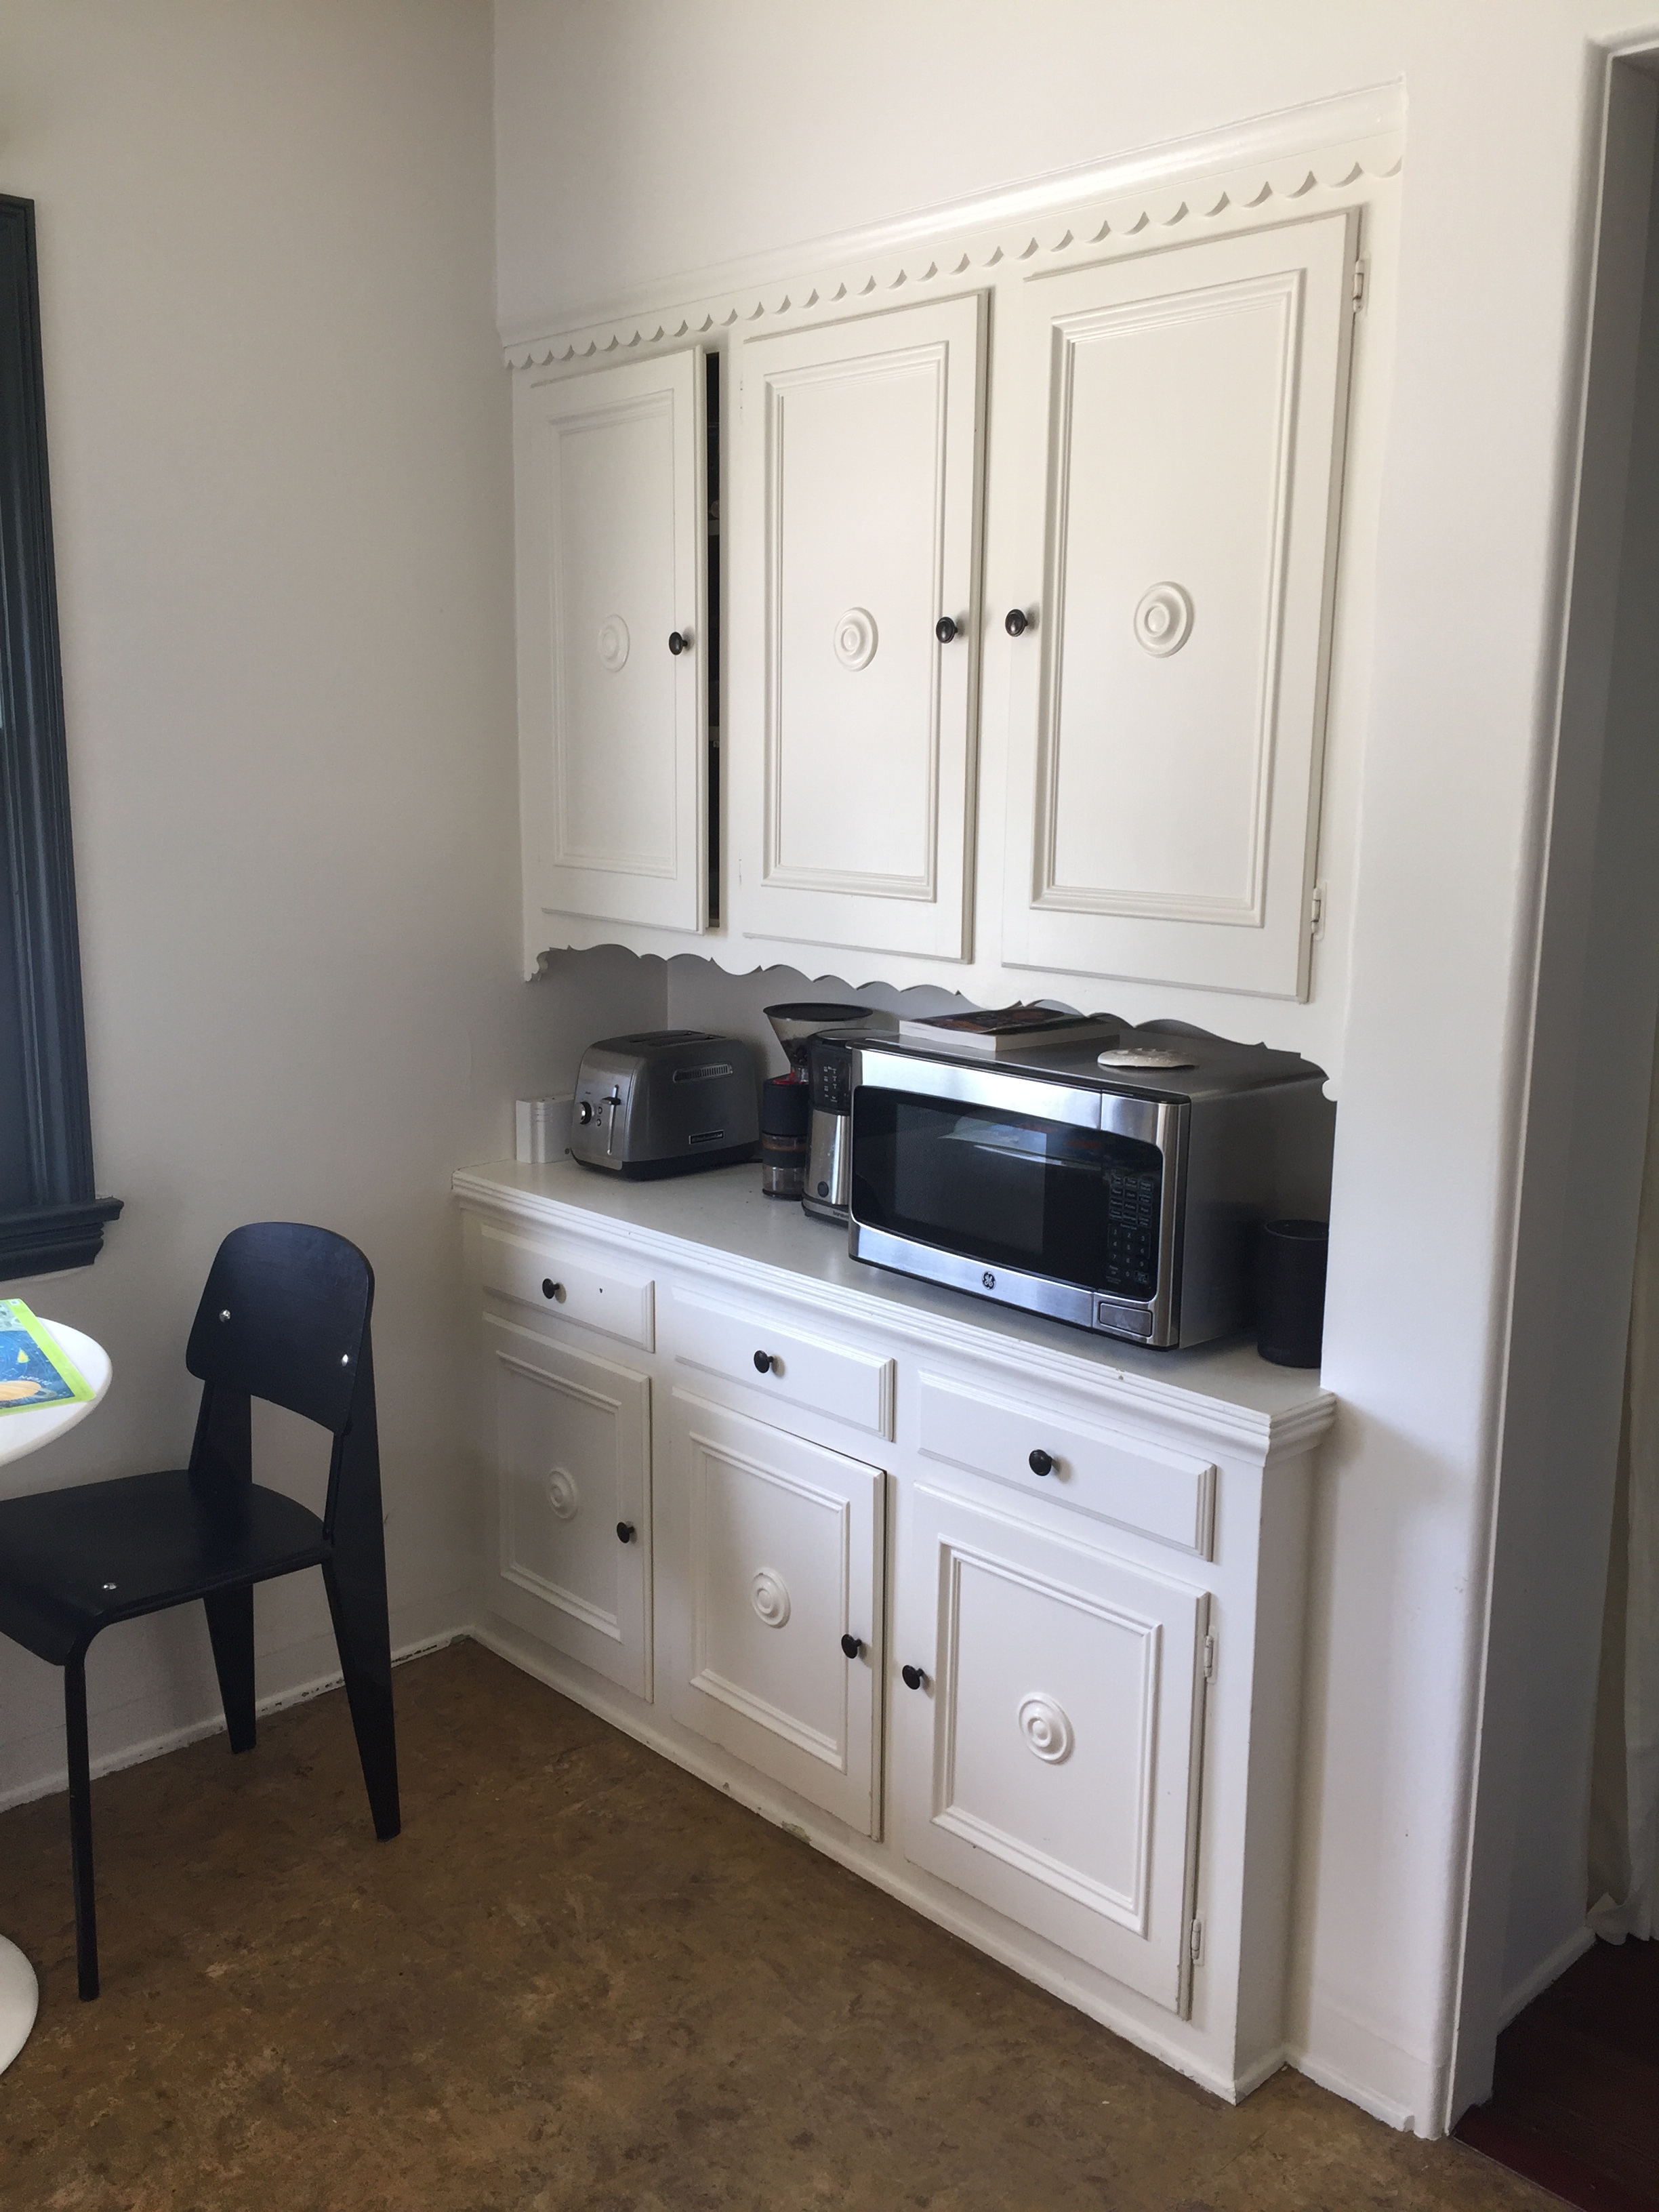
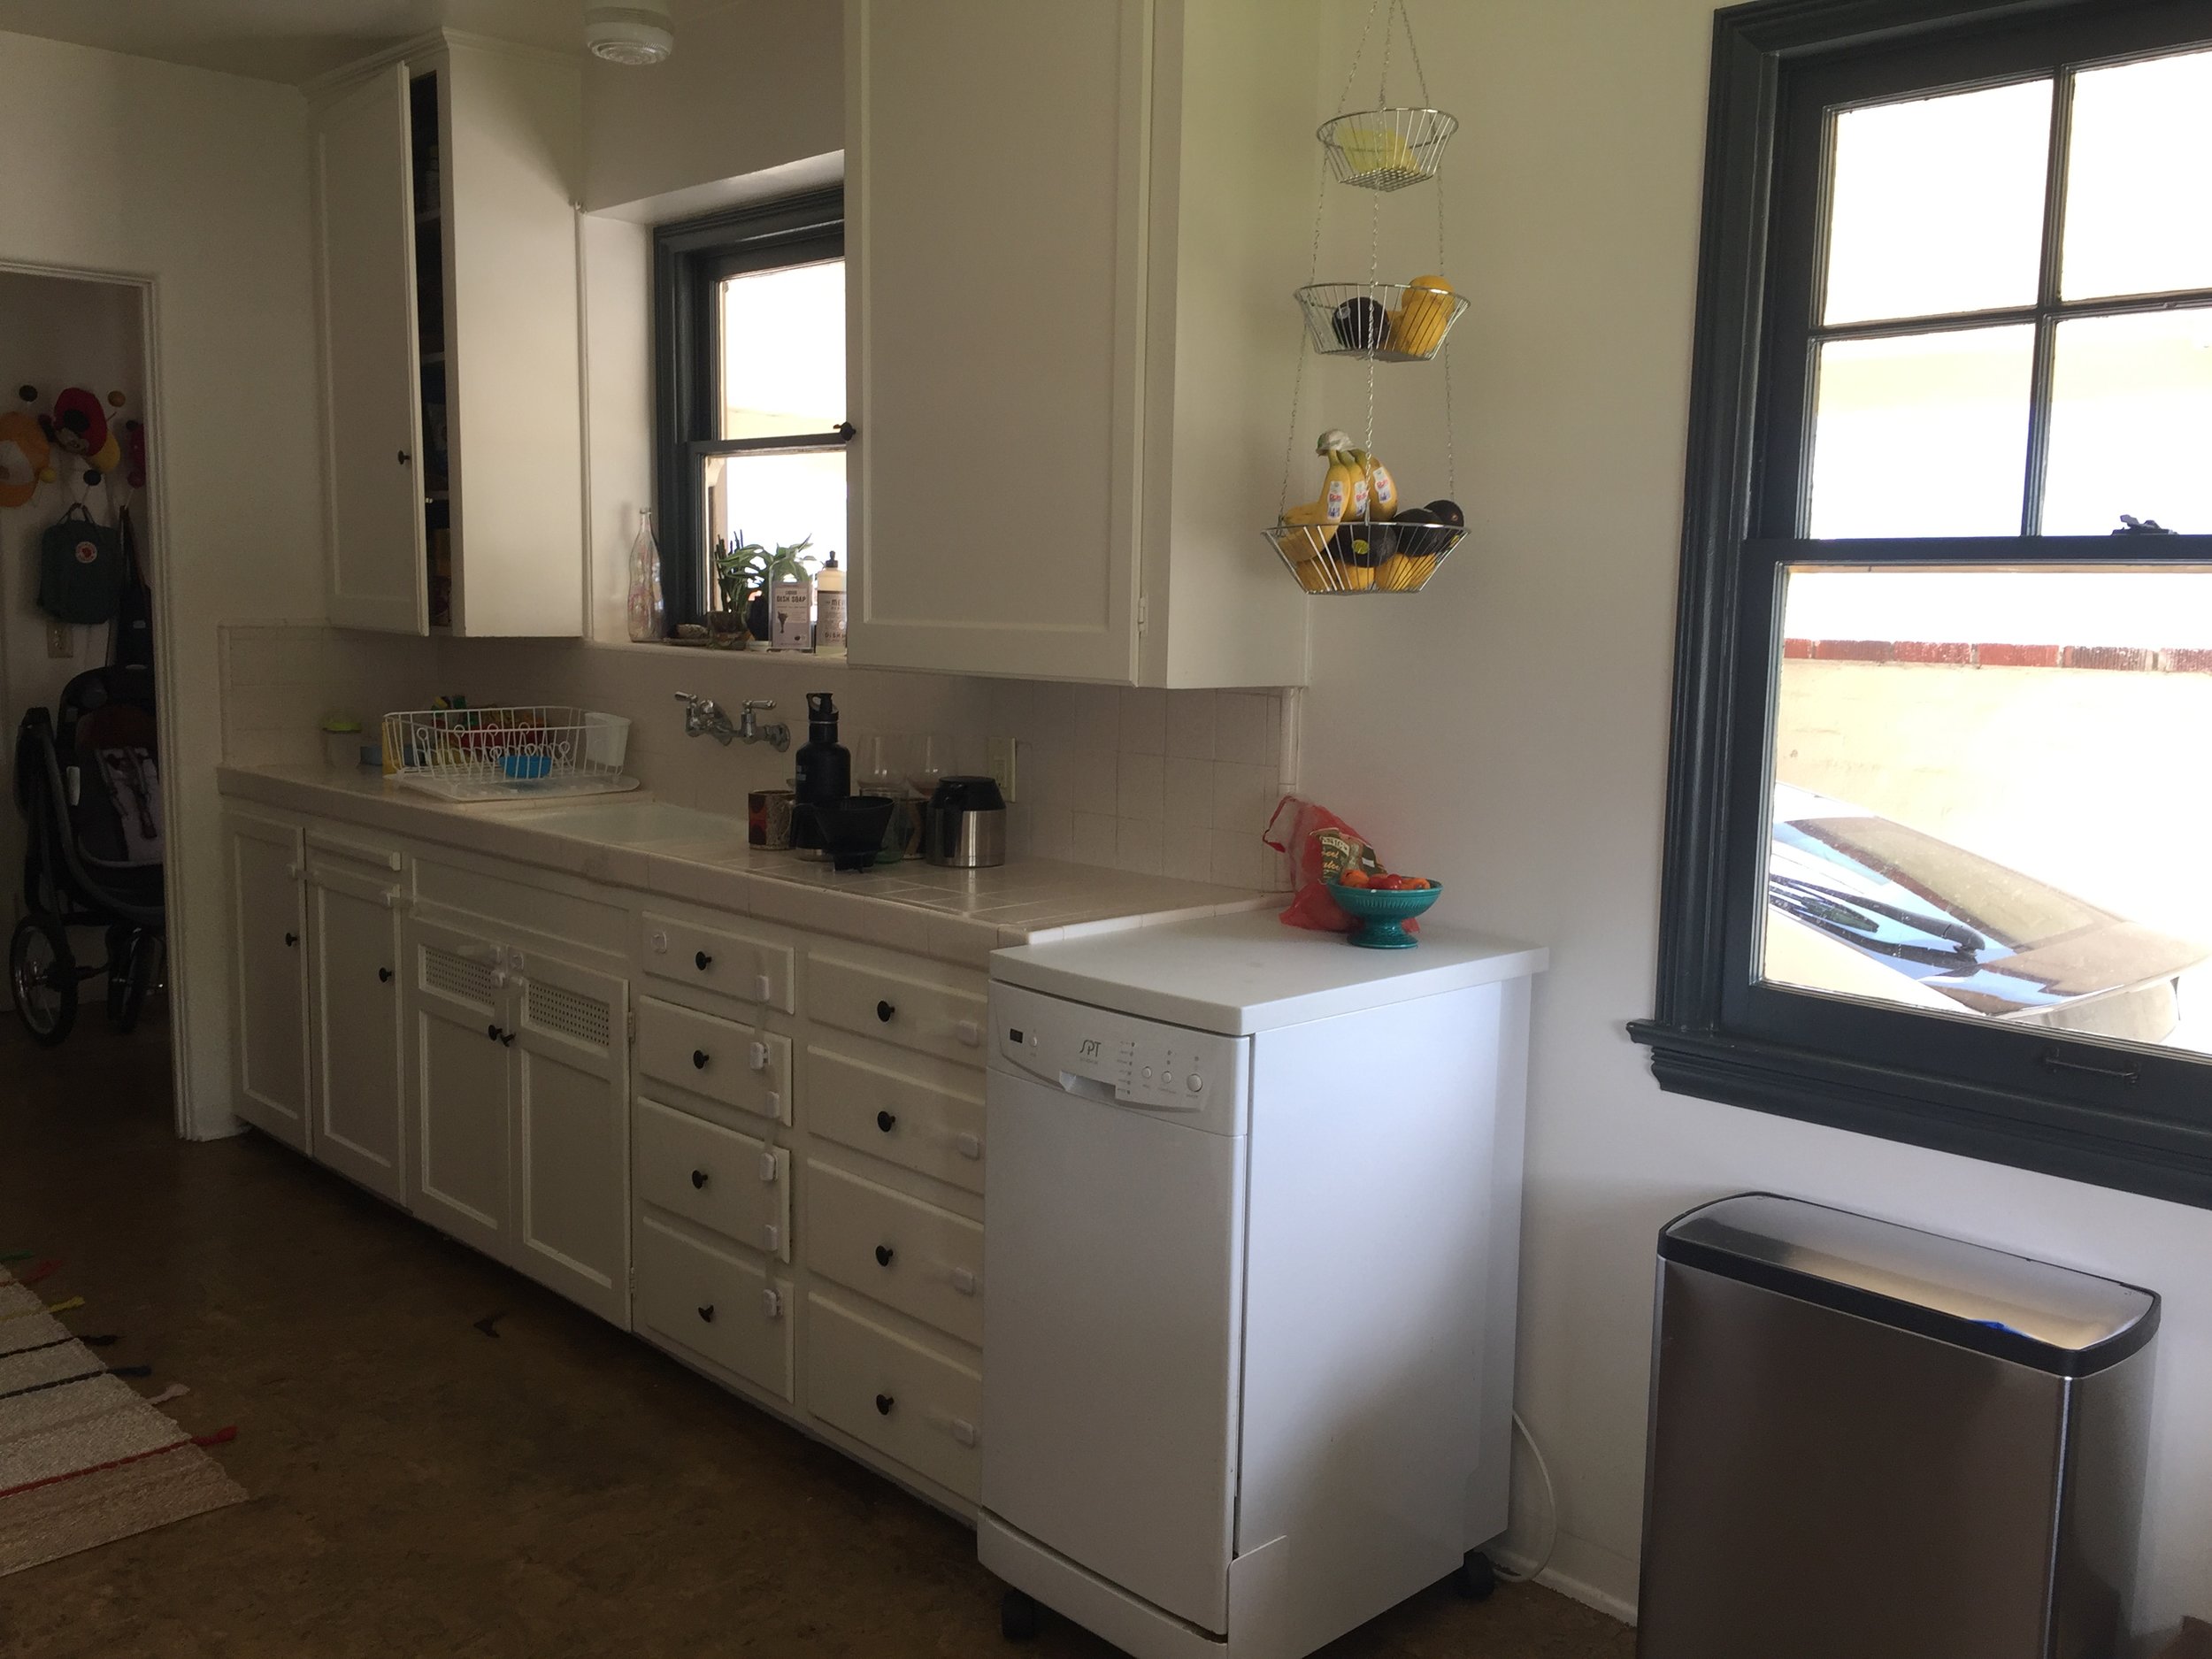
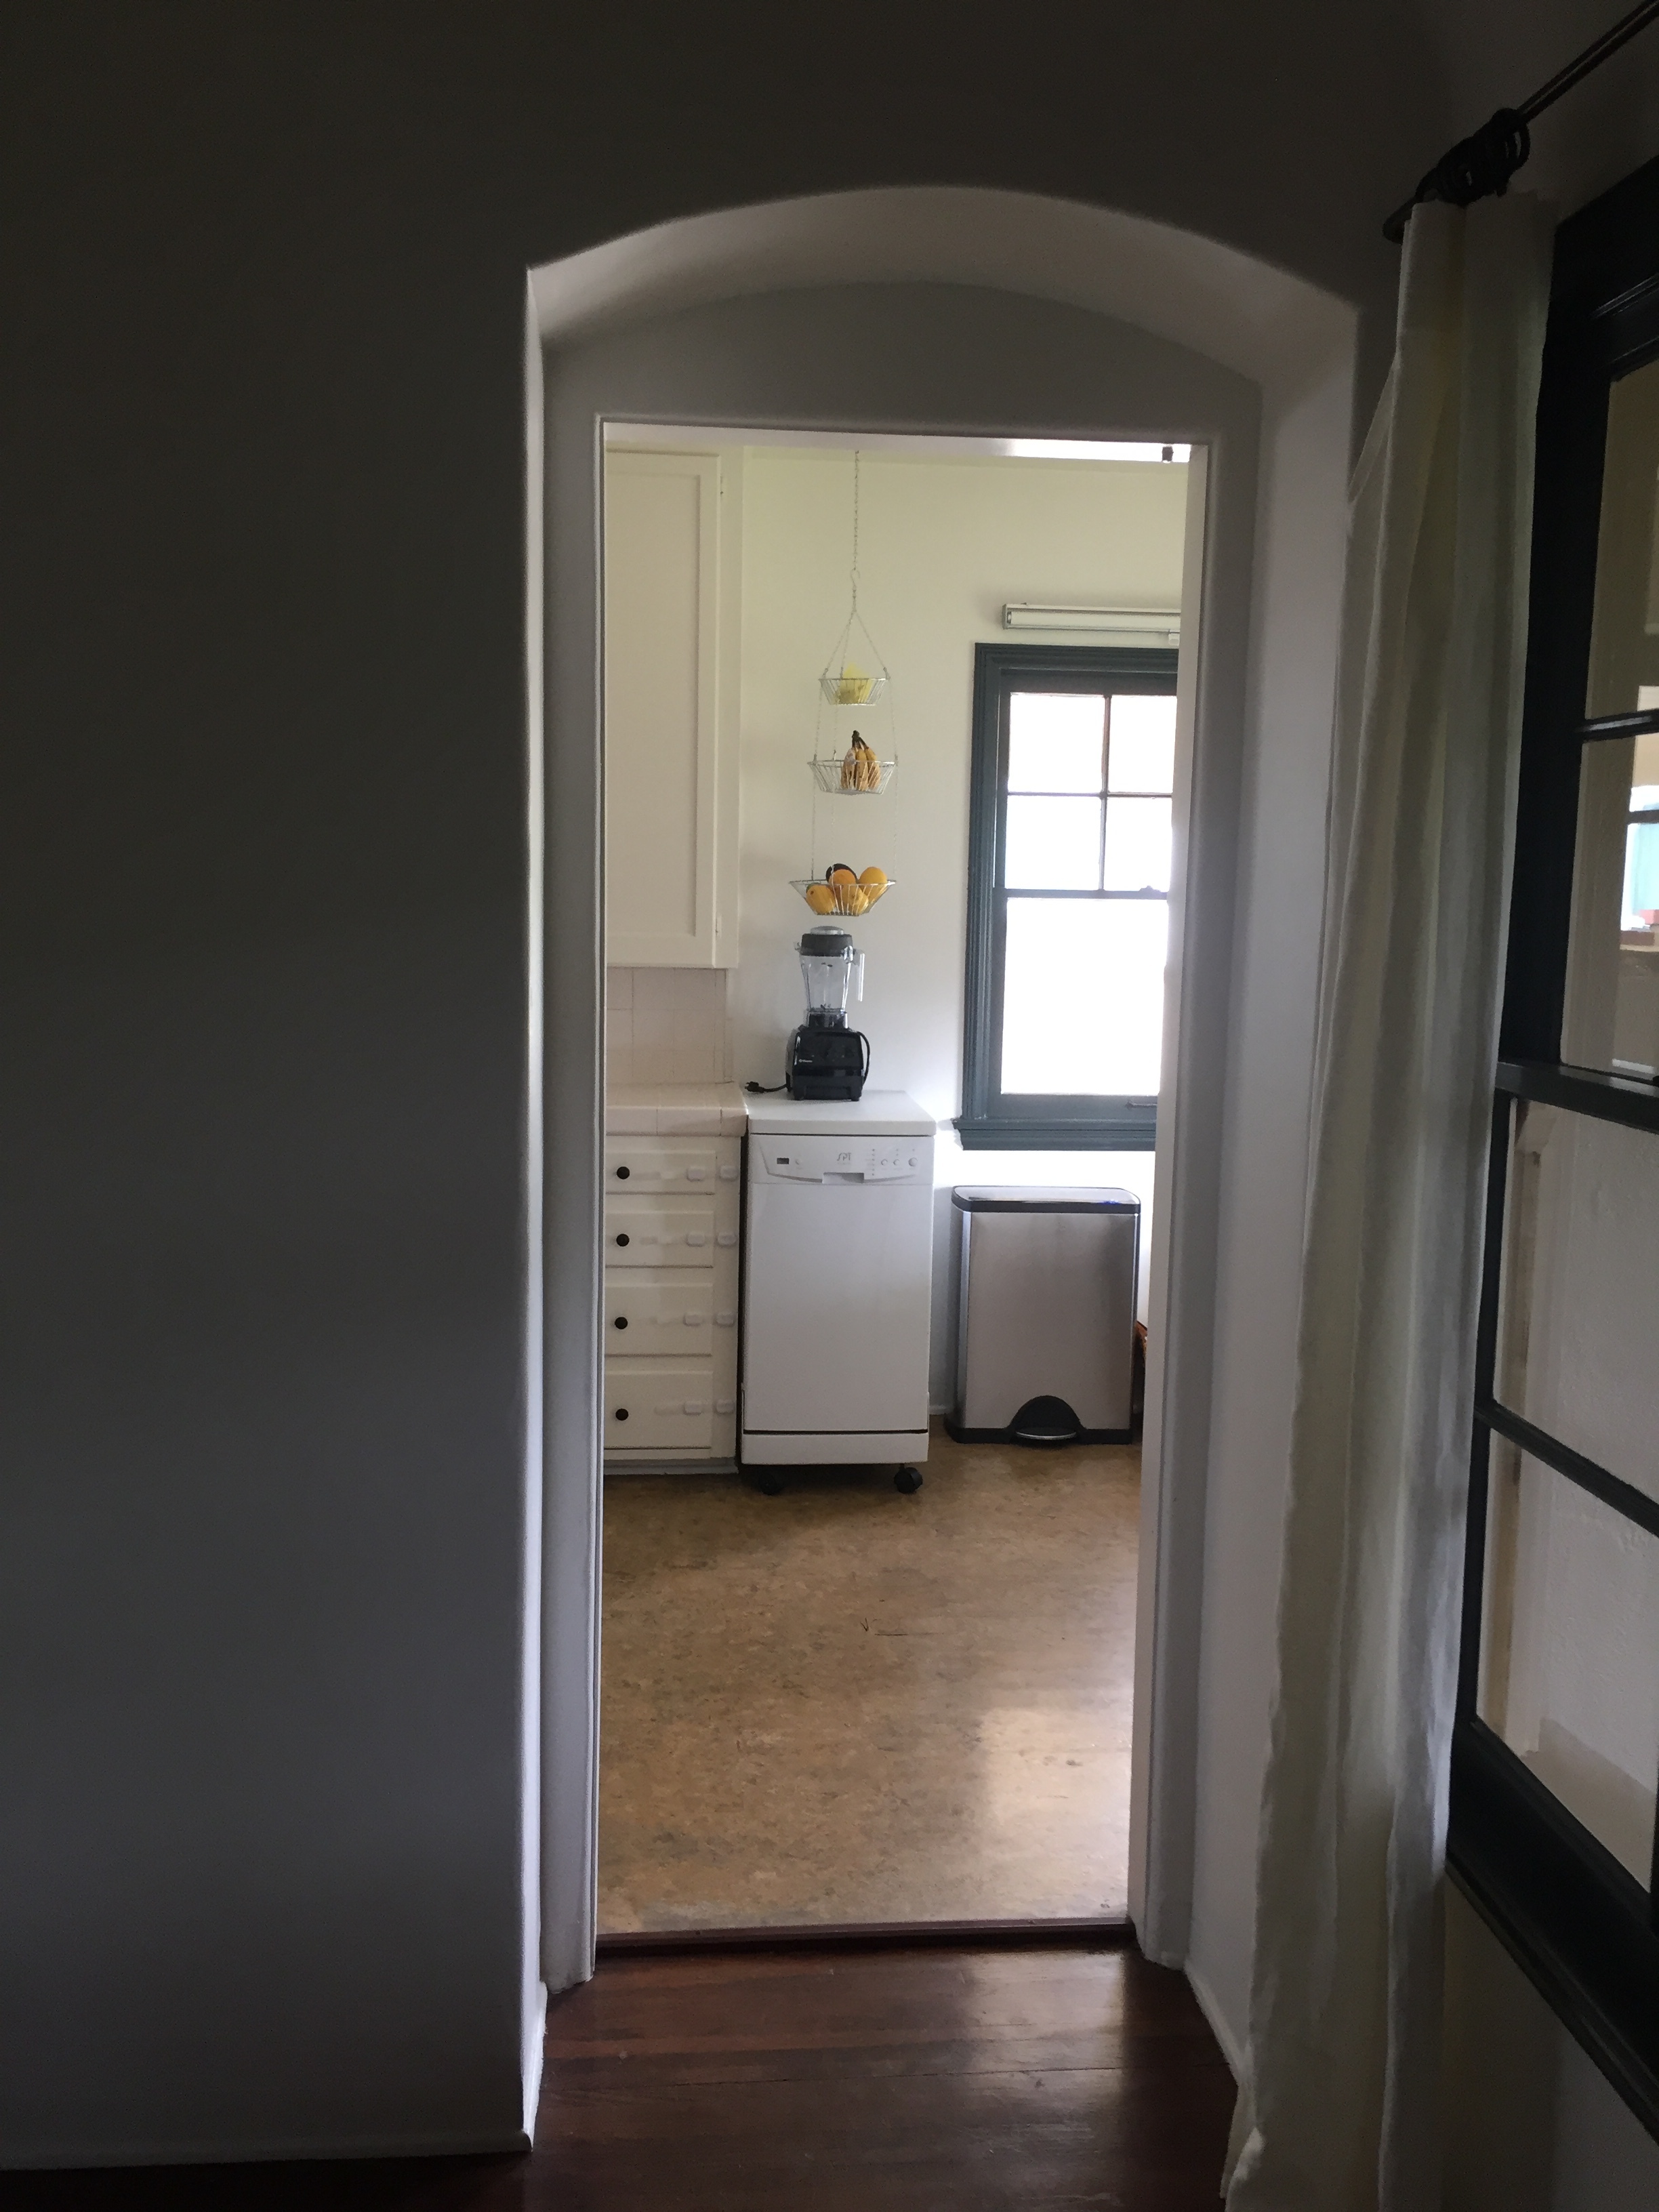
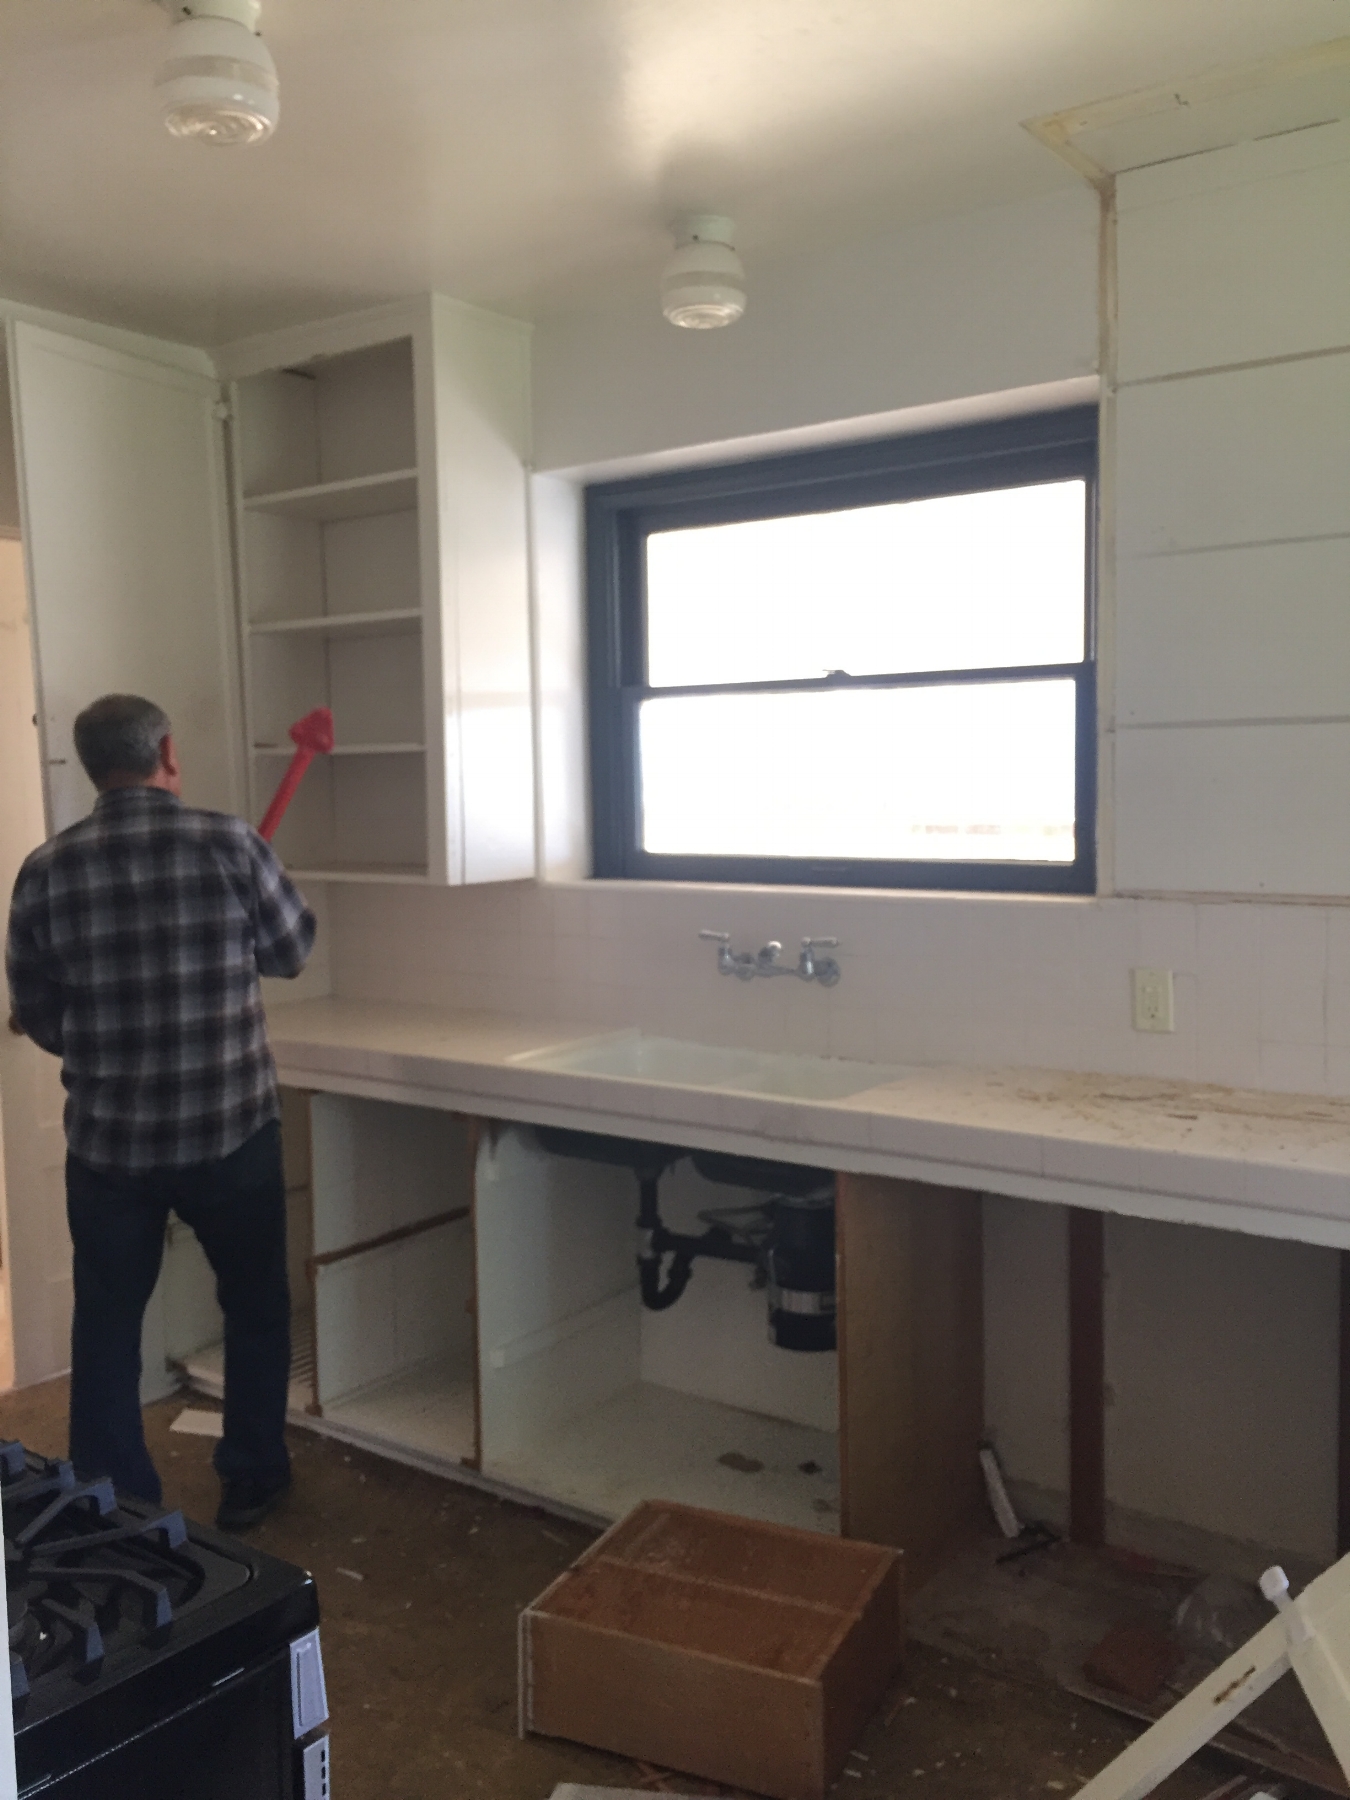
Well its certainly been a while since I’ve posted about the Harrison Hacienda Kitchen - the last time was in 2016 when we first moved in! Quite a lot has happened since then: we renovated the backyard, the playroom, did some tweaks here and there to our bedrooms (which I’ll post about separately) but the largest project we’ve taken on so far is our kitchen. Here are some before pictures to jog your memory.

Before:

IMG_4547.JPG
IMG_4548.JPG
IMG_4549.JPG
IMG_4713.JPG
IMG_4714.JPG
IMG_4550.JPG

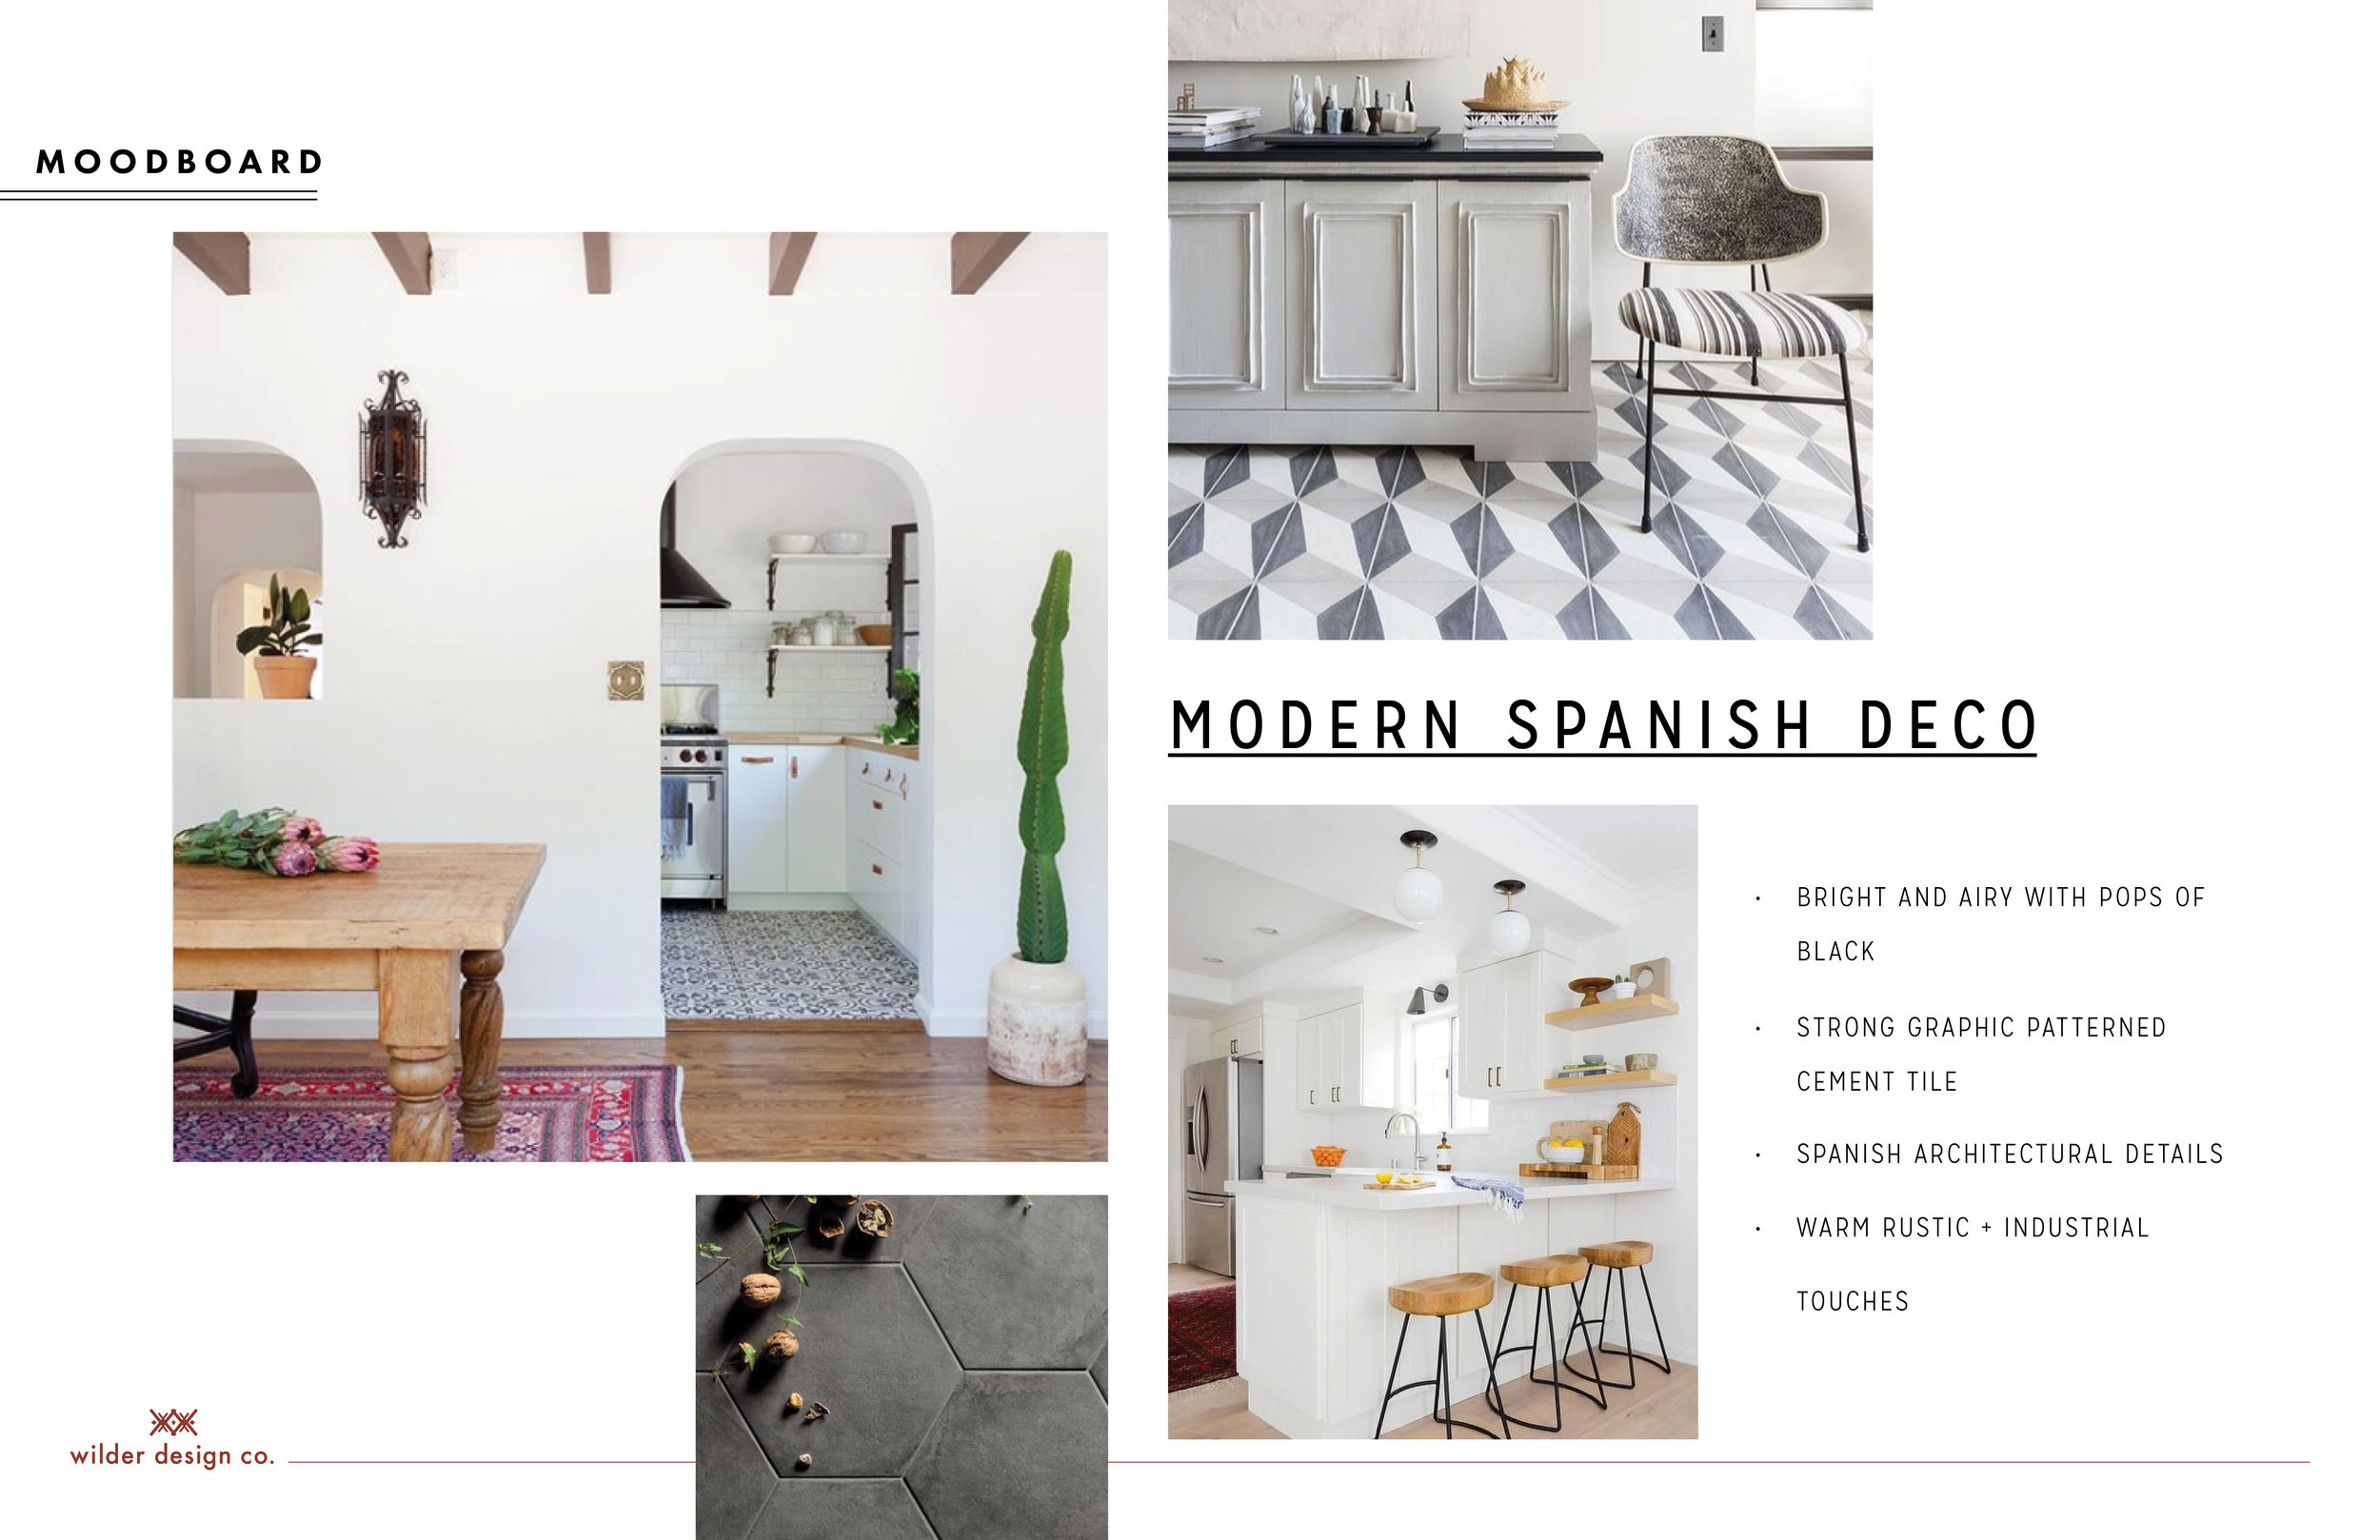
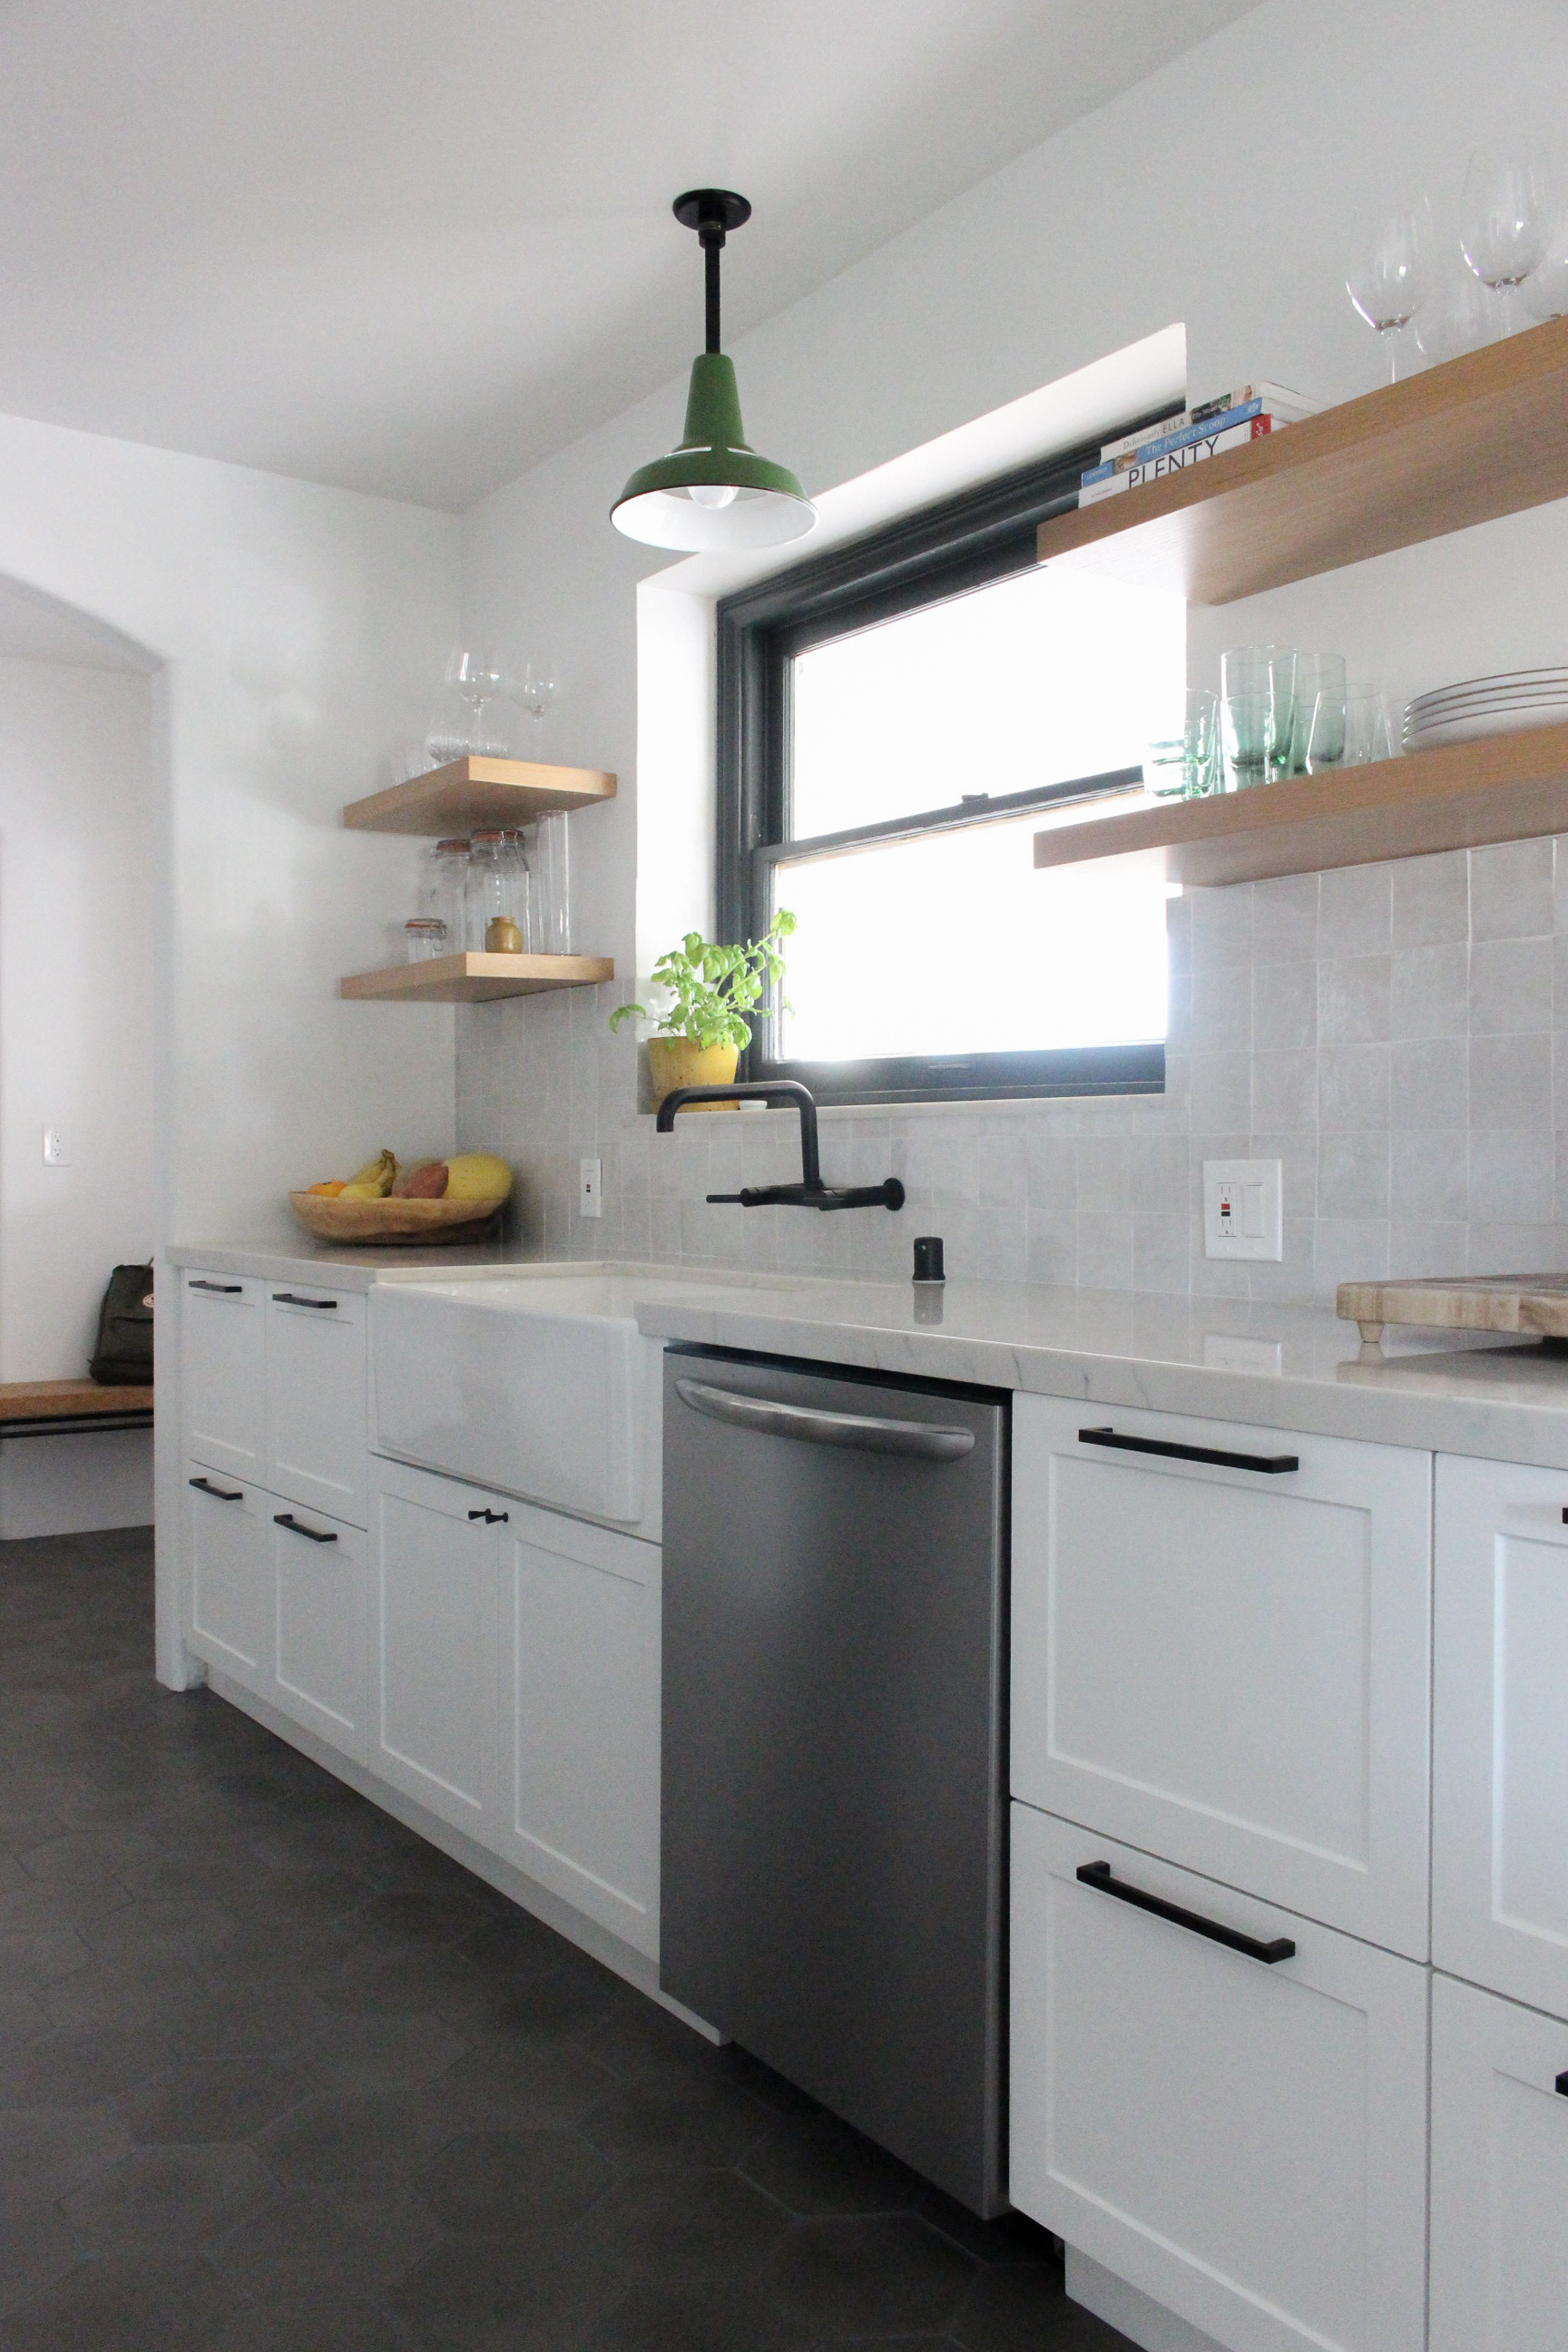
This kitchen had seen a lot of action over the years and was in dire need of a make over. We knew this would require a lot of planning and soul searching so we spent the last 2 years doing just that. After going in various directions with the design we landed on our concept: Modern Spanish Deco. The goal for the whole house is to of course maintain and amplify its romantic spanish bones, but modernize it by keeping things minimal. We also wanted to add some graphic punch which draws from the deco influences in the home as well as the era in which it was built. Here was the game plan.

Design Plan:

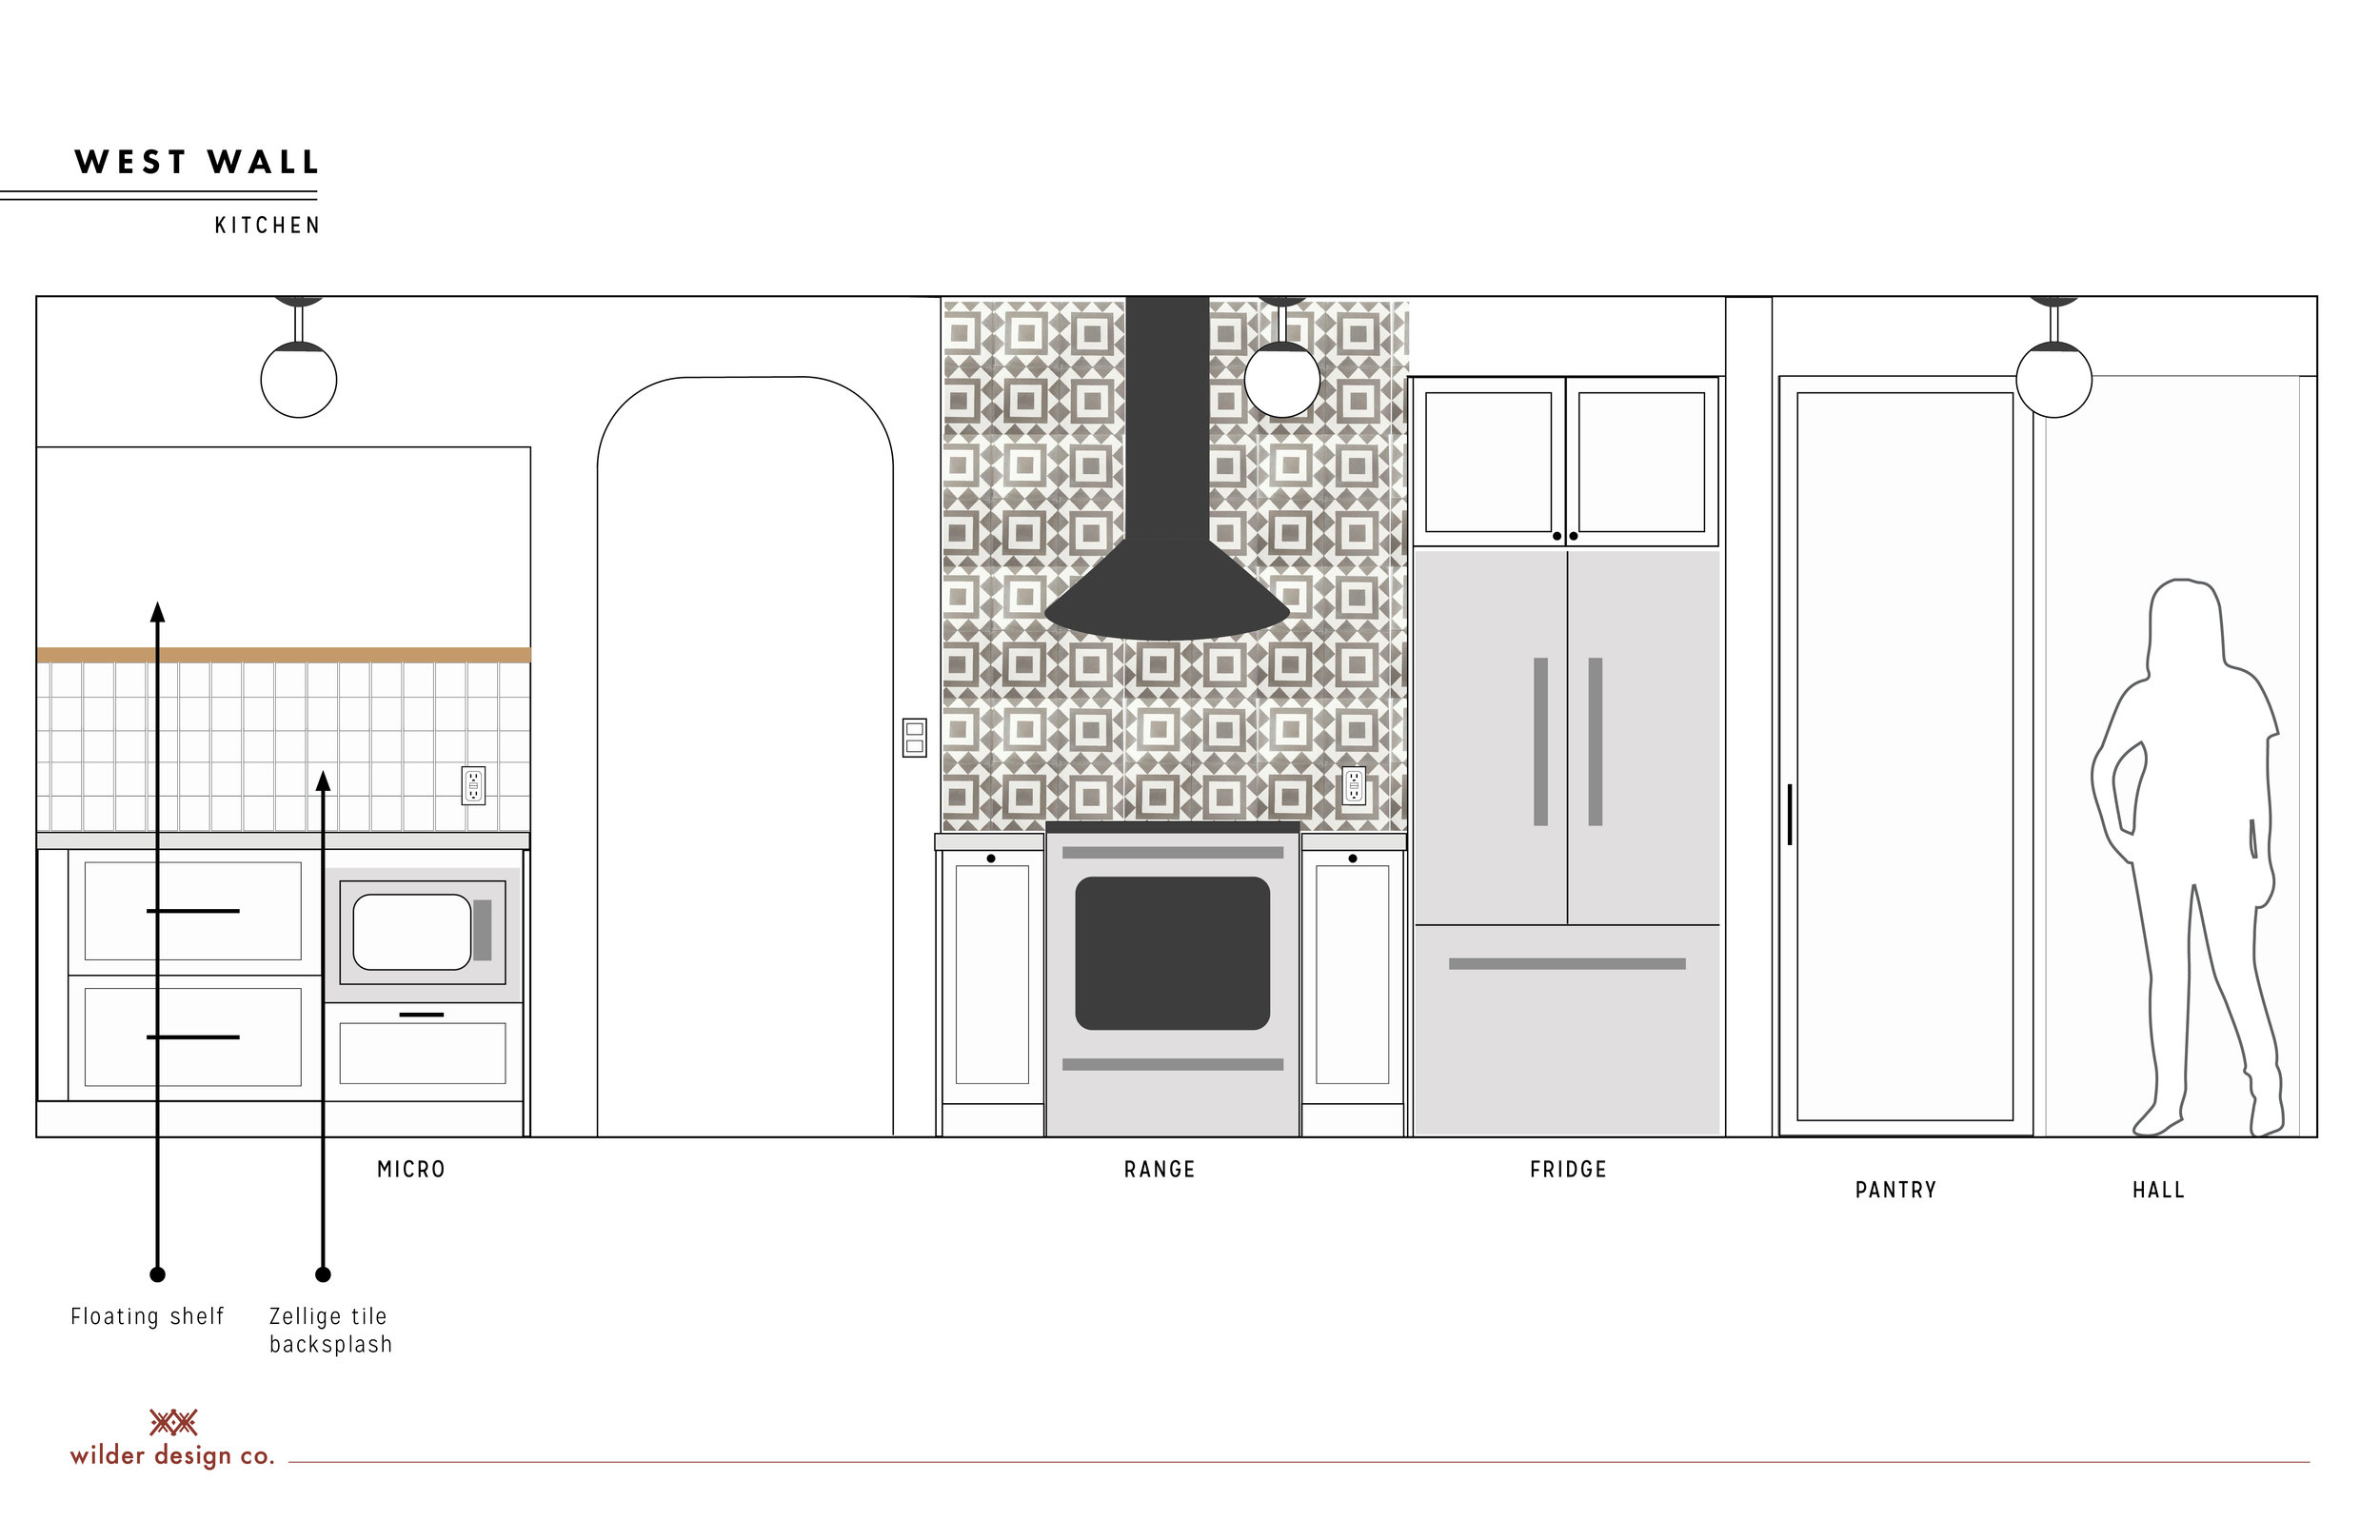
Kitchen_Plan_0430185.jpg
Kitchen_Plan_0430186.jpg
Kitchen_Plan_0430187.jpg
Kitchen_Plan_0430188.jpg
Kitchen_Plan_0430189.jpg

Layout:

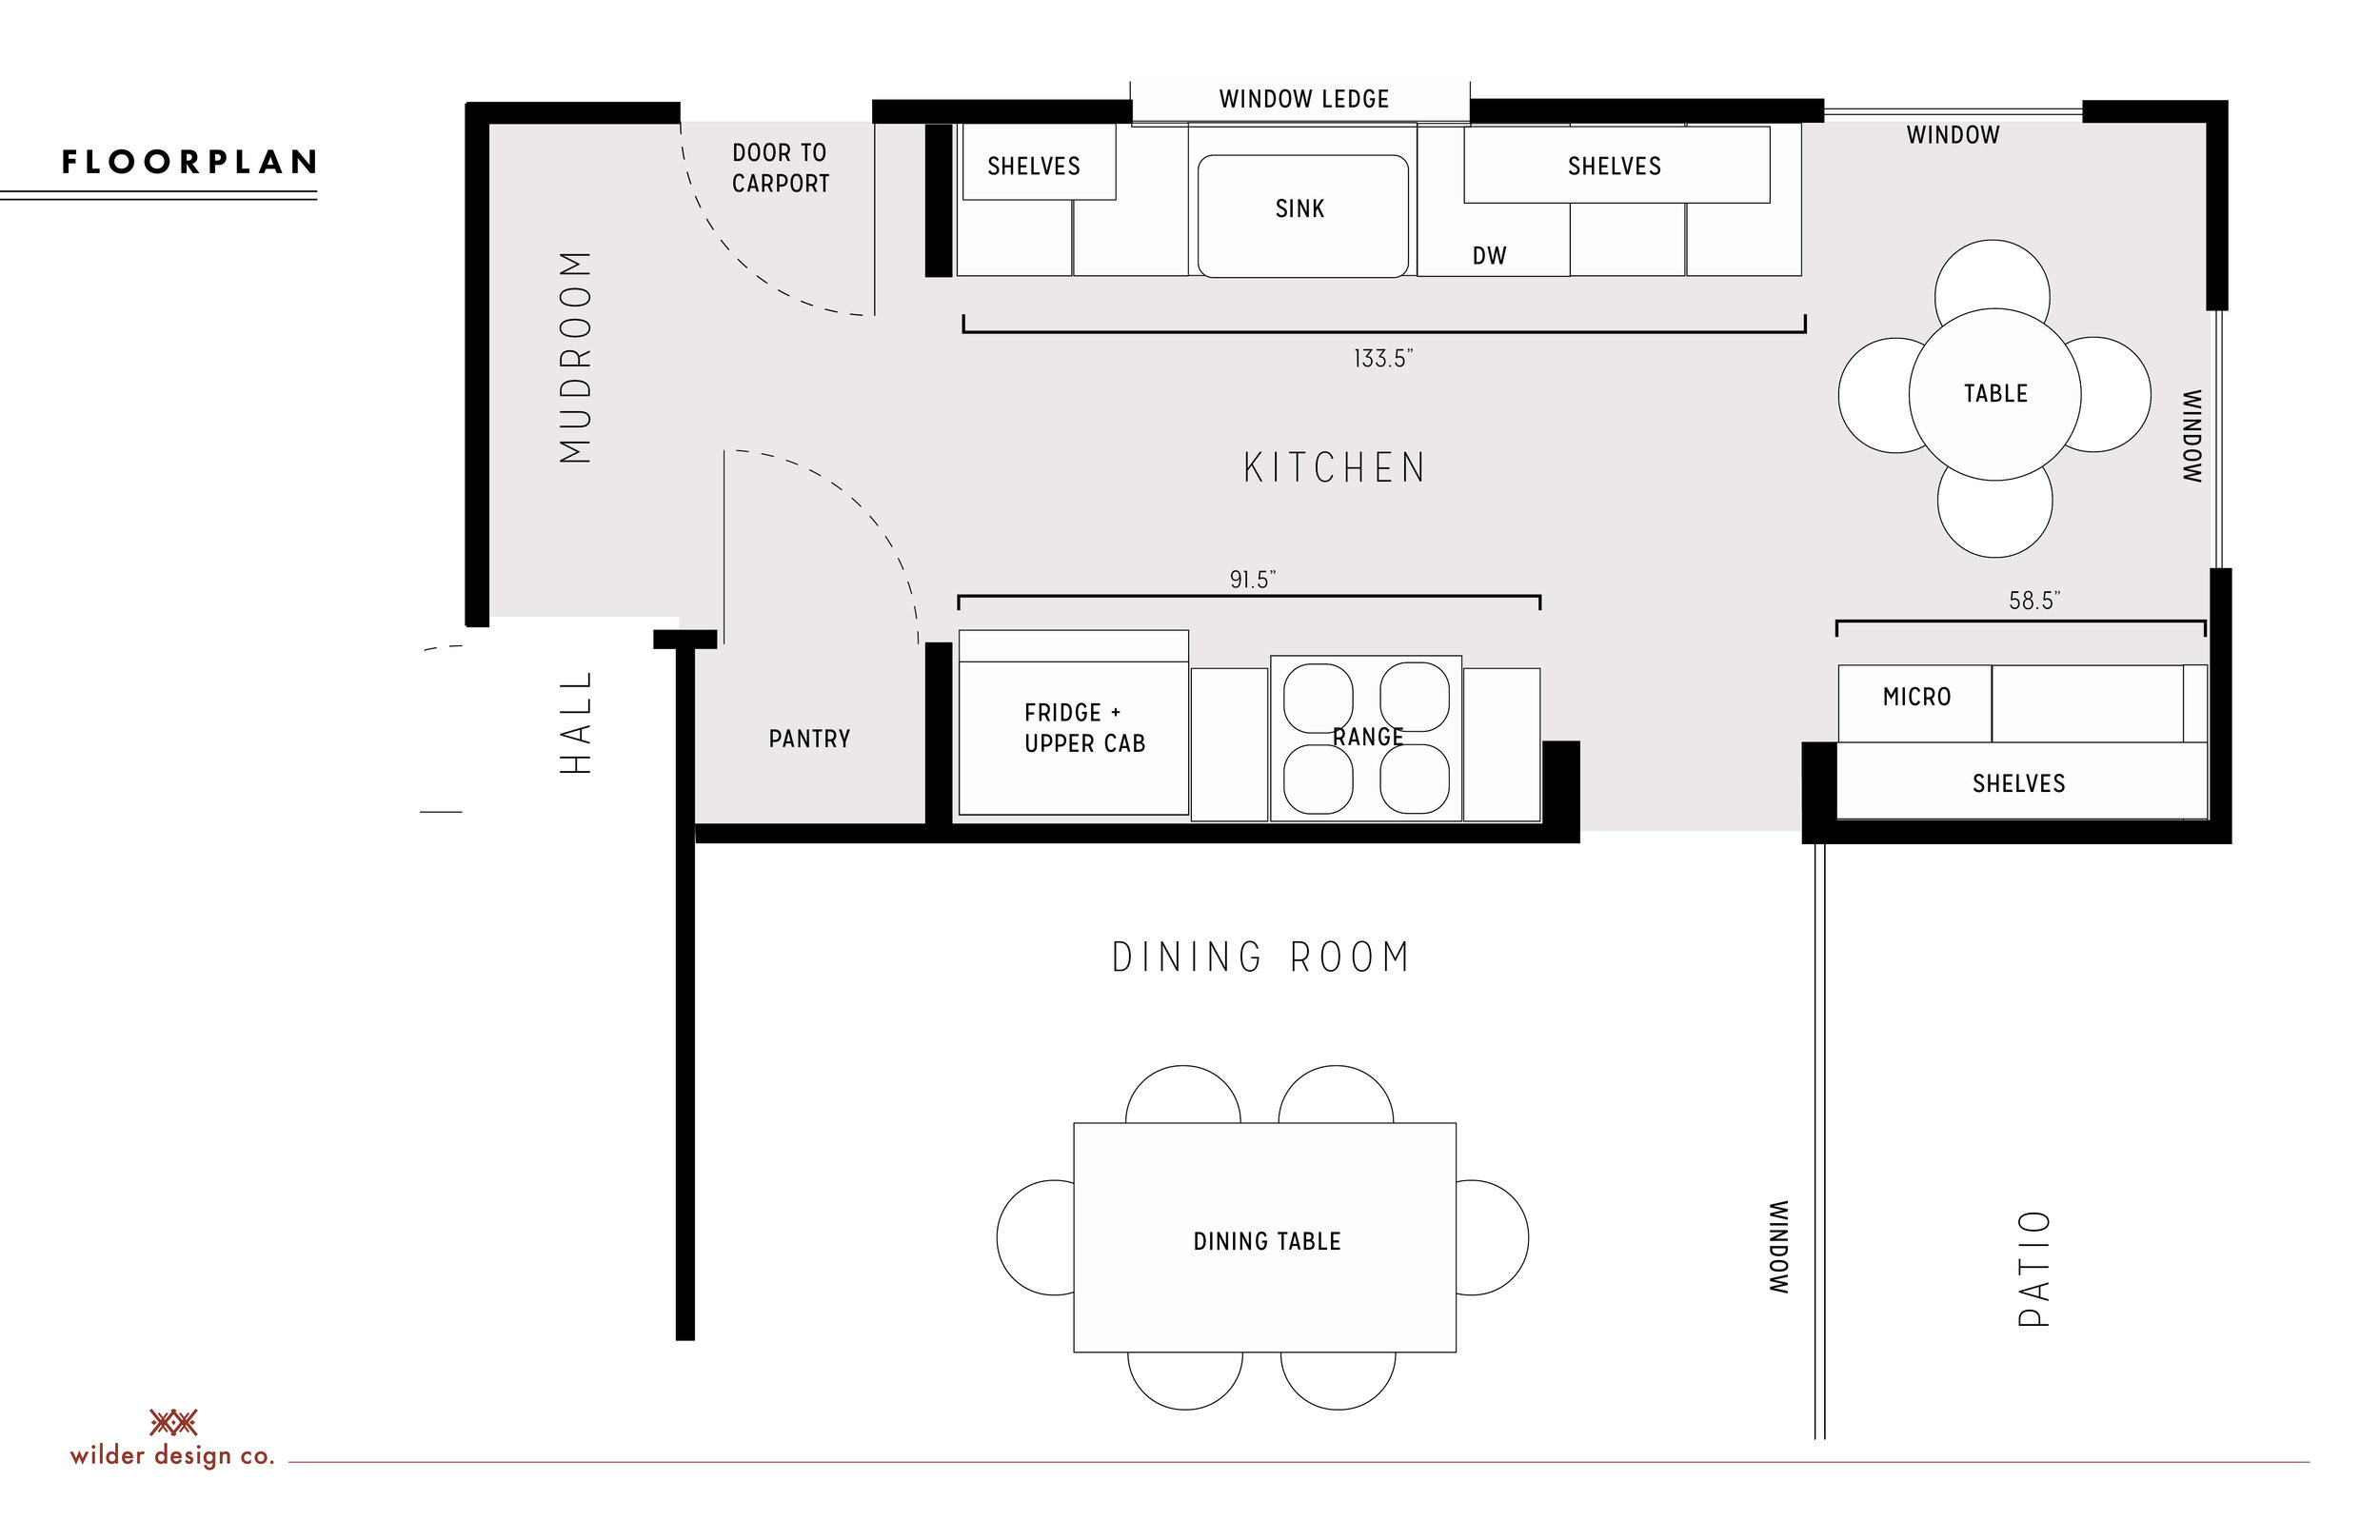
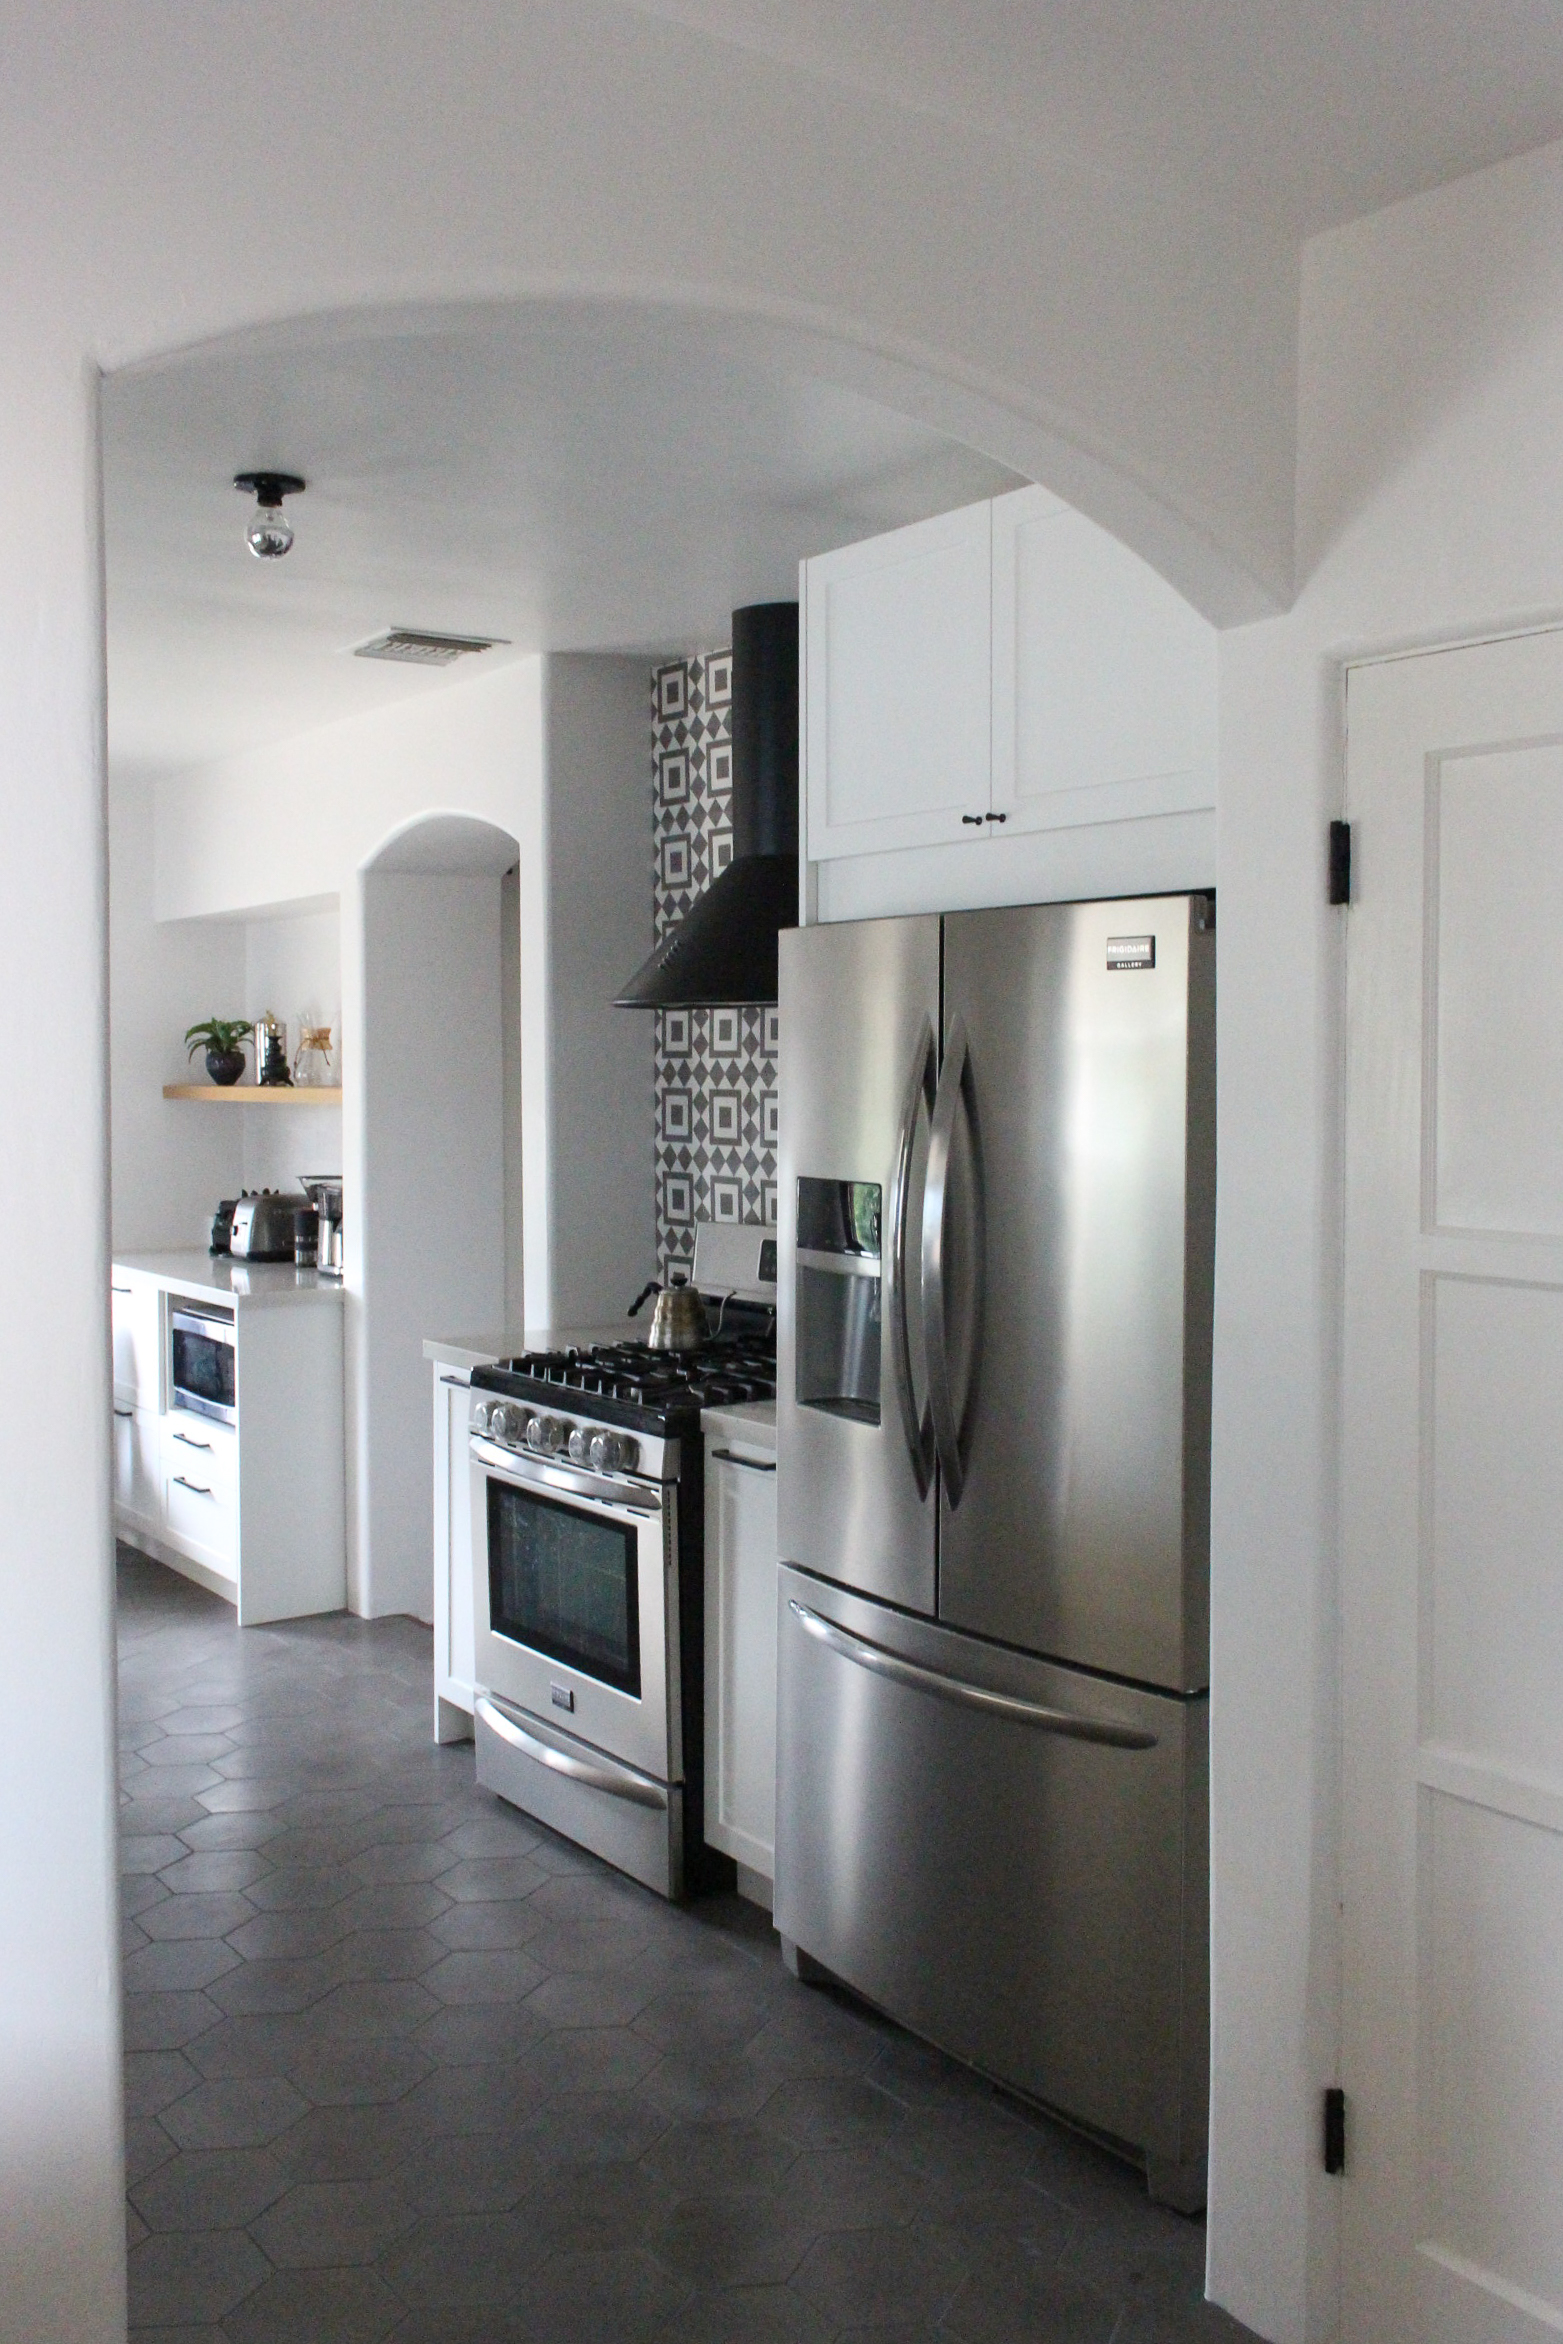
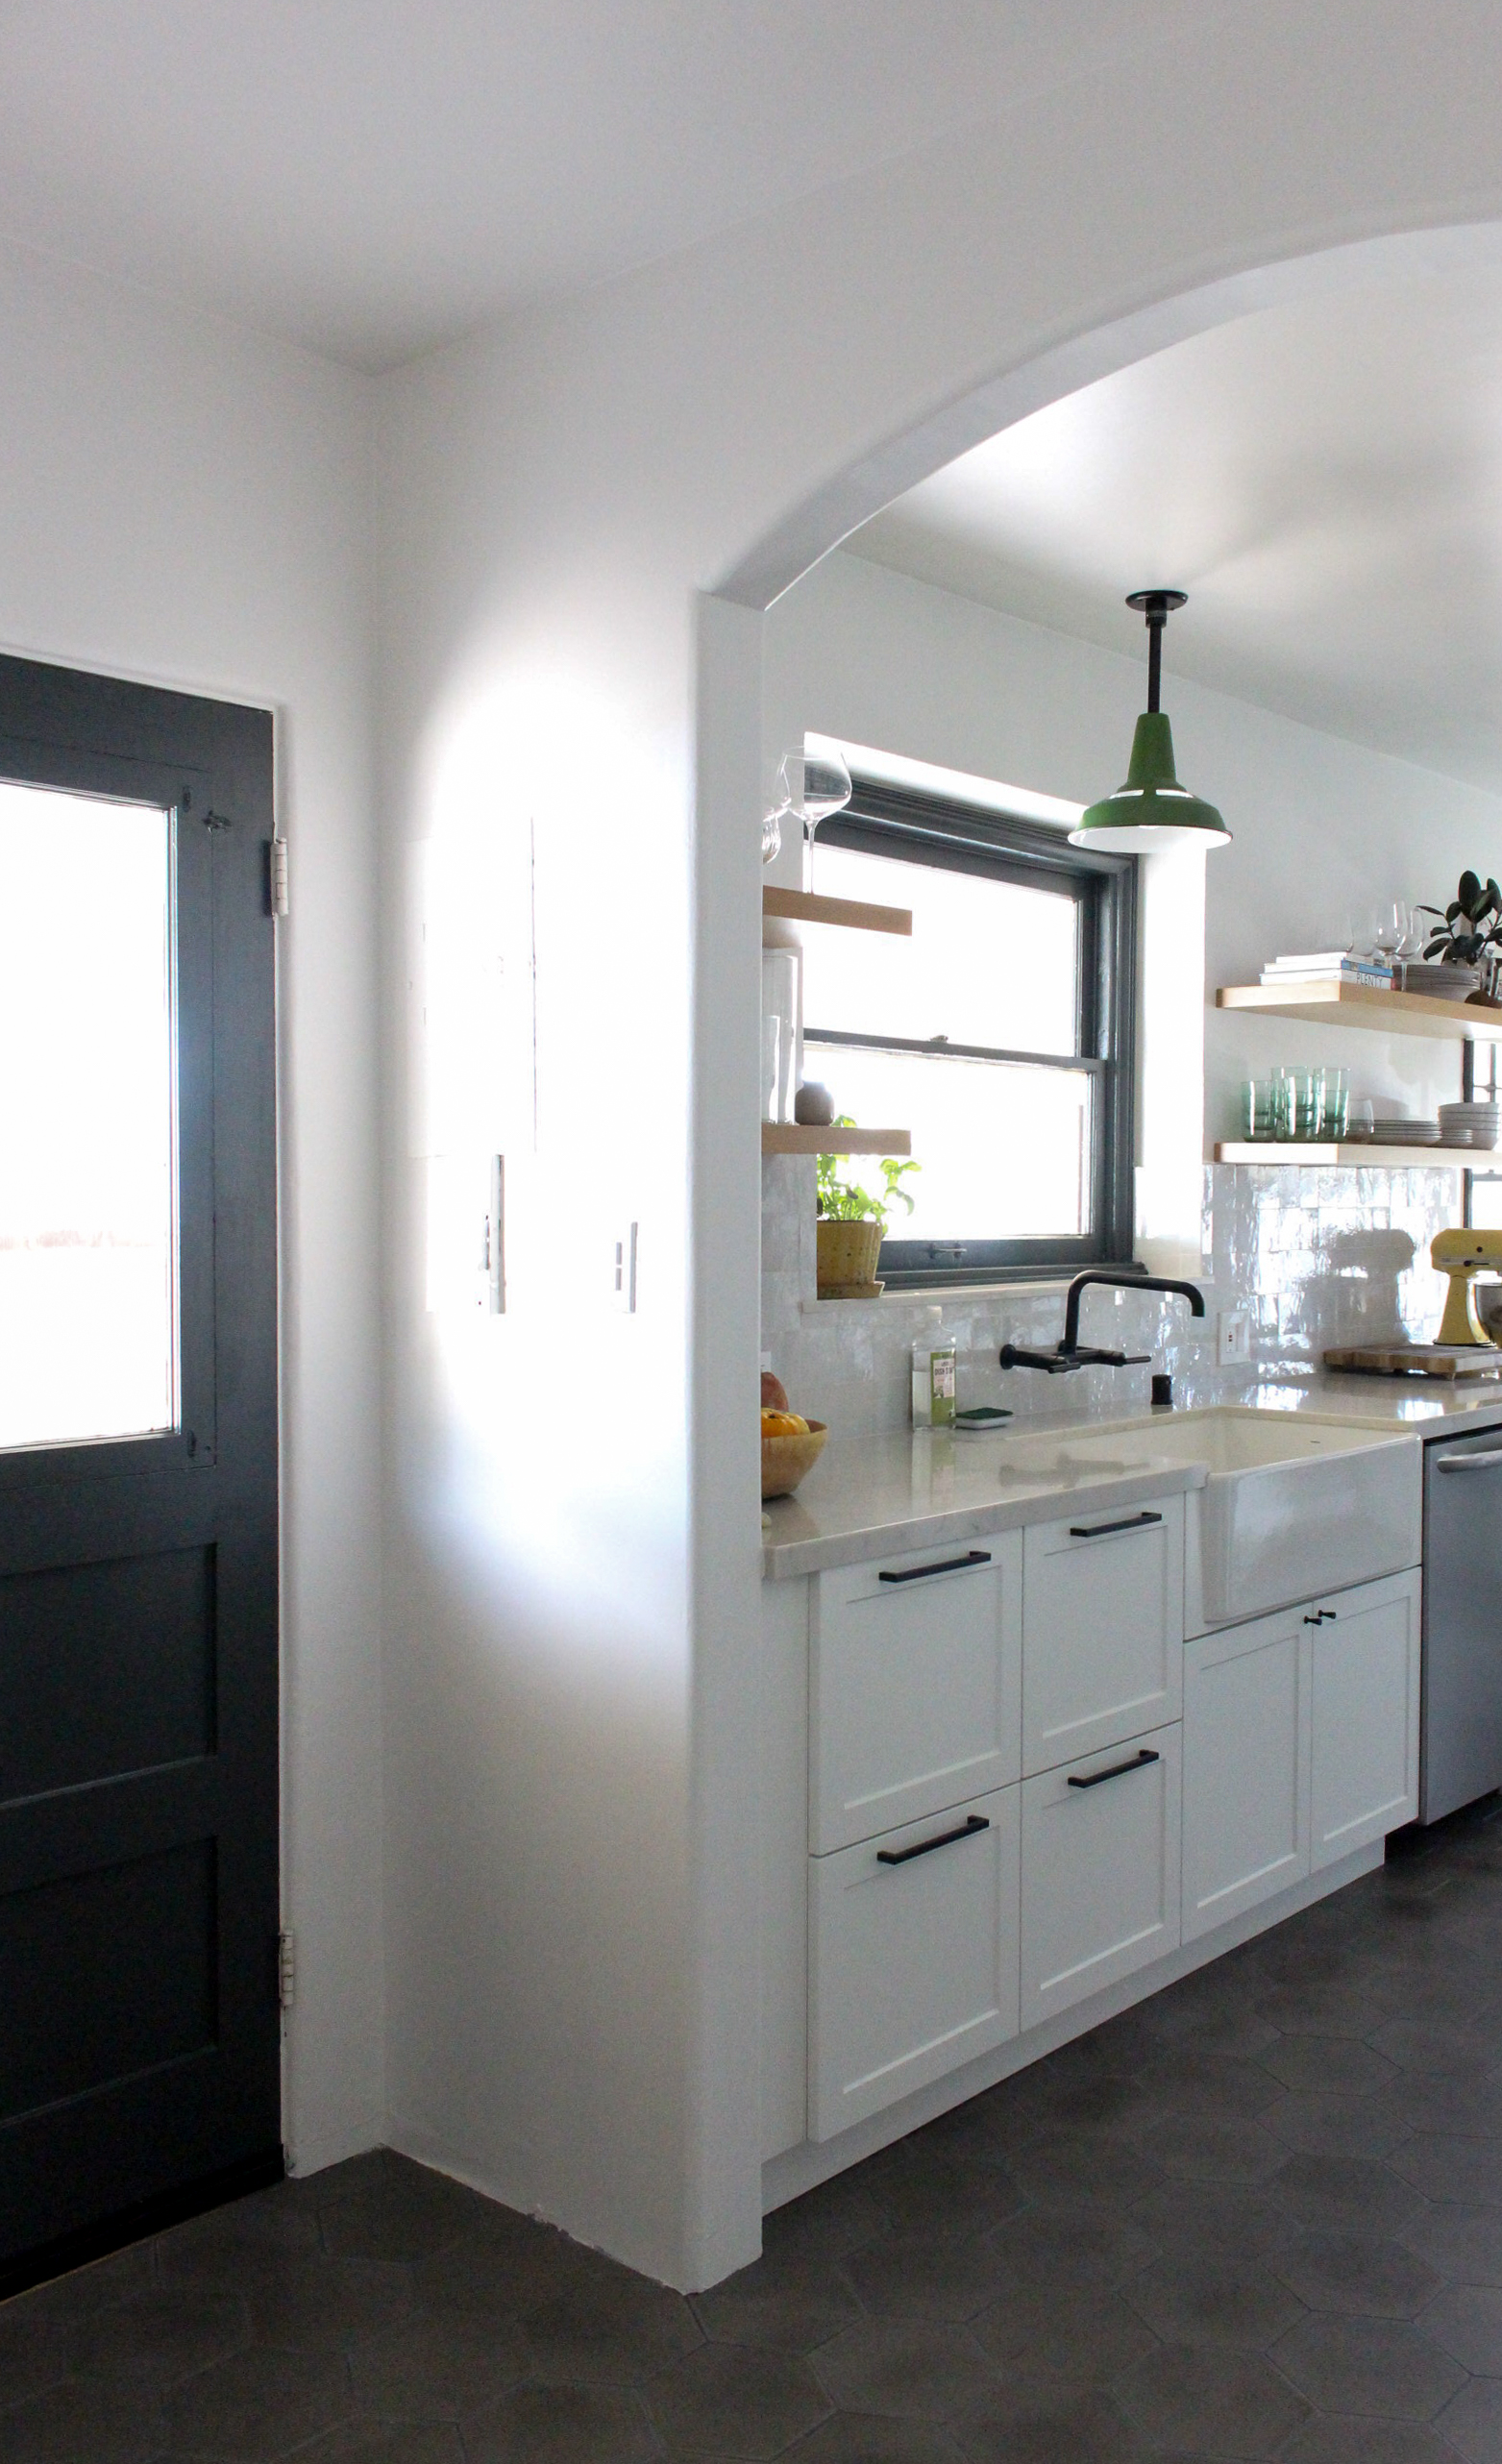
You may have noticed that we left the wall between the dining and kitchen intact. This was done mainly for budget reasons, but also made a lot more sense when it came to the dining room side of the wall. Keeping the wall preserves the integrity of the original kitchen which kept the space separate and special, not to mention giving us space to put a graphic backsplash! We did need more room to make the kitchen more functional, so instead of going for open concept, we decided to widen the existing entries into the kitchen to make it feel wider, as well as forgo upper cabinets to lighten things up.

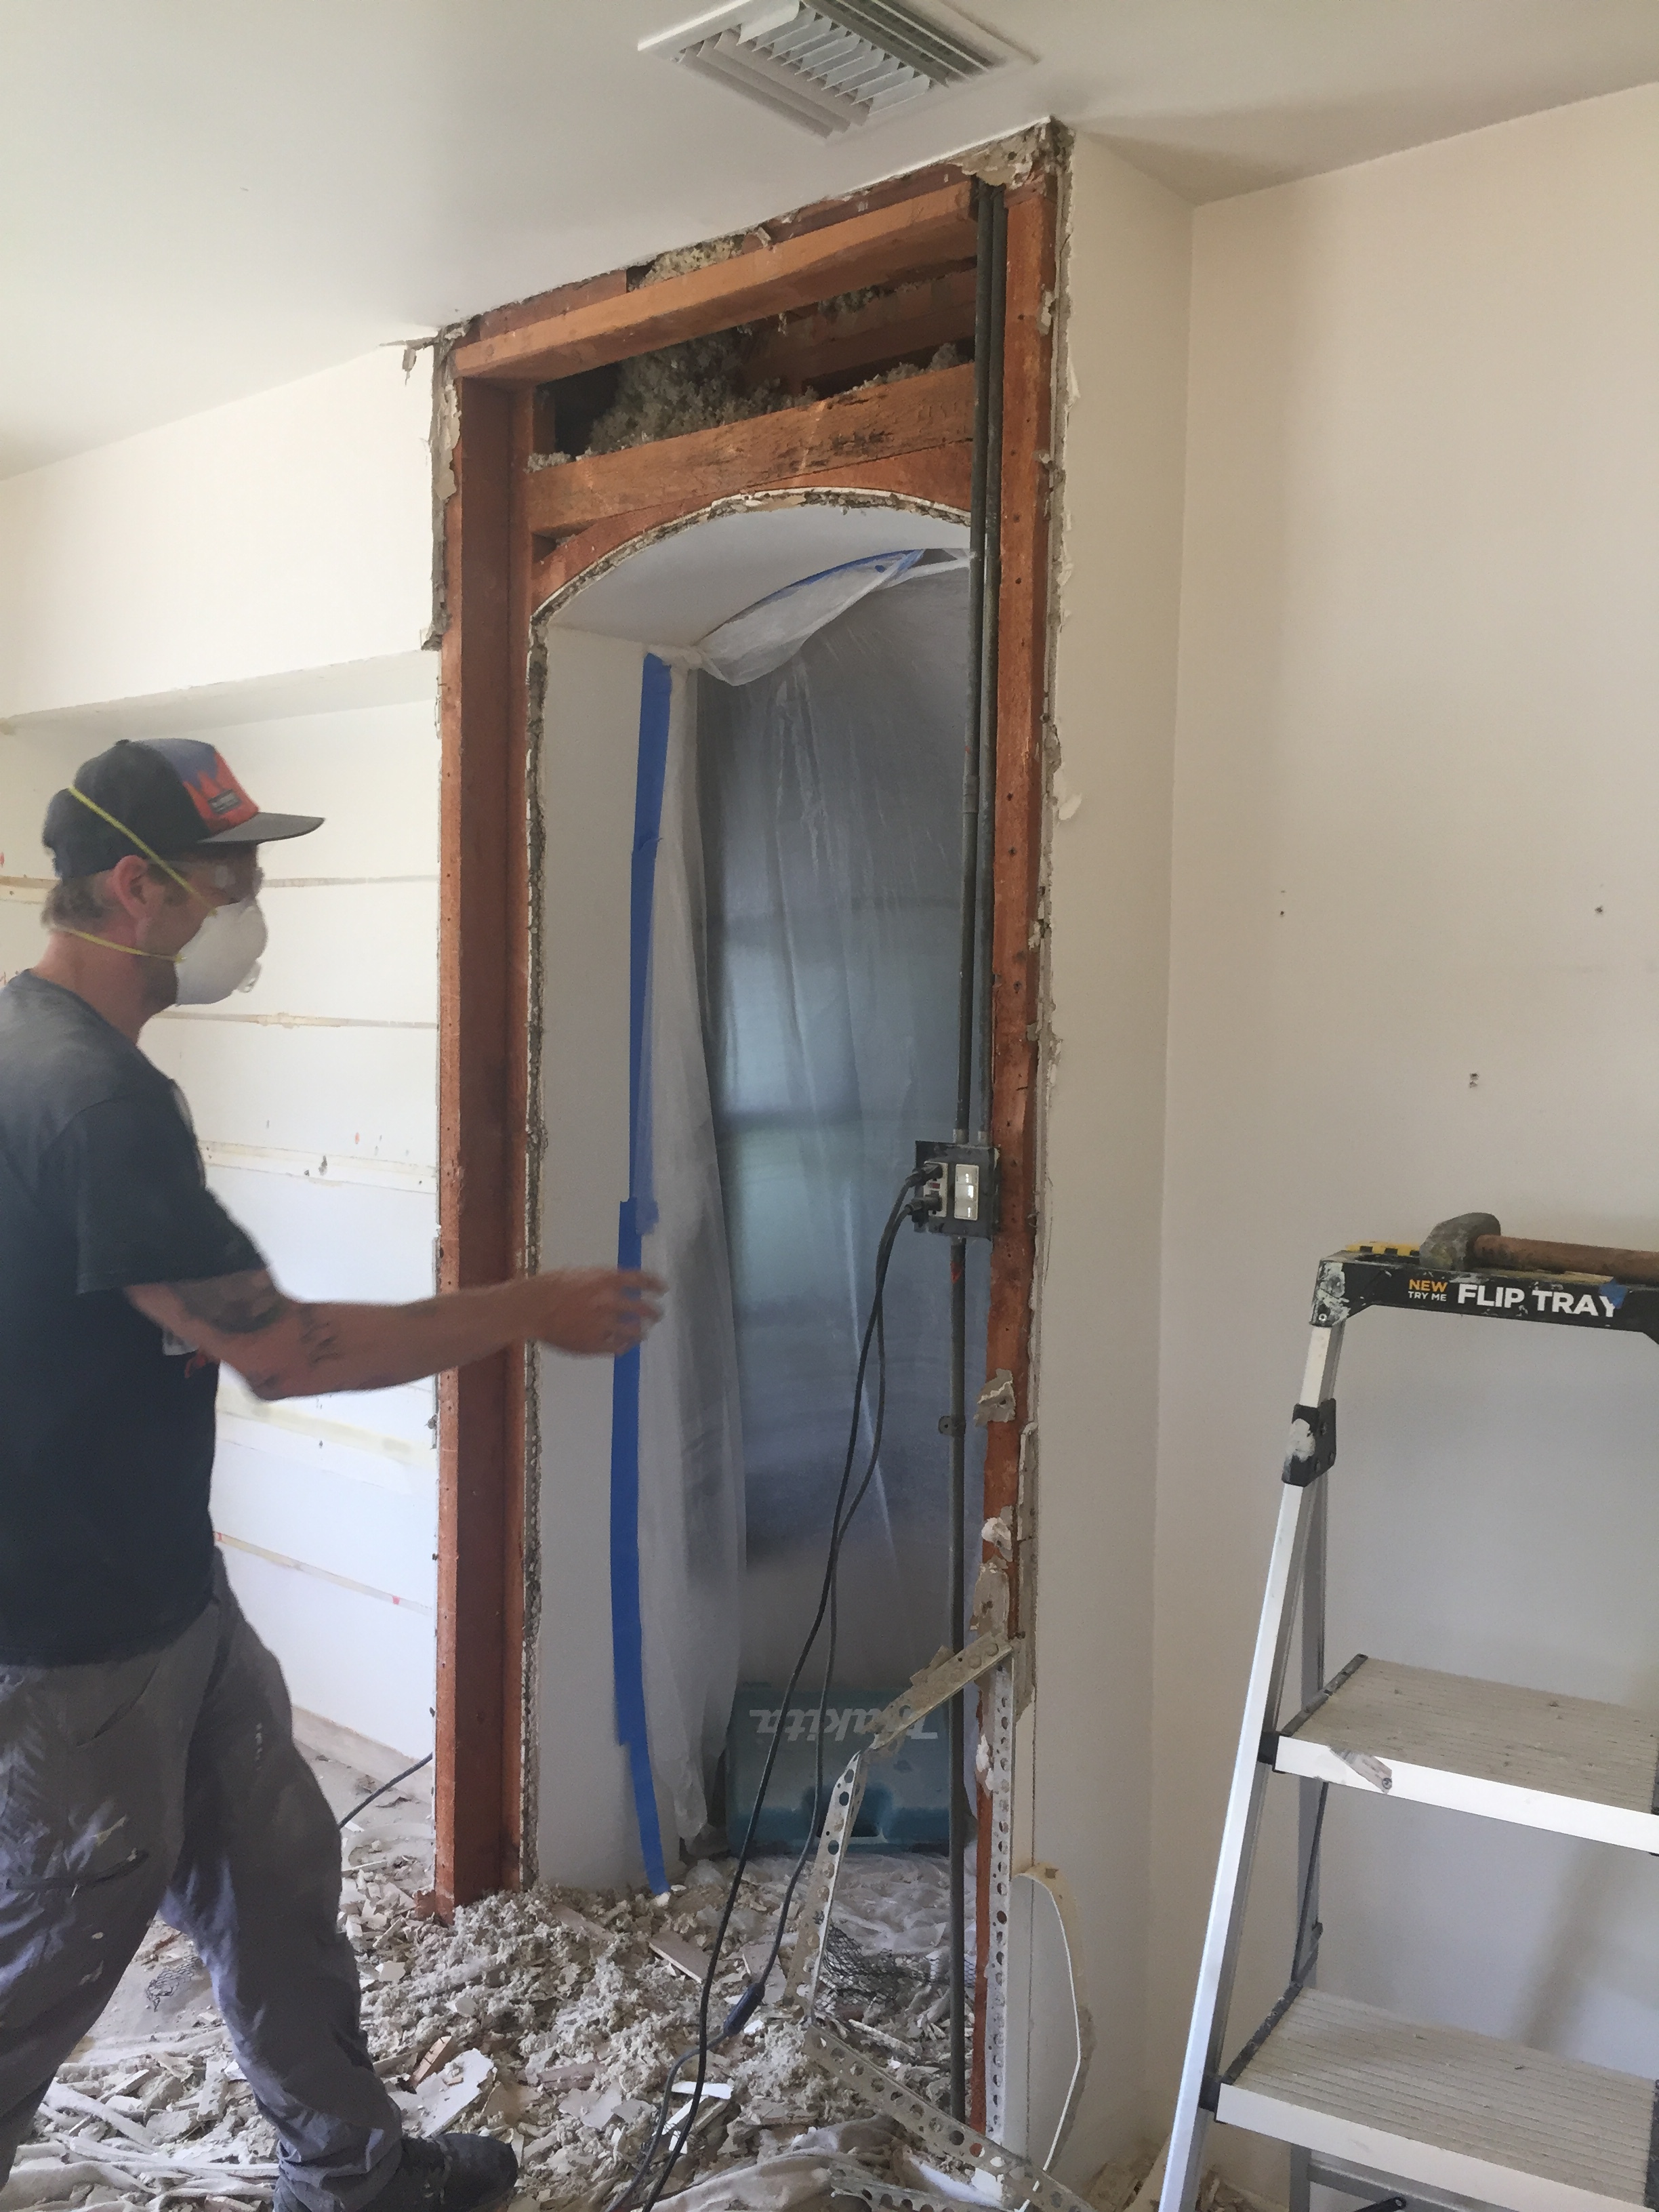
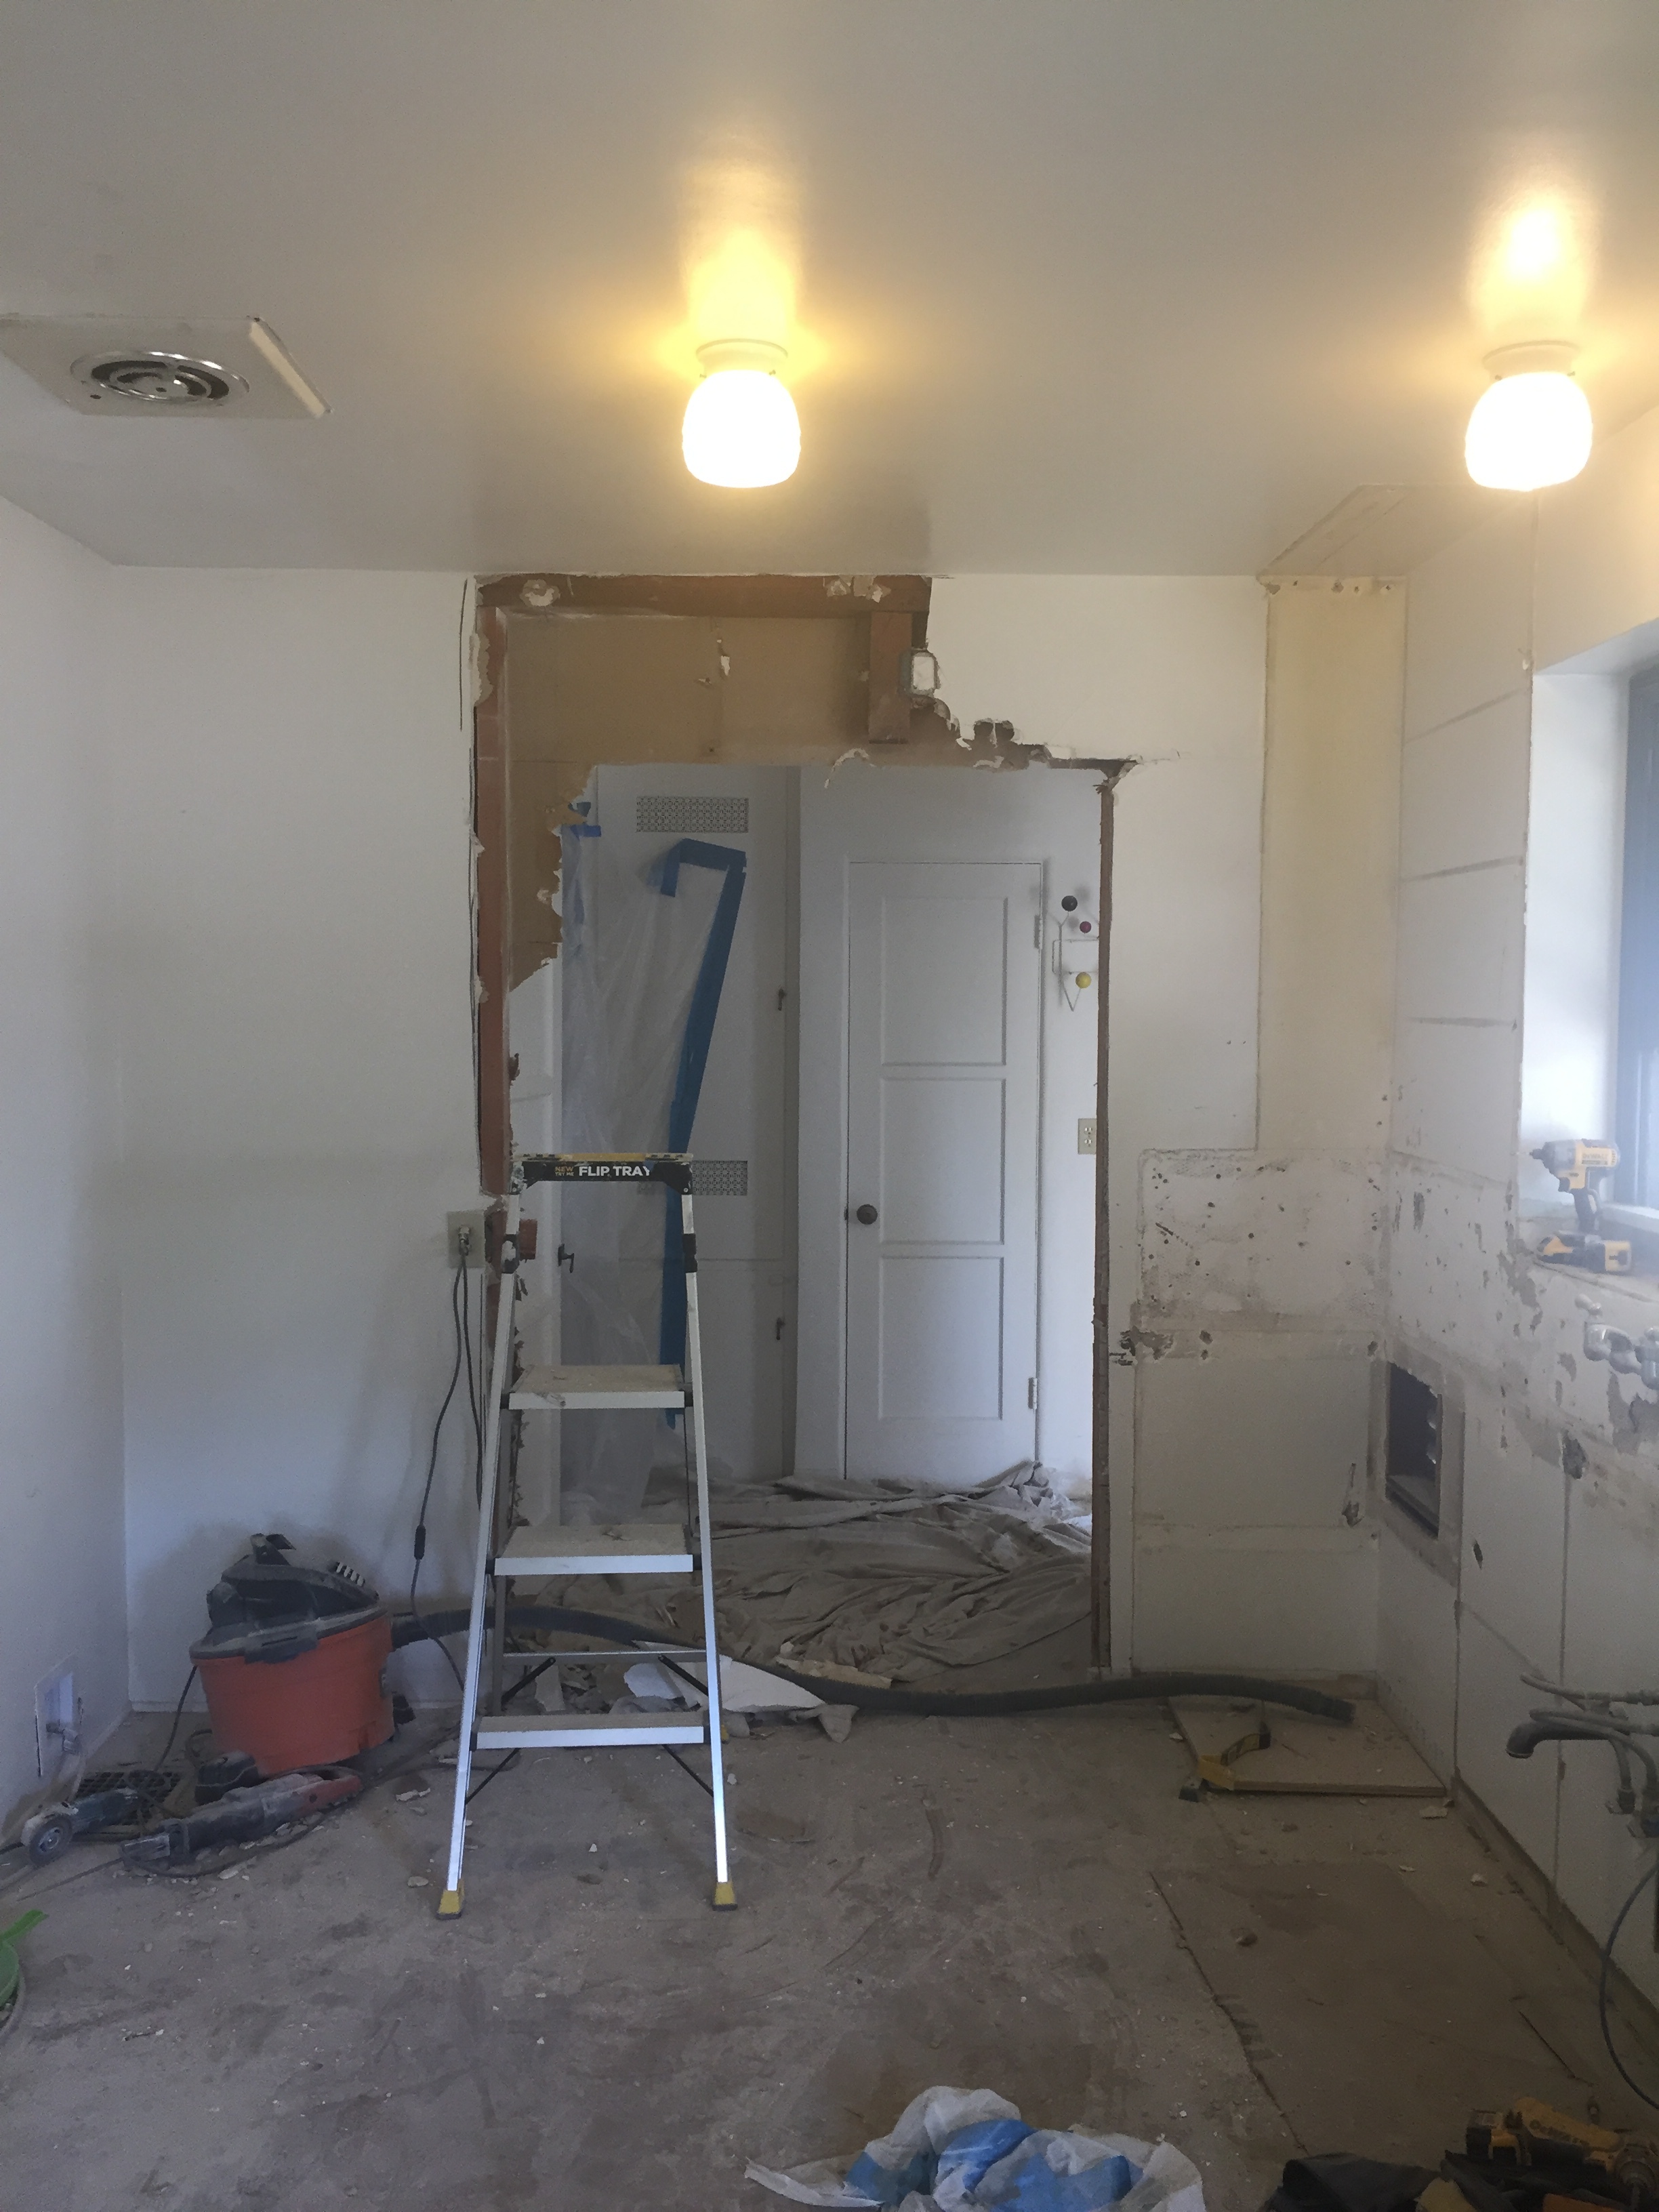
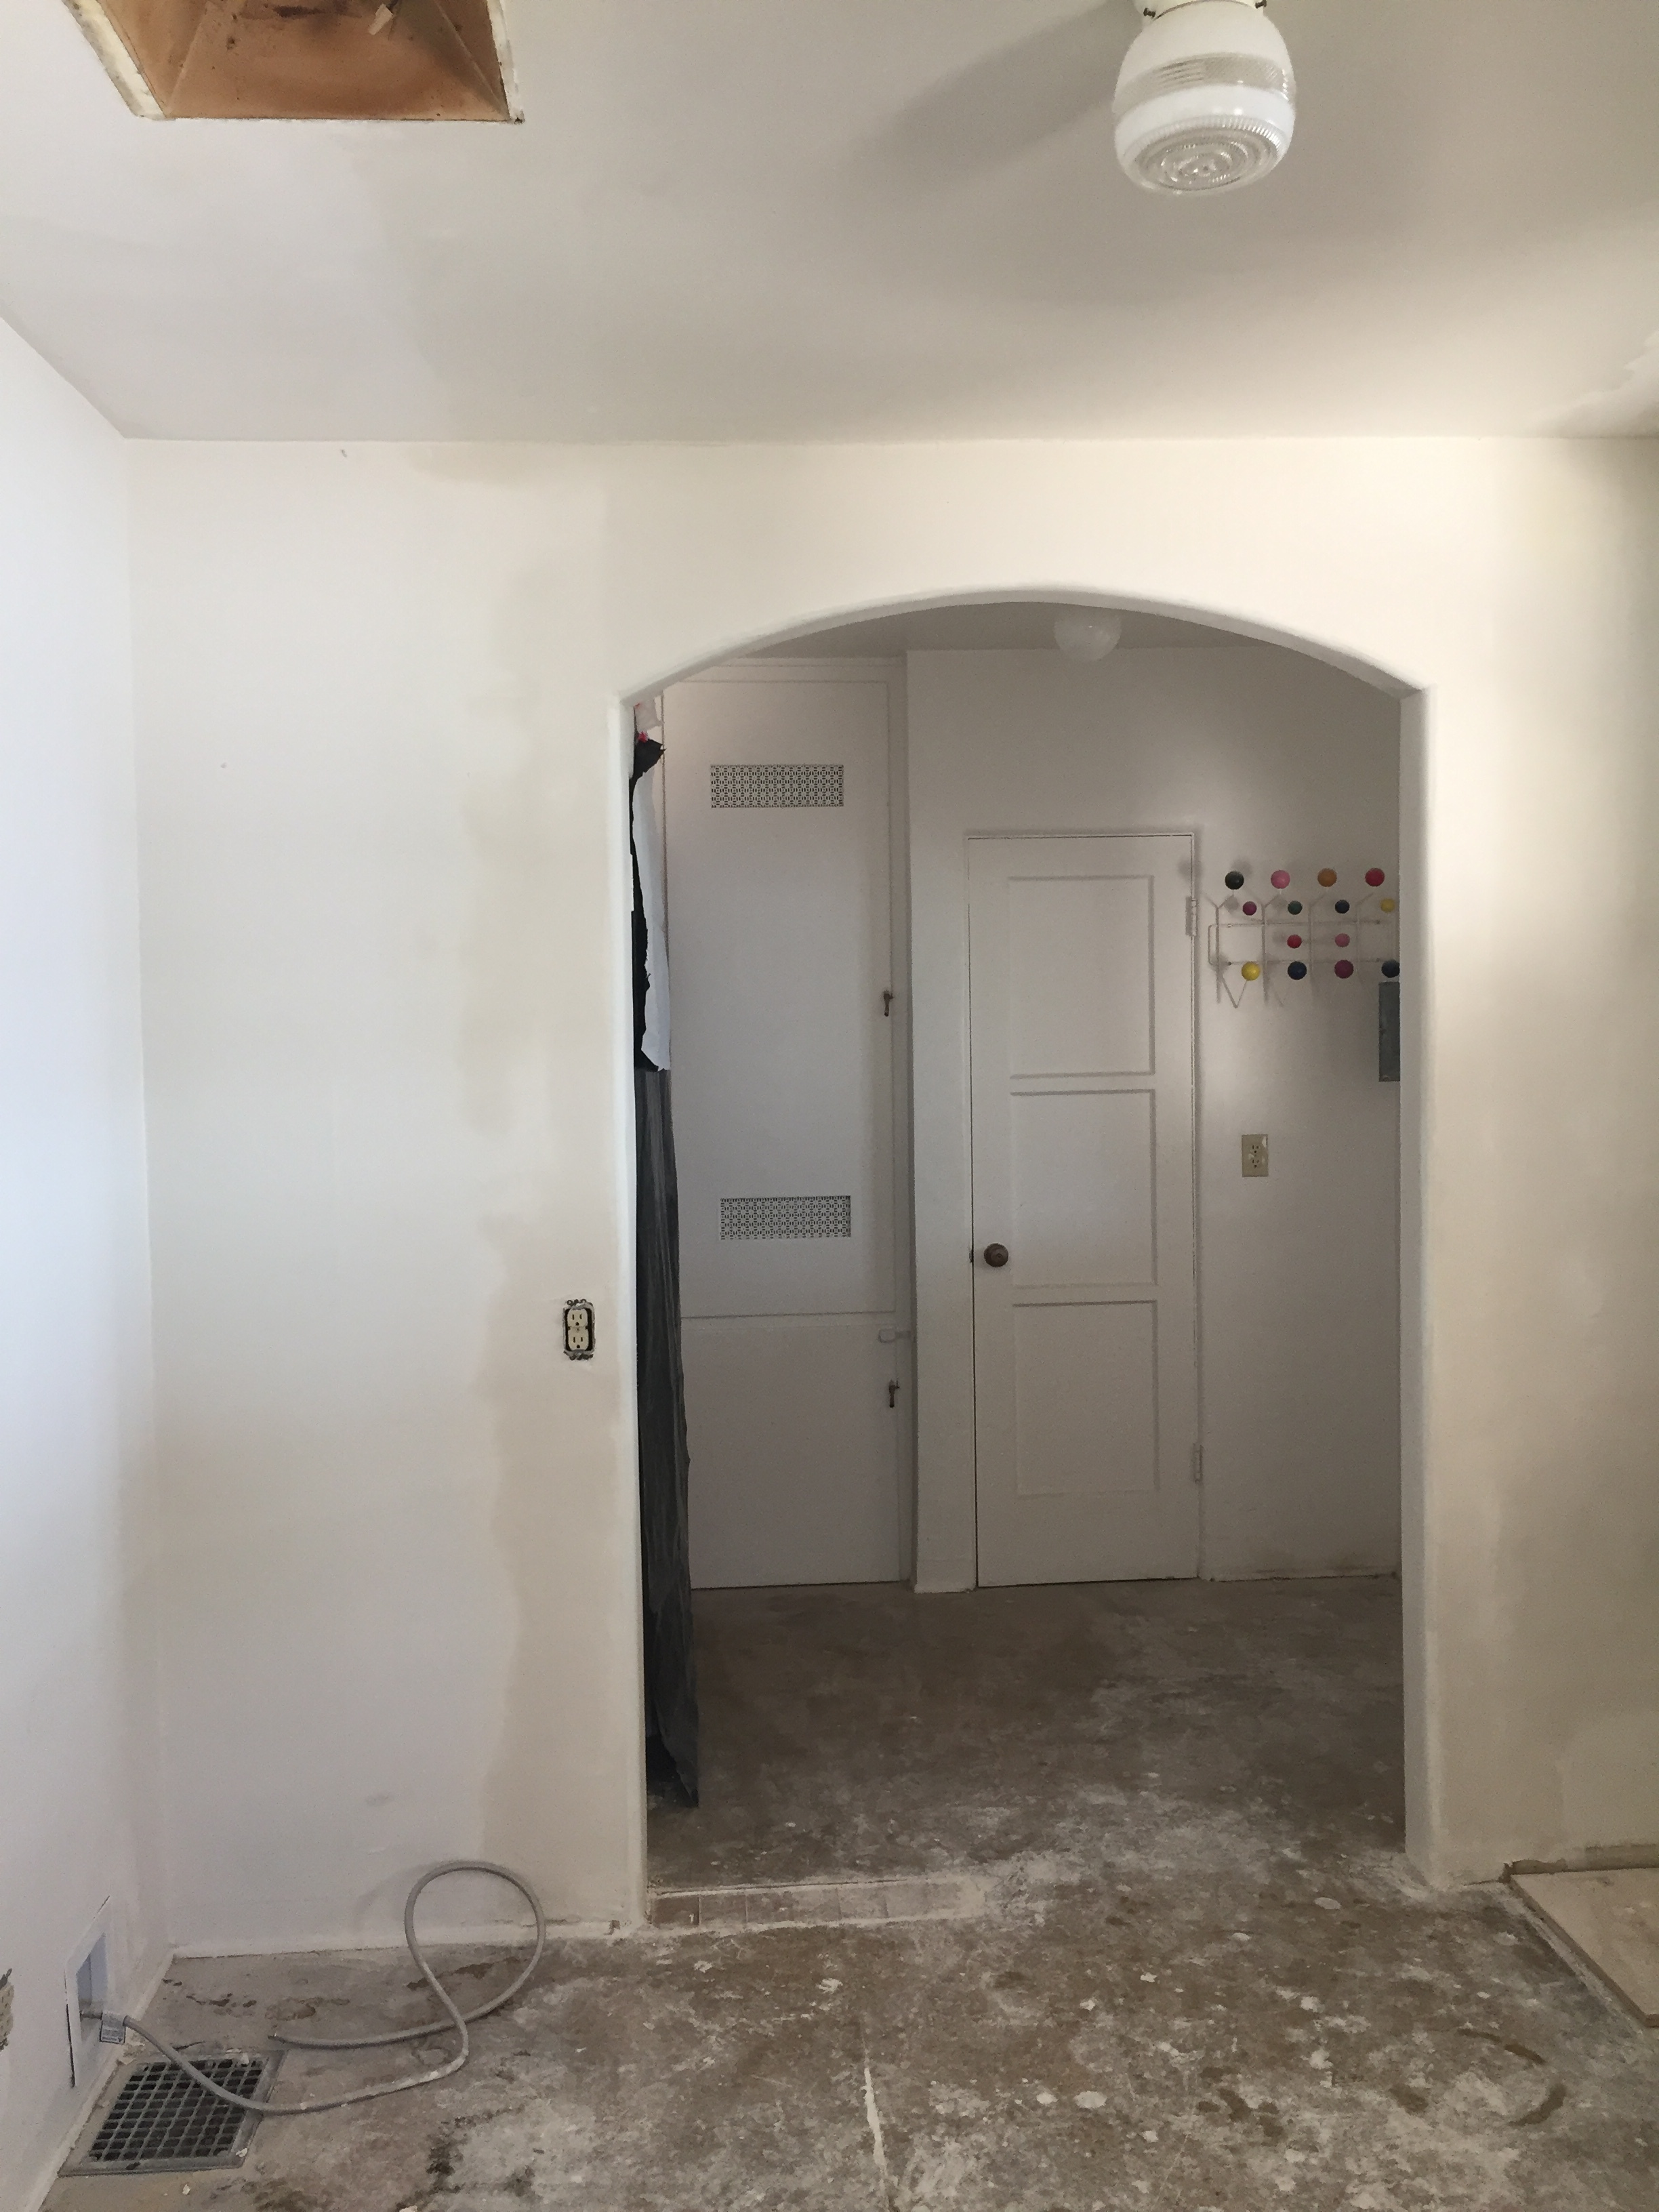
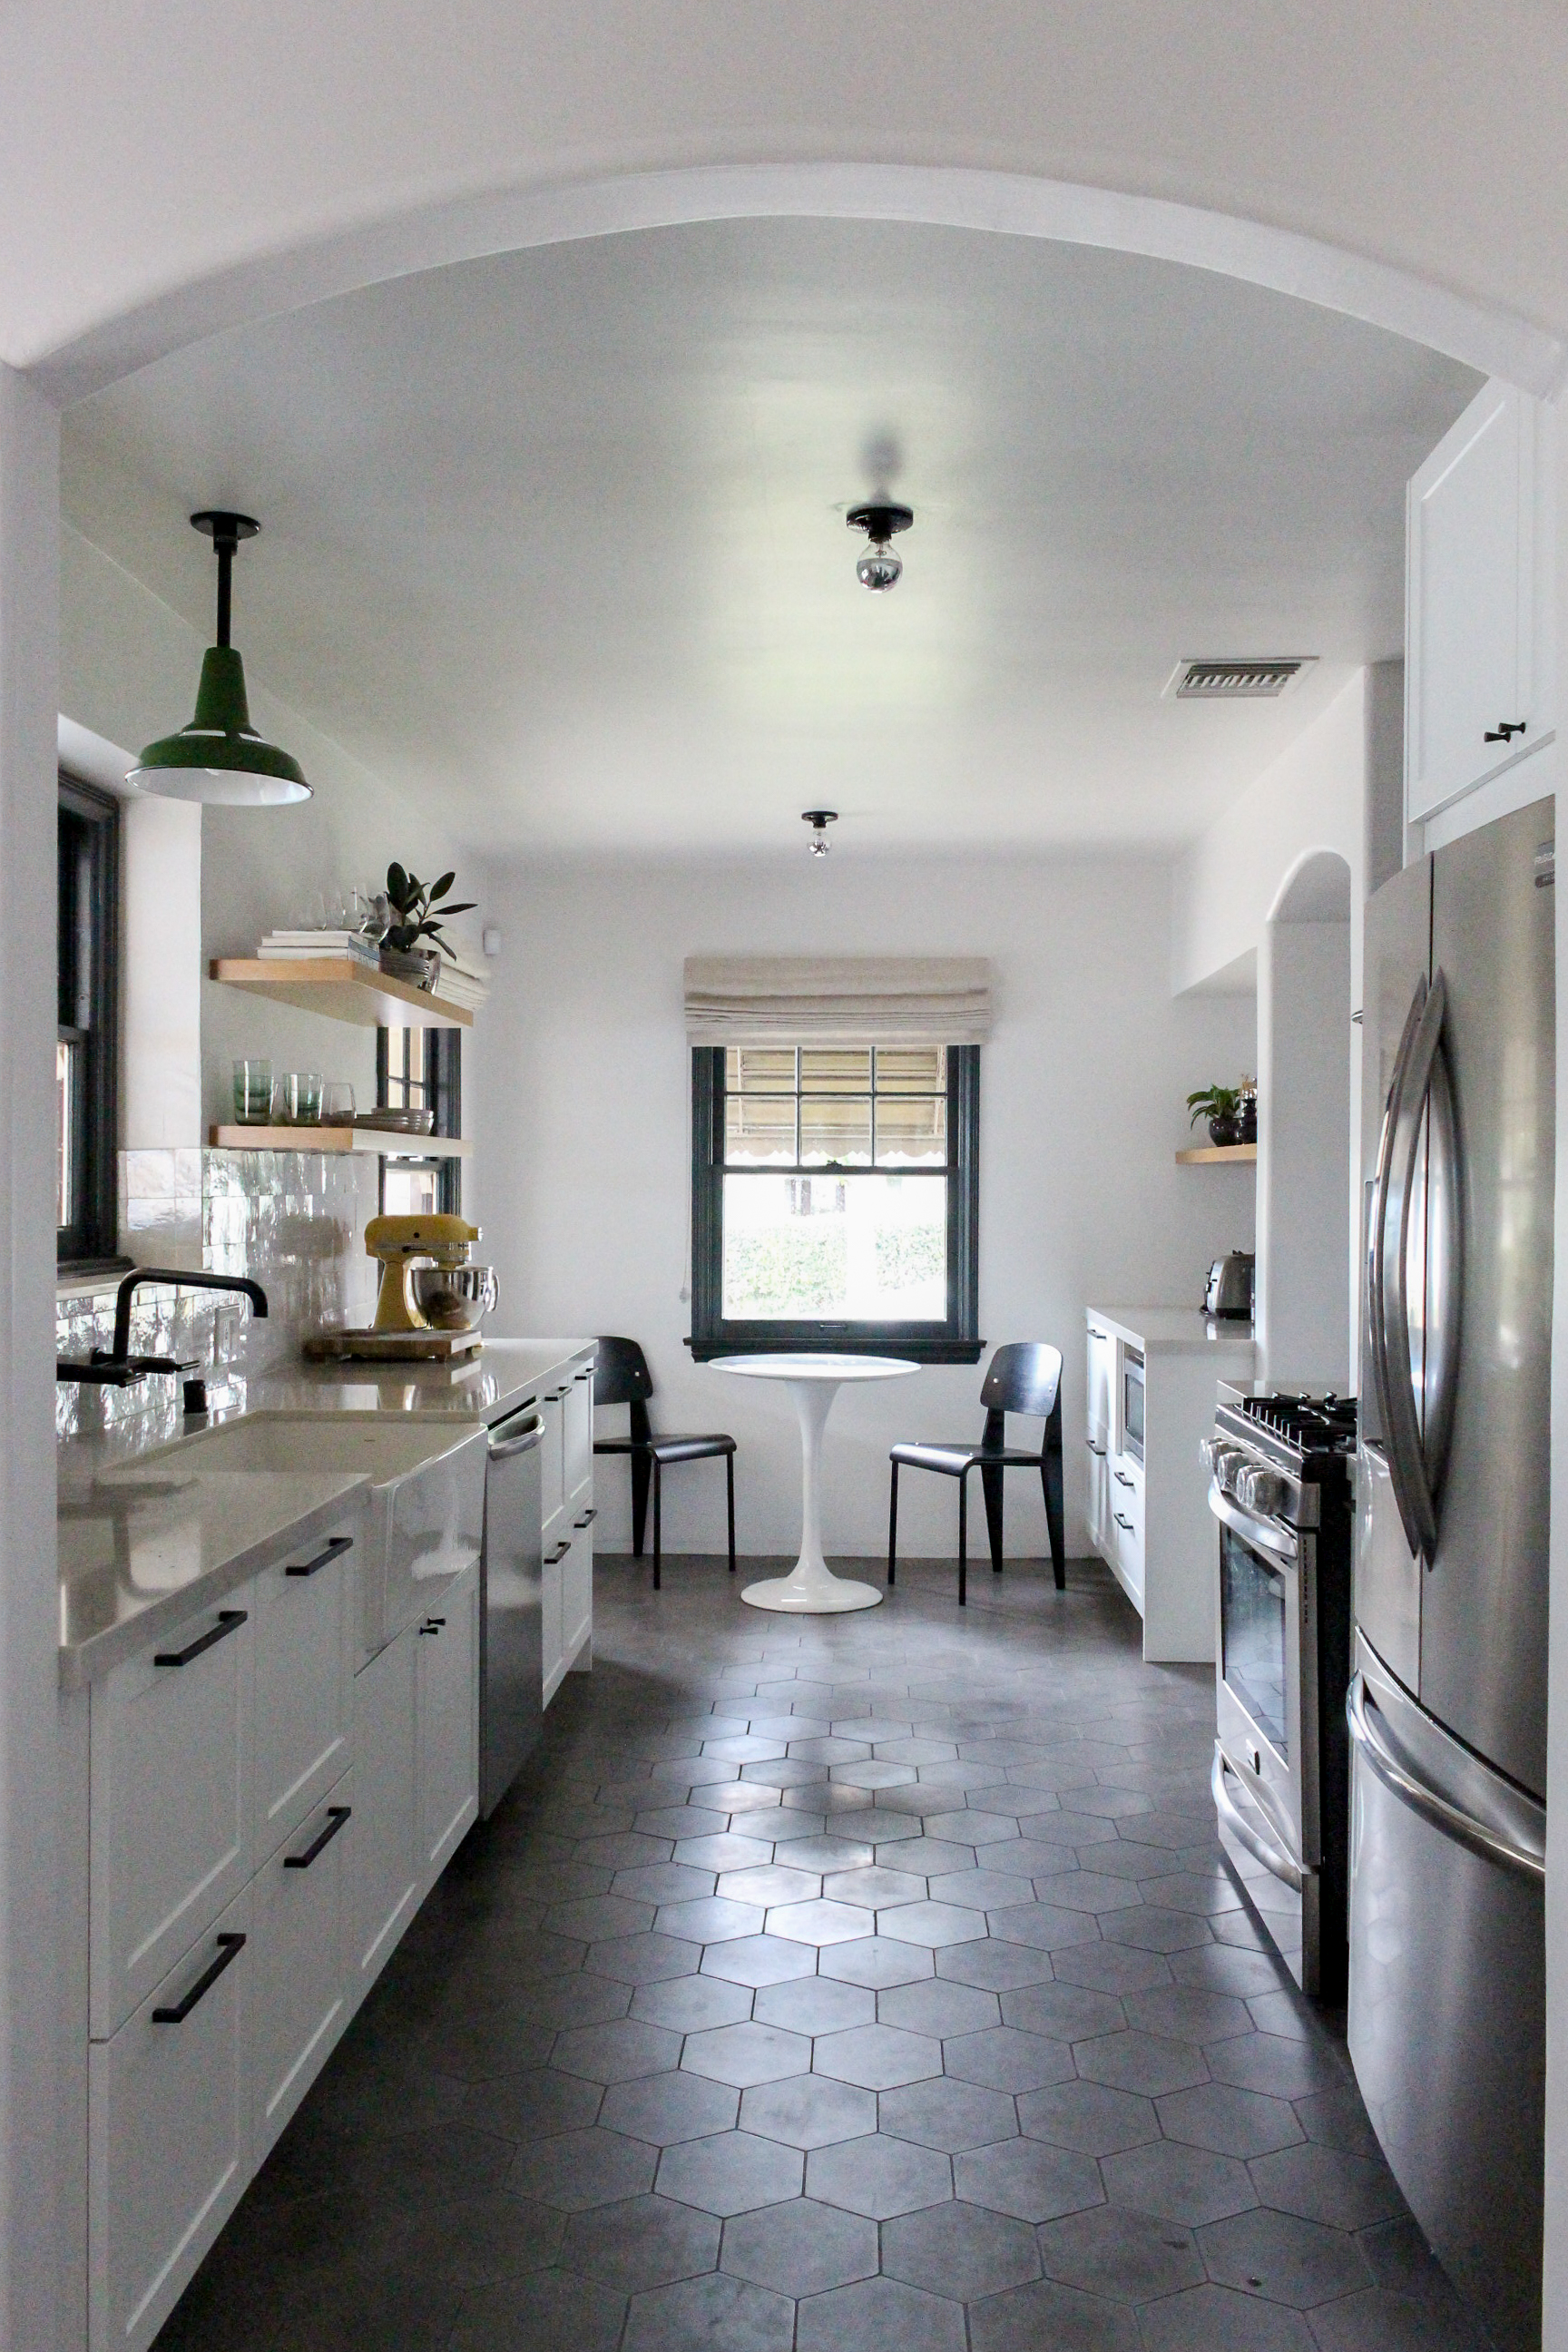
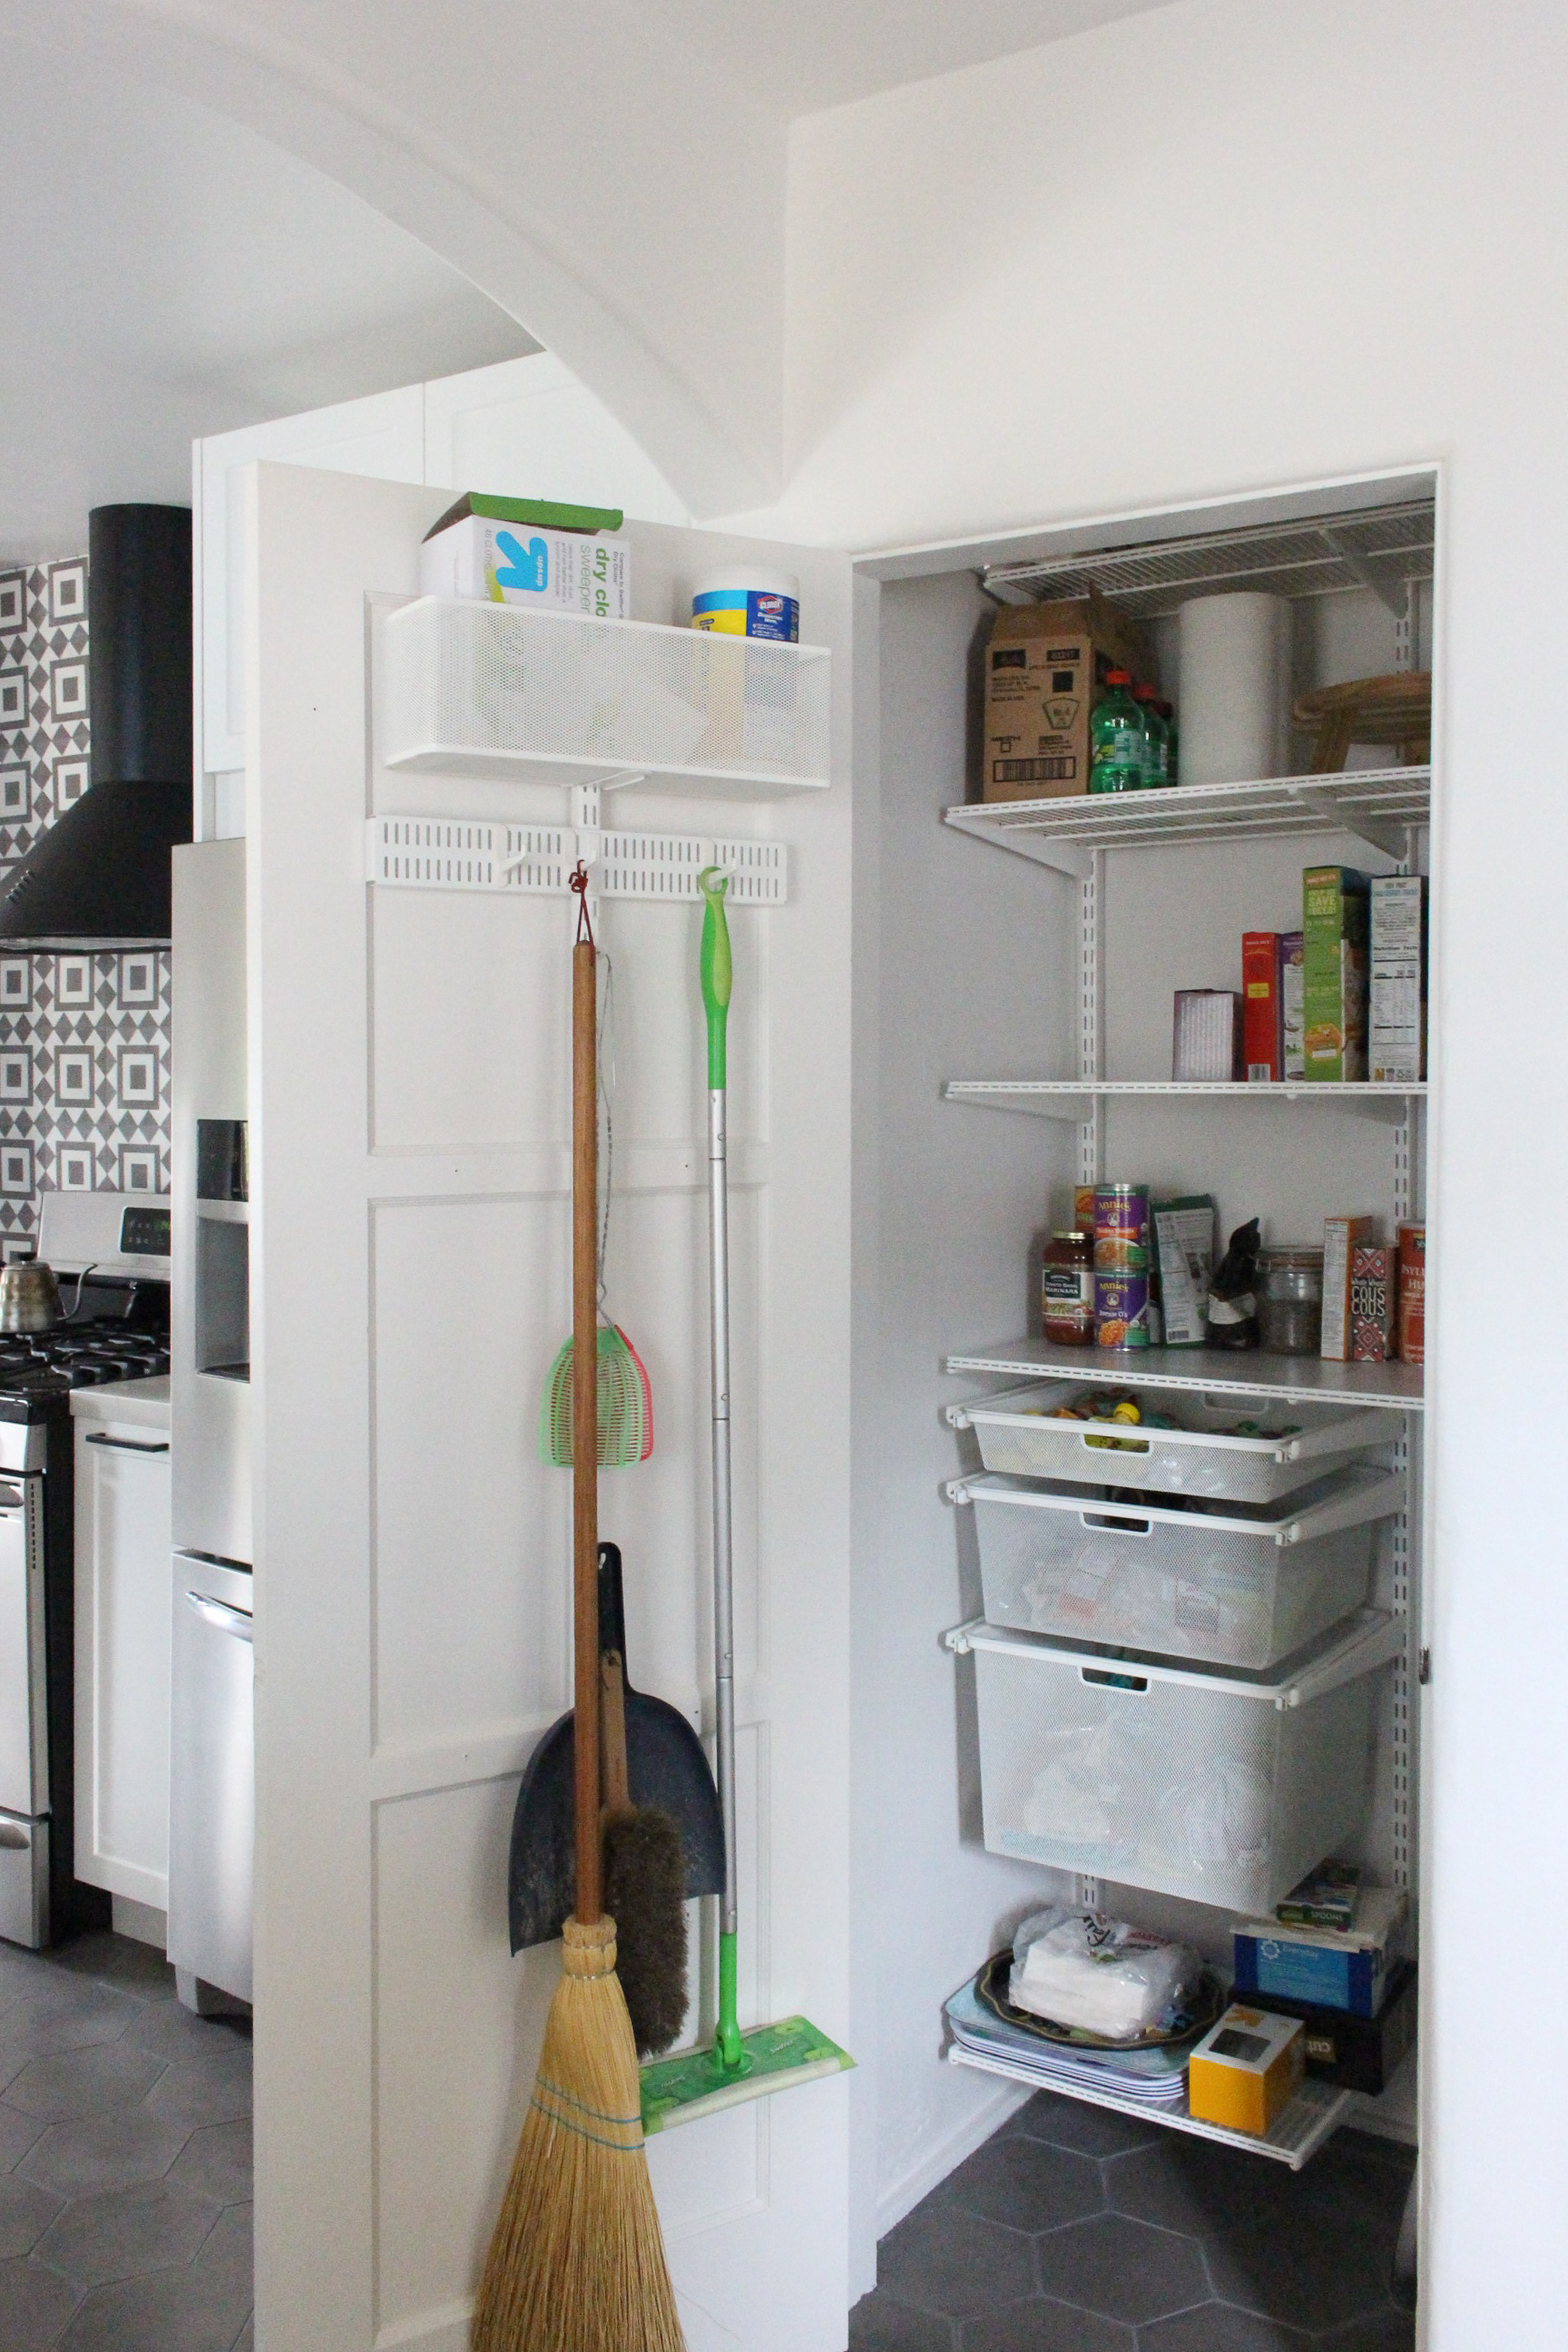
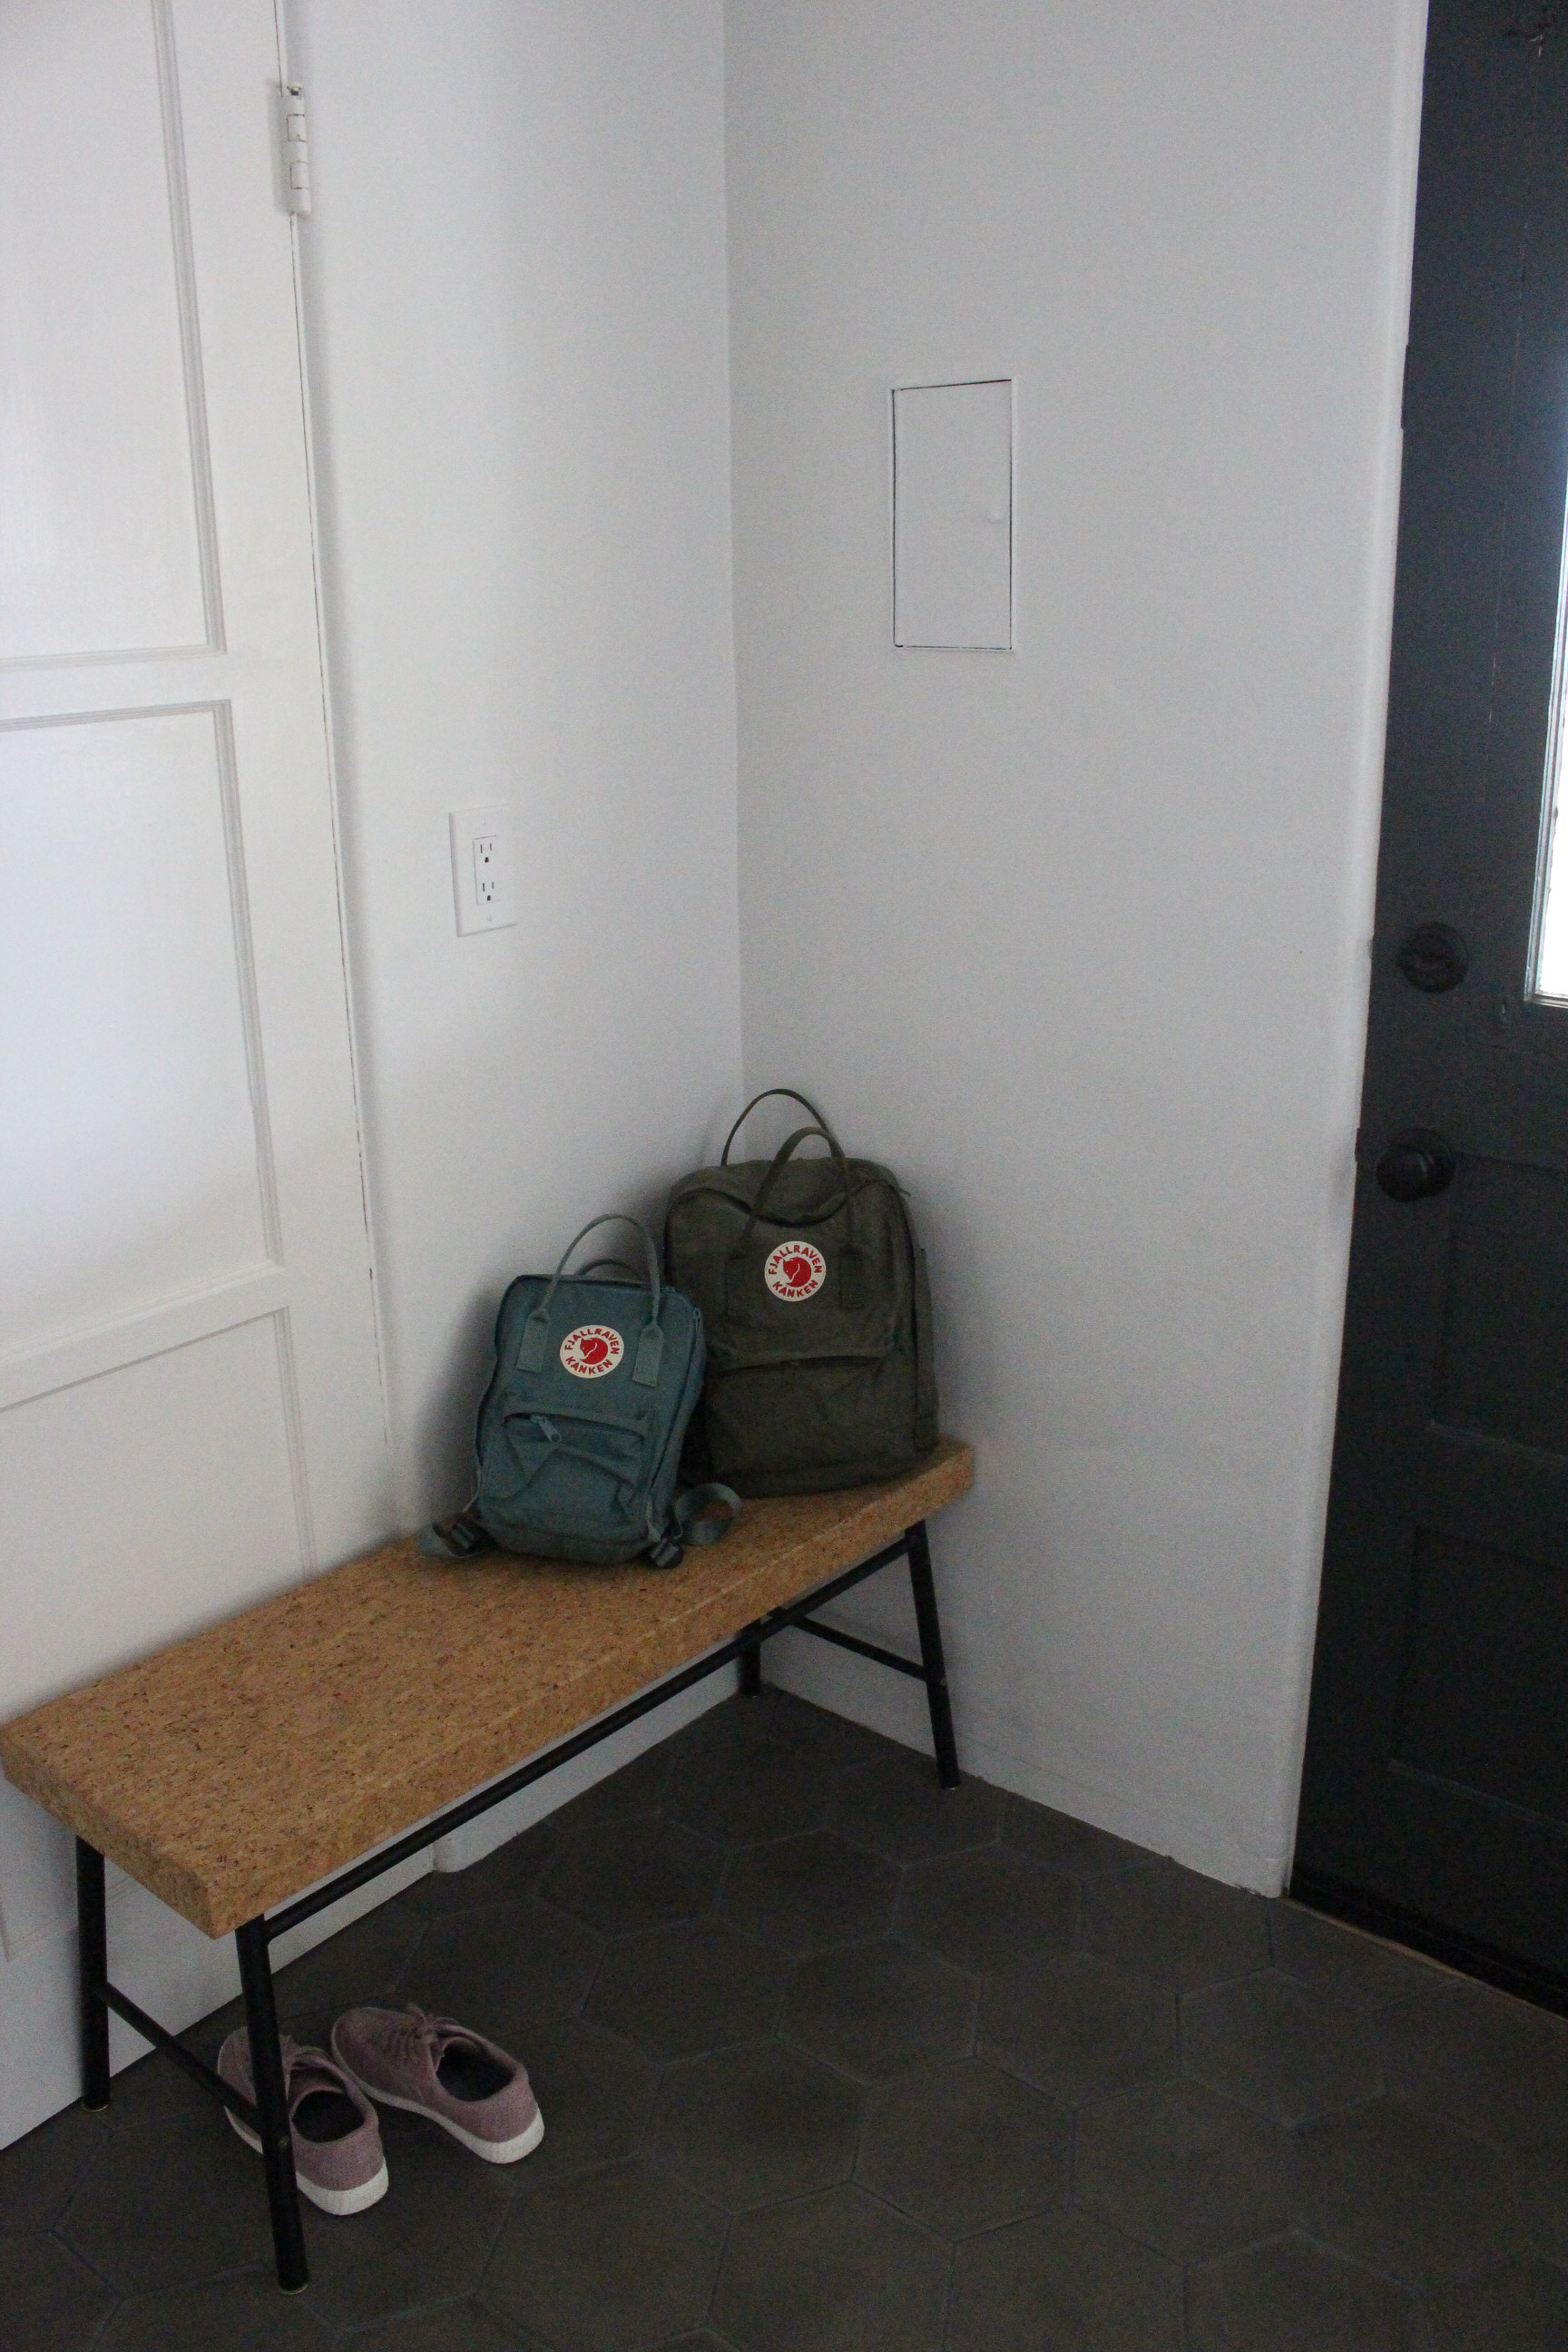
But the mudroom was always a head scratcher for us, it was too small to function on its own, and seemed to chop up the flow when entering from the hall or carport. So we decided to remove a portion of the wall that had a fold out ironing board in it and make the entrance into one large arch to connect with the arched entrance from the dining room. This allowed us to convert the broom closet into a pantry, which made much more sense functionally, especially since we were removing the upper cabinets.

Cabinets:

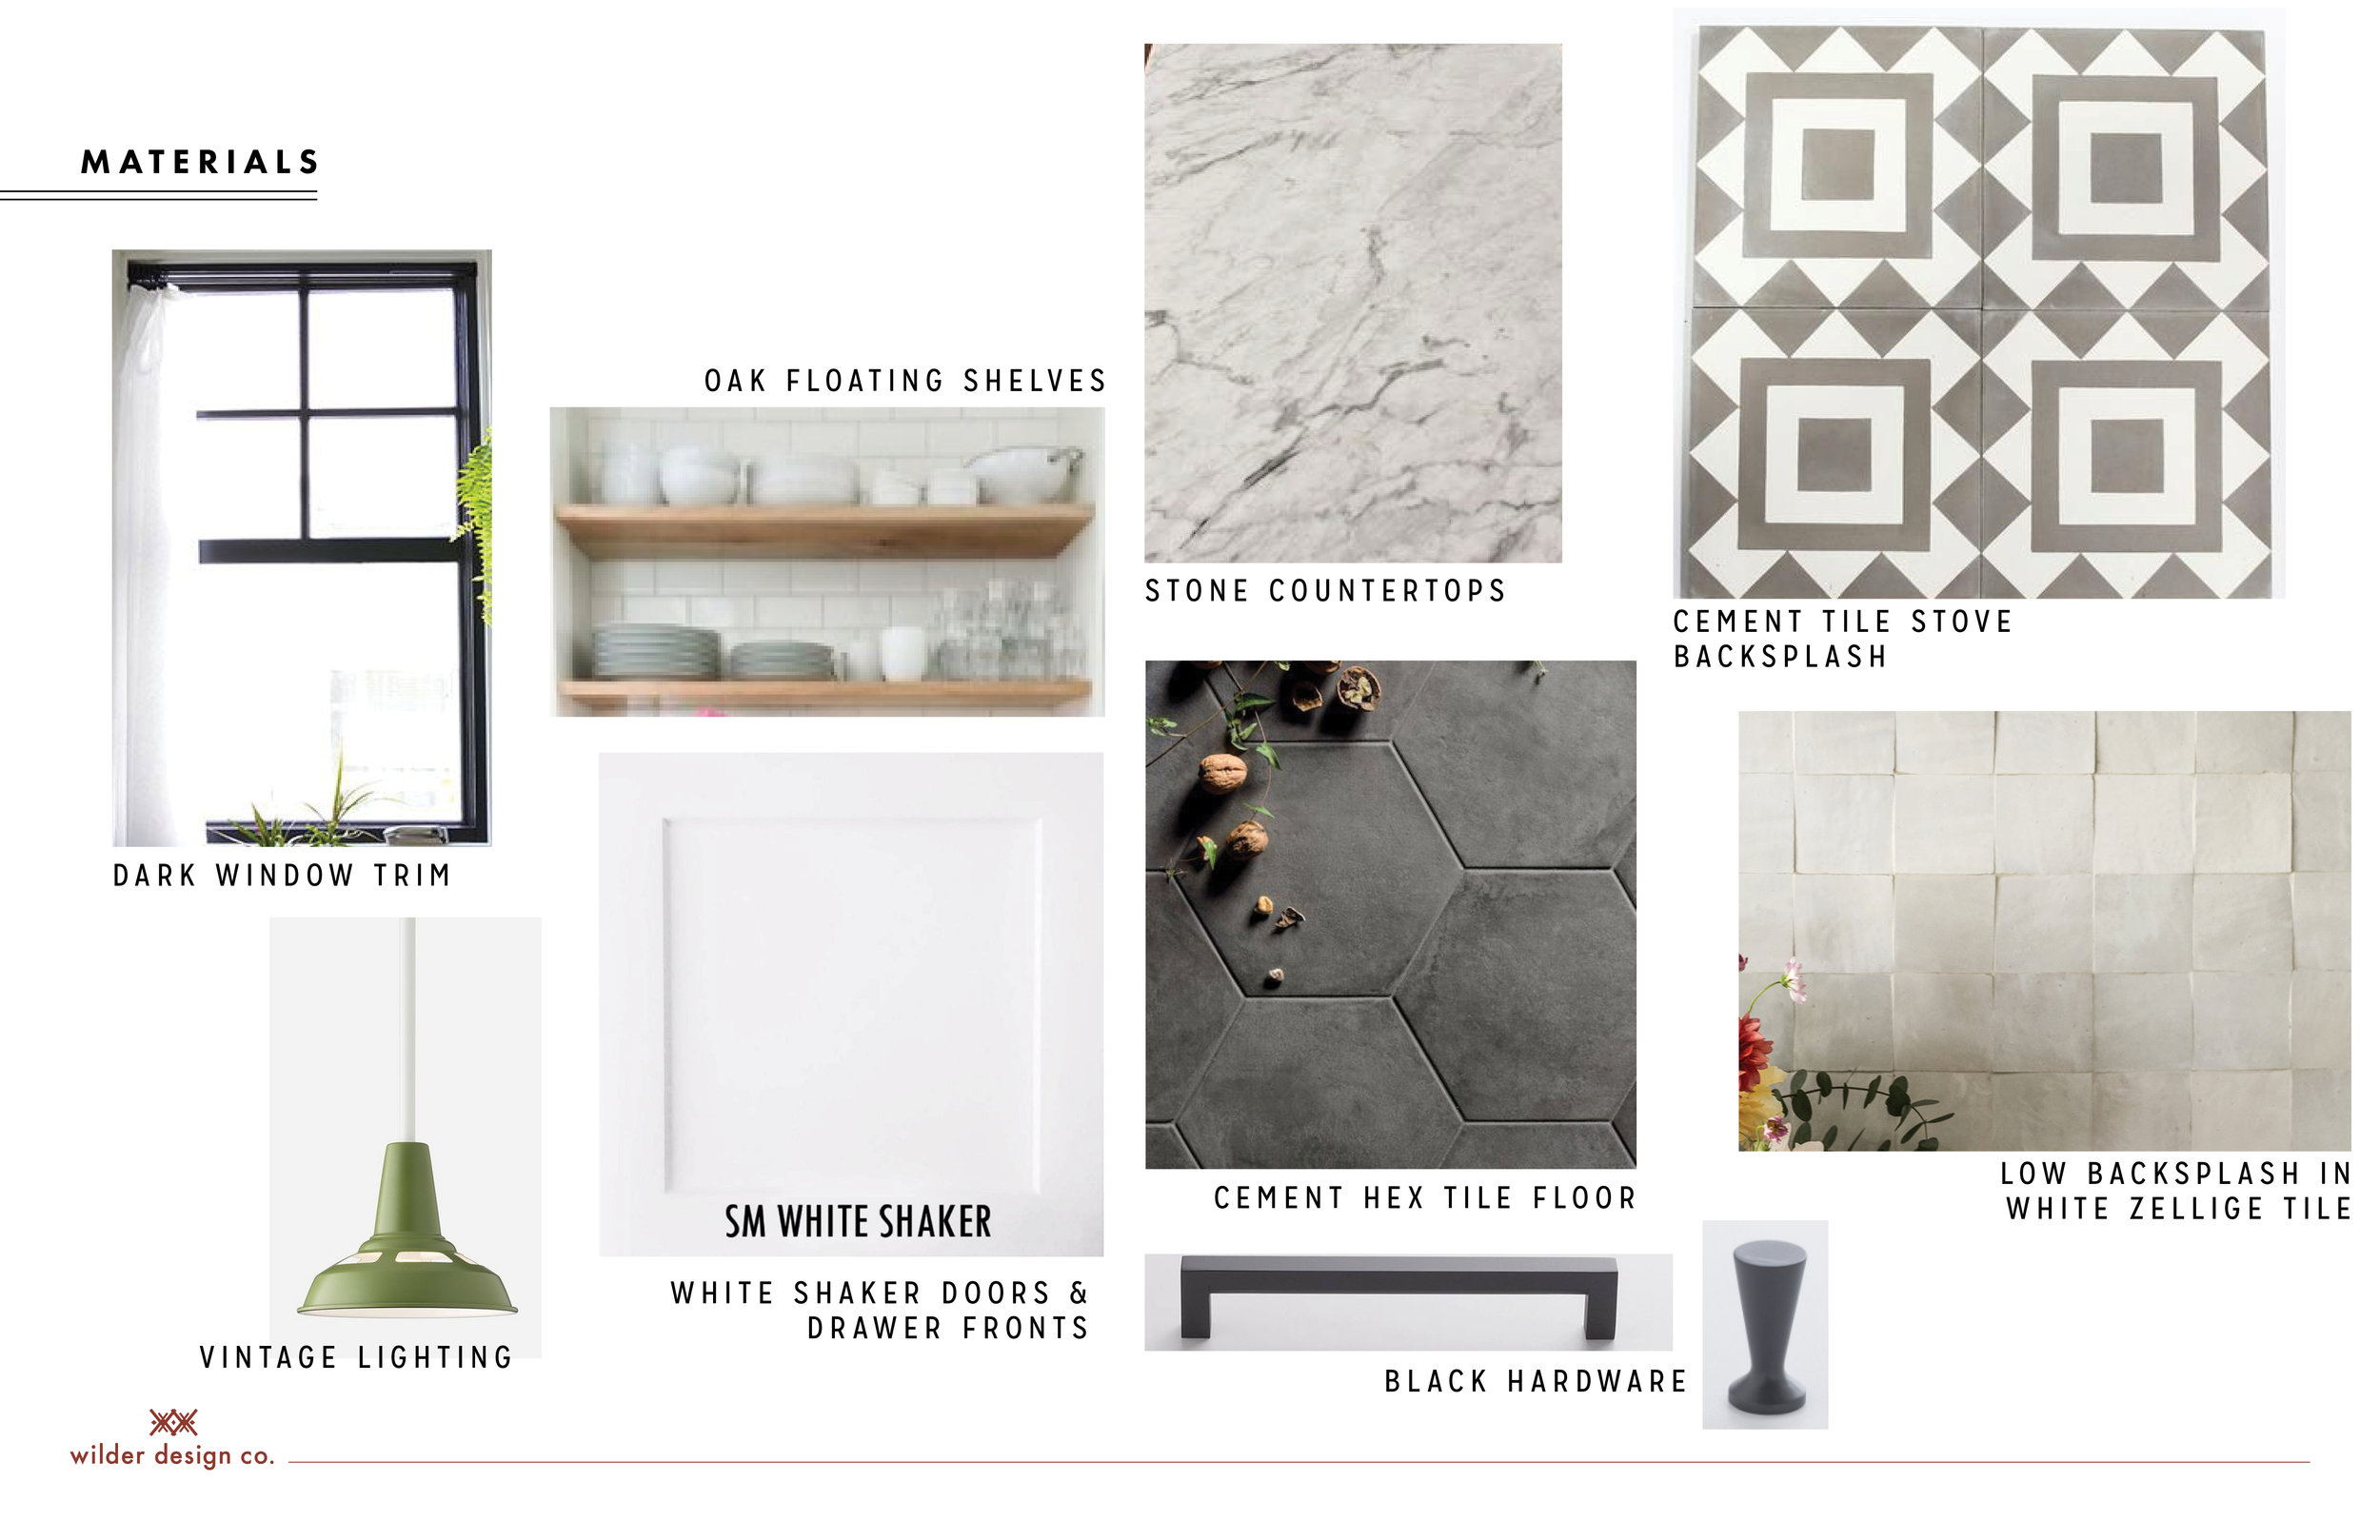
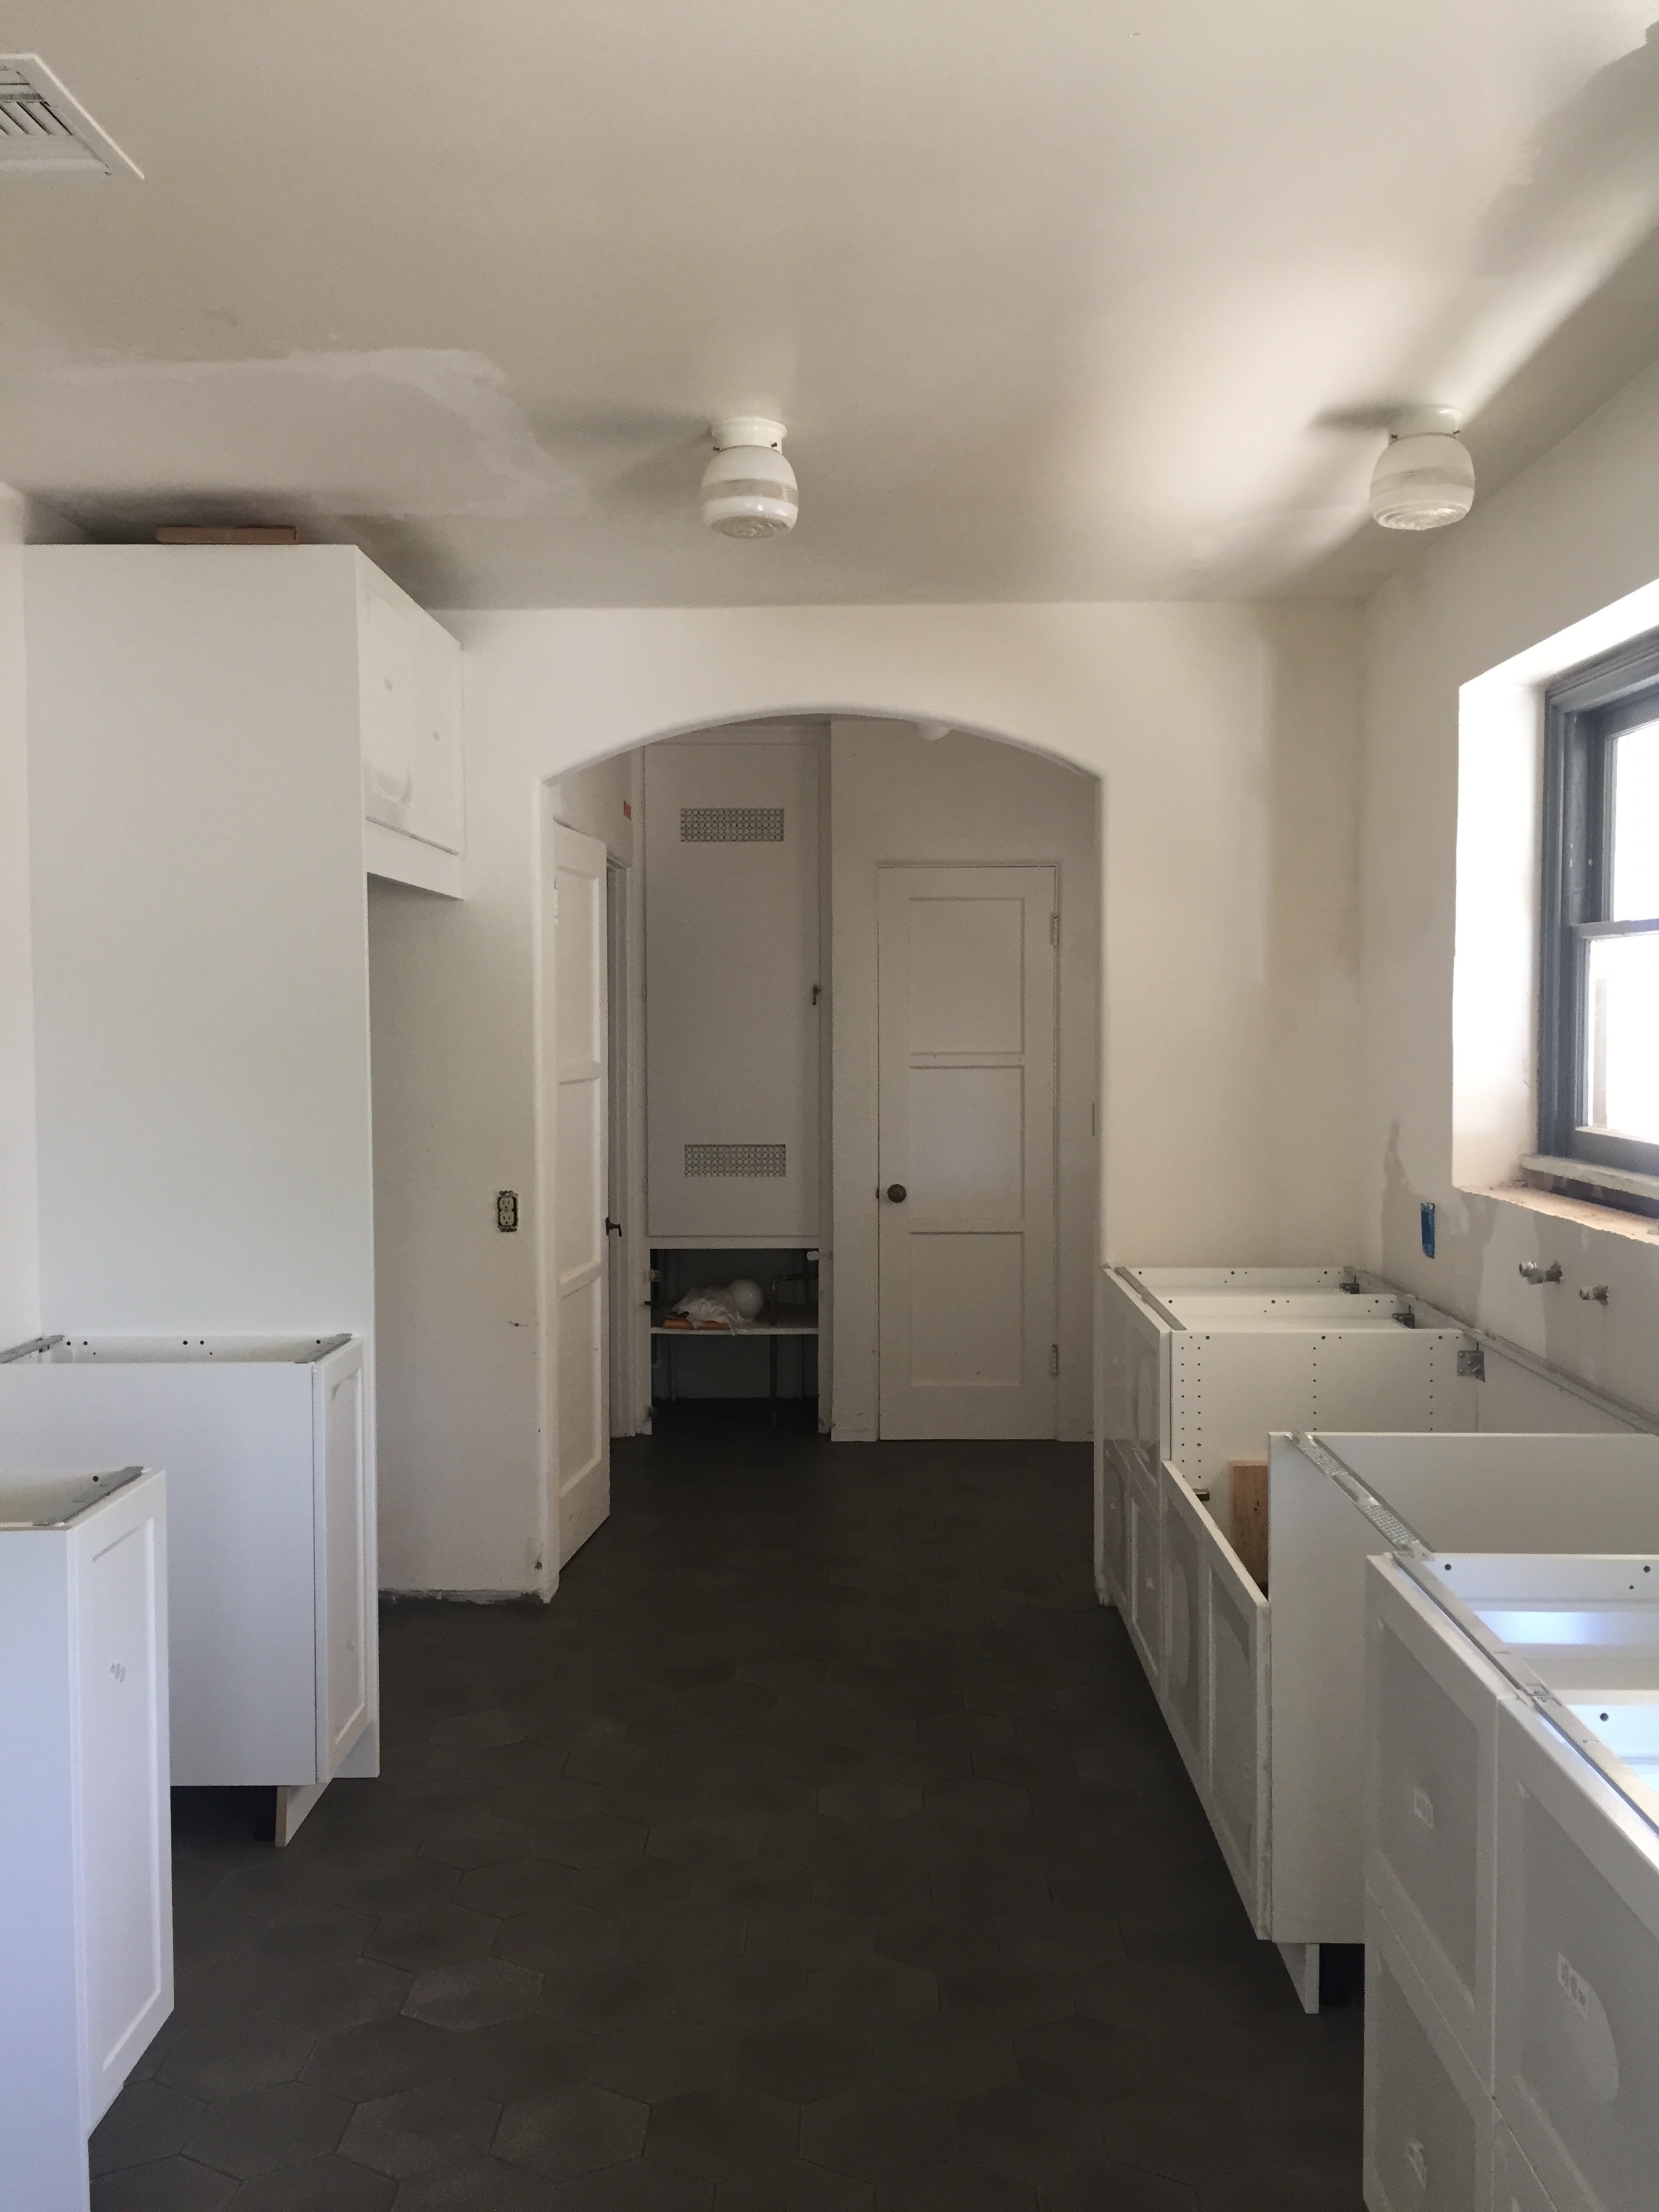
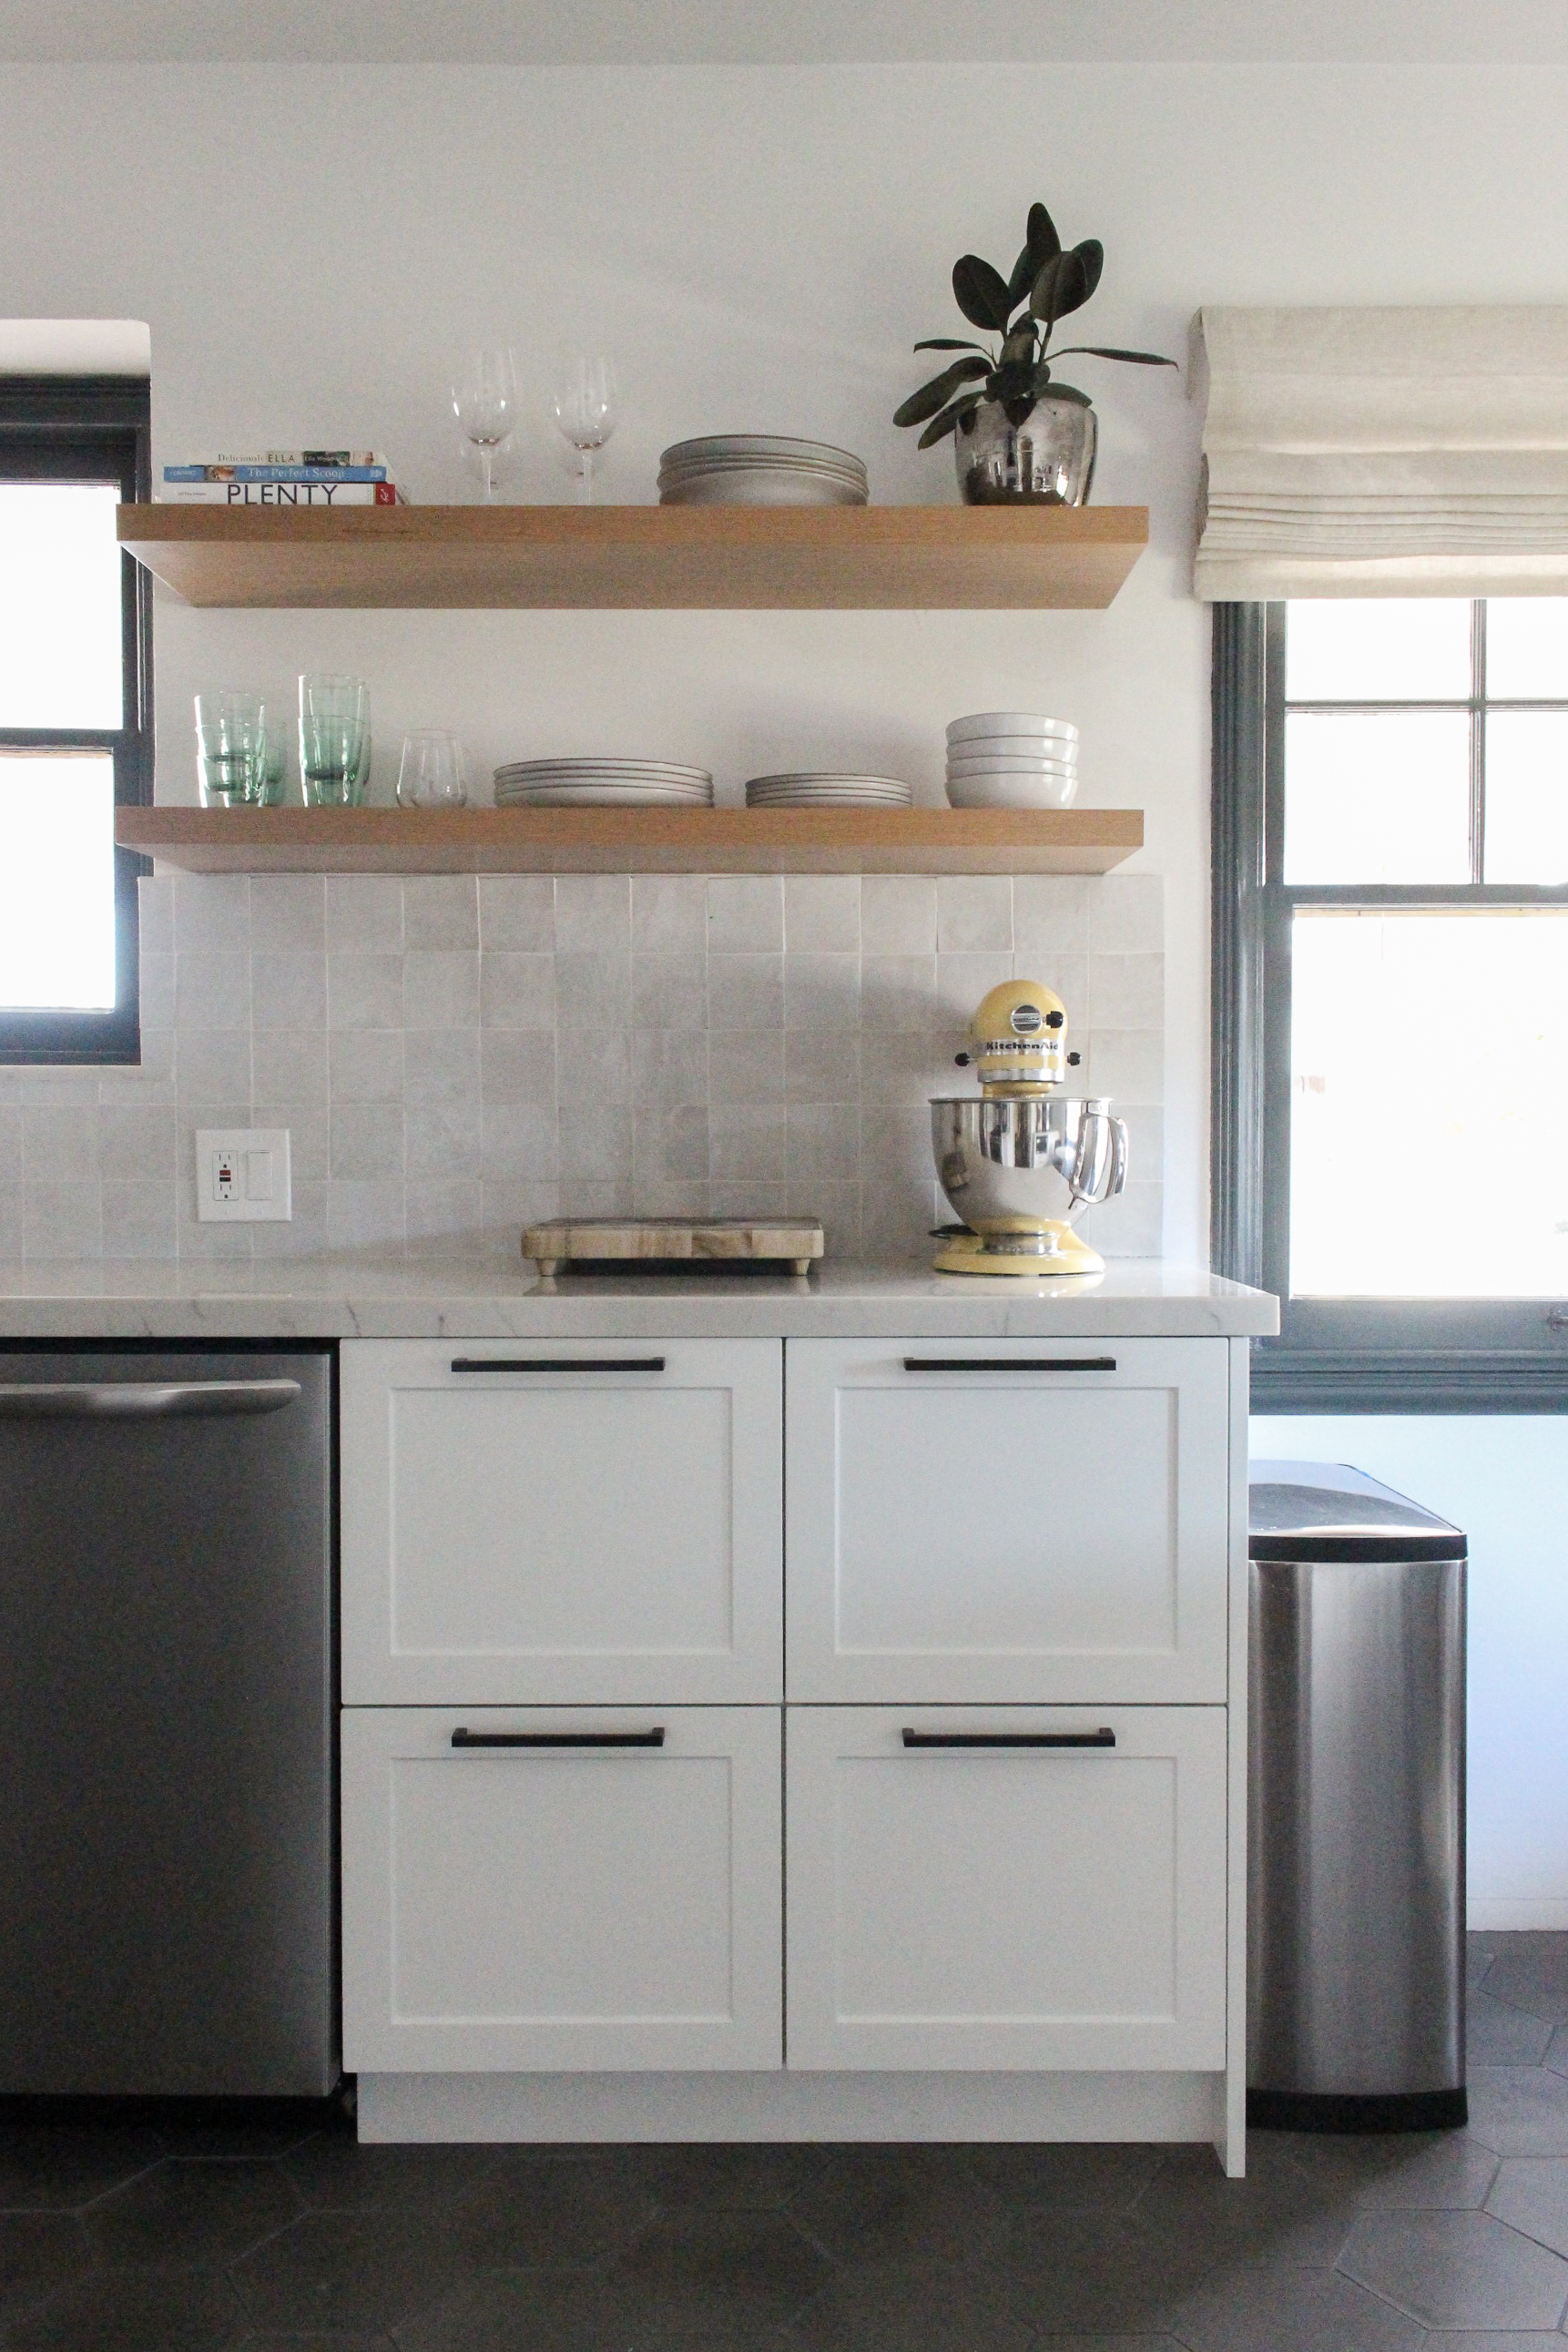
For the cabinets, we definitely wanted plenty of storage, functionality and durability, but didn’t want to break the bank. So after looking at a few options and getting some custom cabinetry quotes, we opted for a middle of the road approach using Ikea for the boxes and drawers, and Semihandmade for the fronts and cover panels. I was able to visit the showroom and see samples in person which was great. They made the ordering process so easy and were always available to answer my endless questions. For the color and style we went a few different directions which included going either black, green or flat panel but after much thought we decided to stick to white shaker, which was consistent with some of the existing built ins in the house. We also have some black hardware accents and wanted to create some consistency there as well. To counter the traditional feel of the shaker fronts we went with a clean, modern drawer pull and a slightly midcentury style knob.

Flooring:

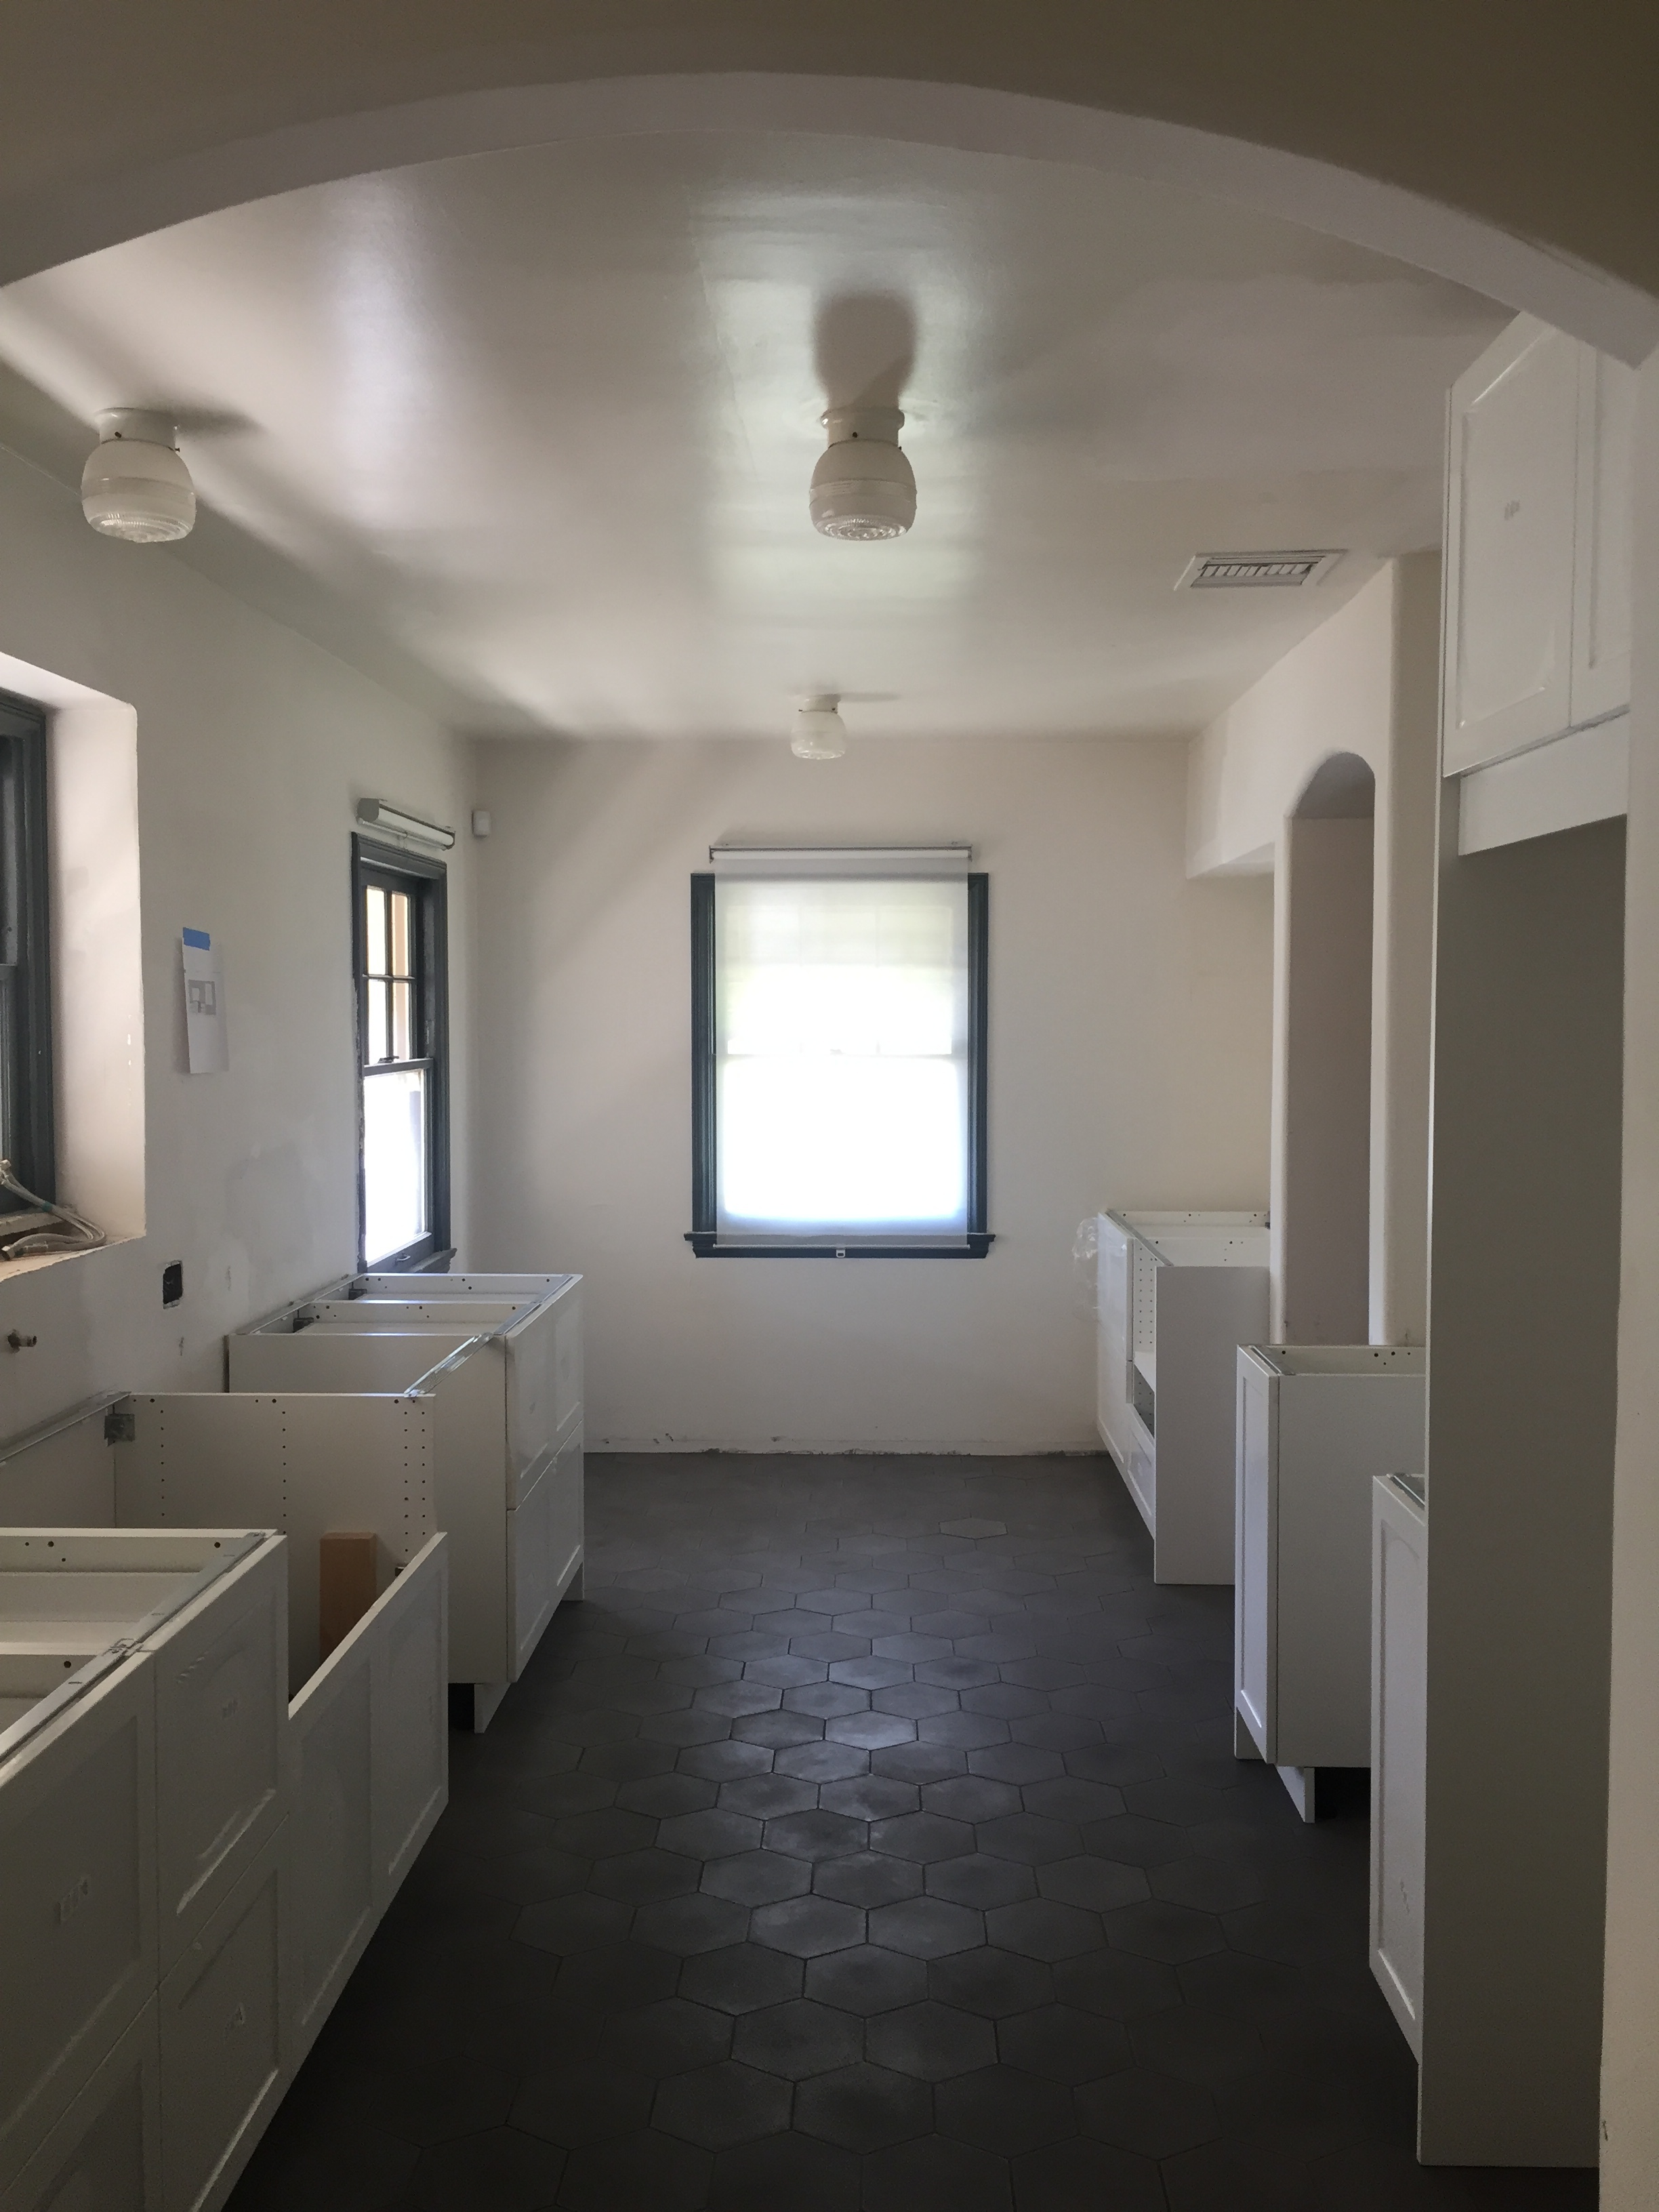
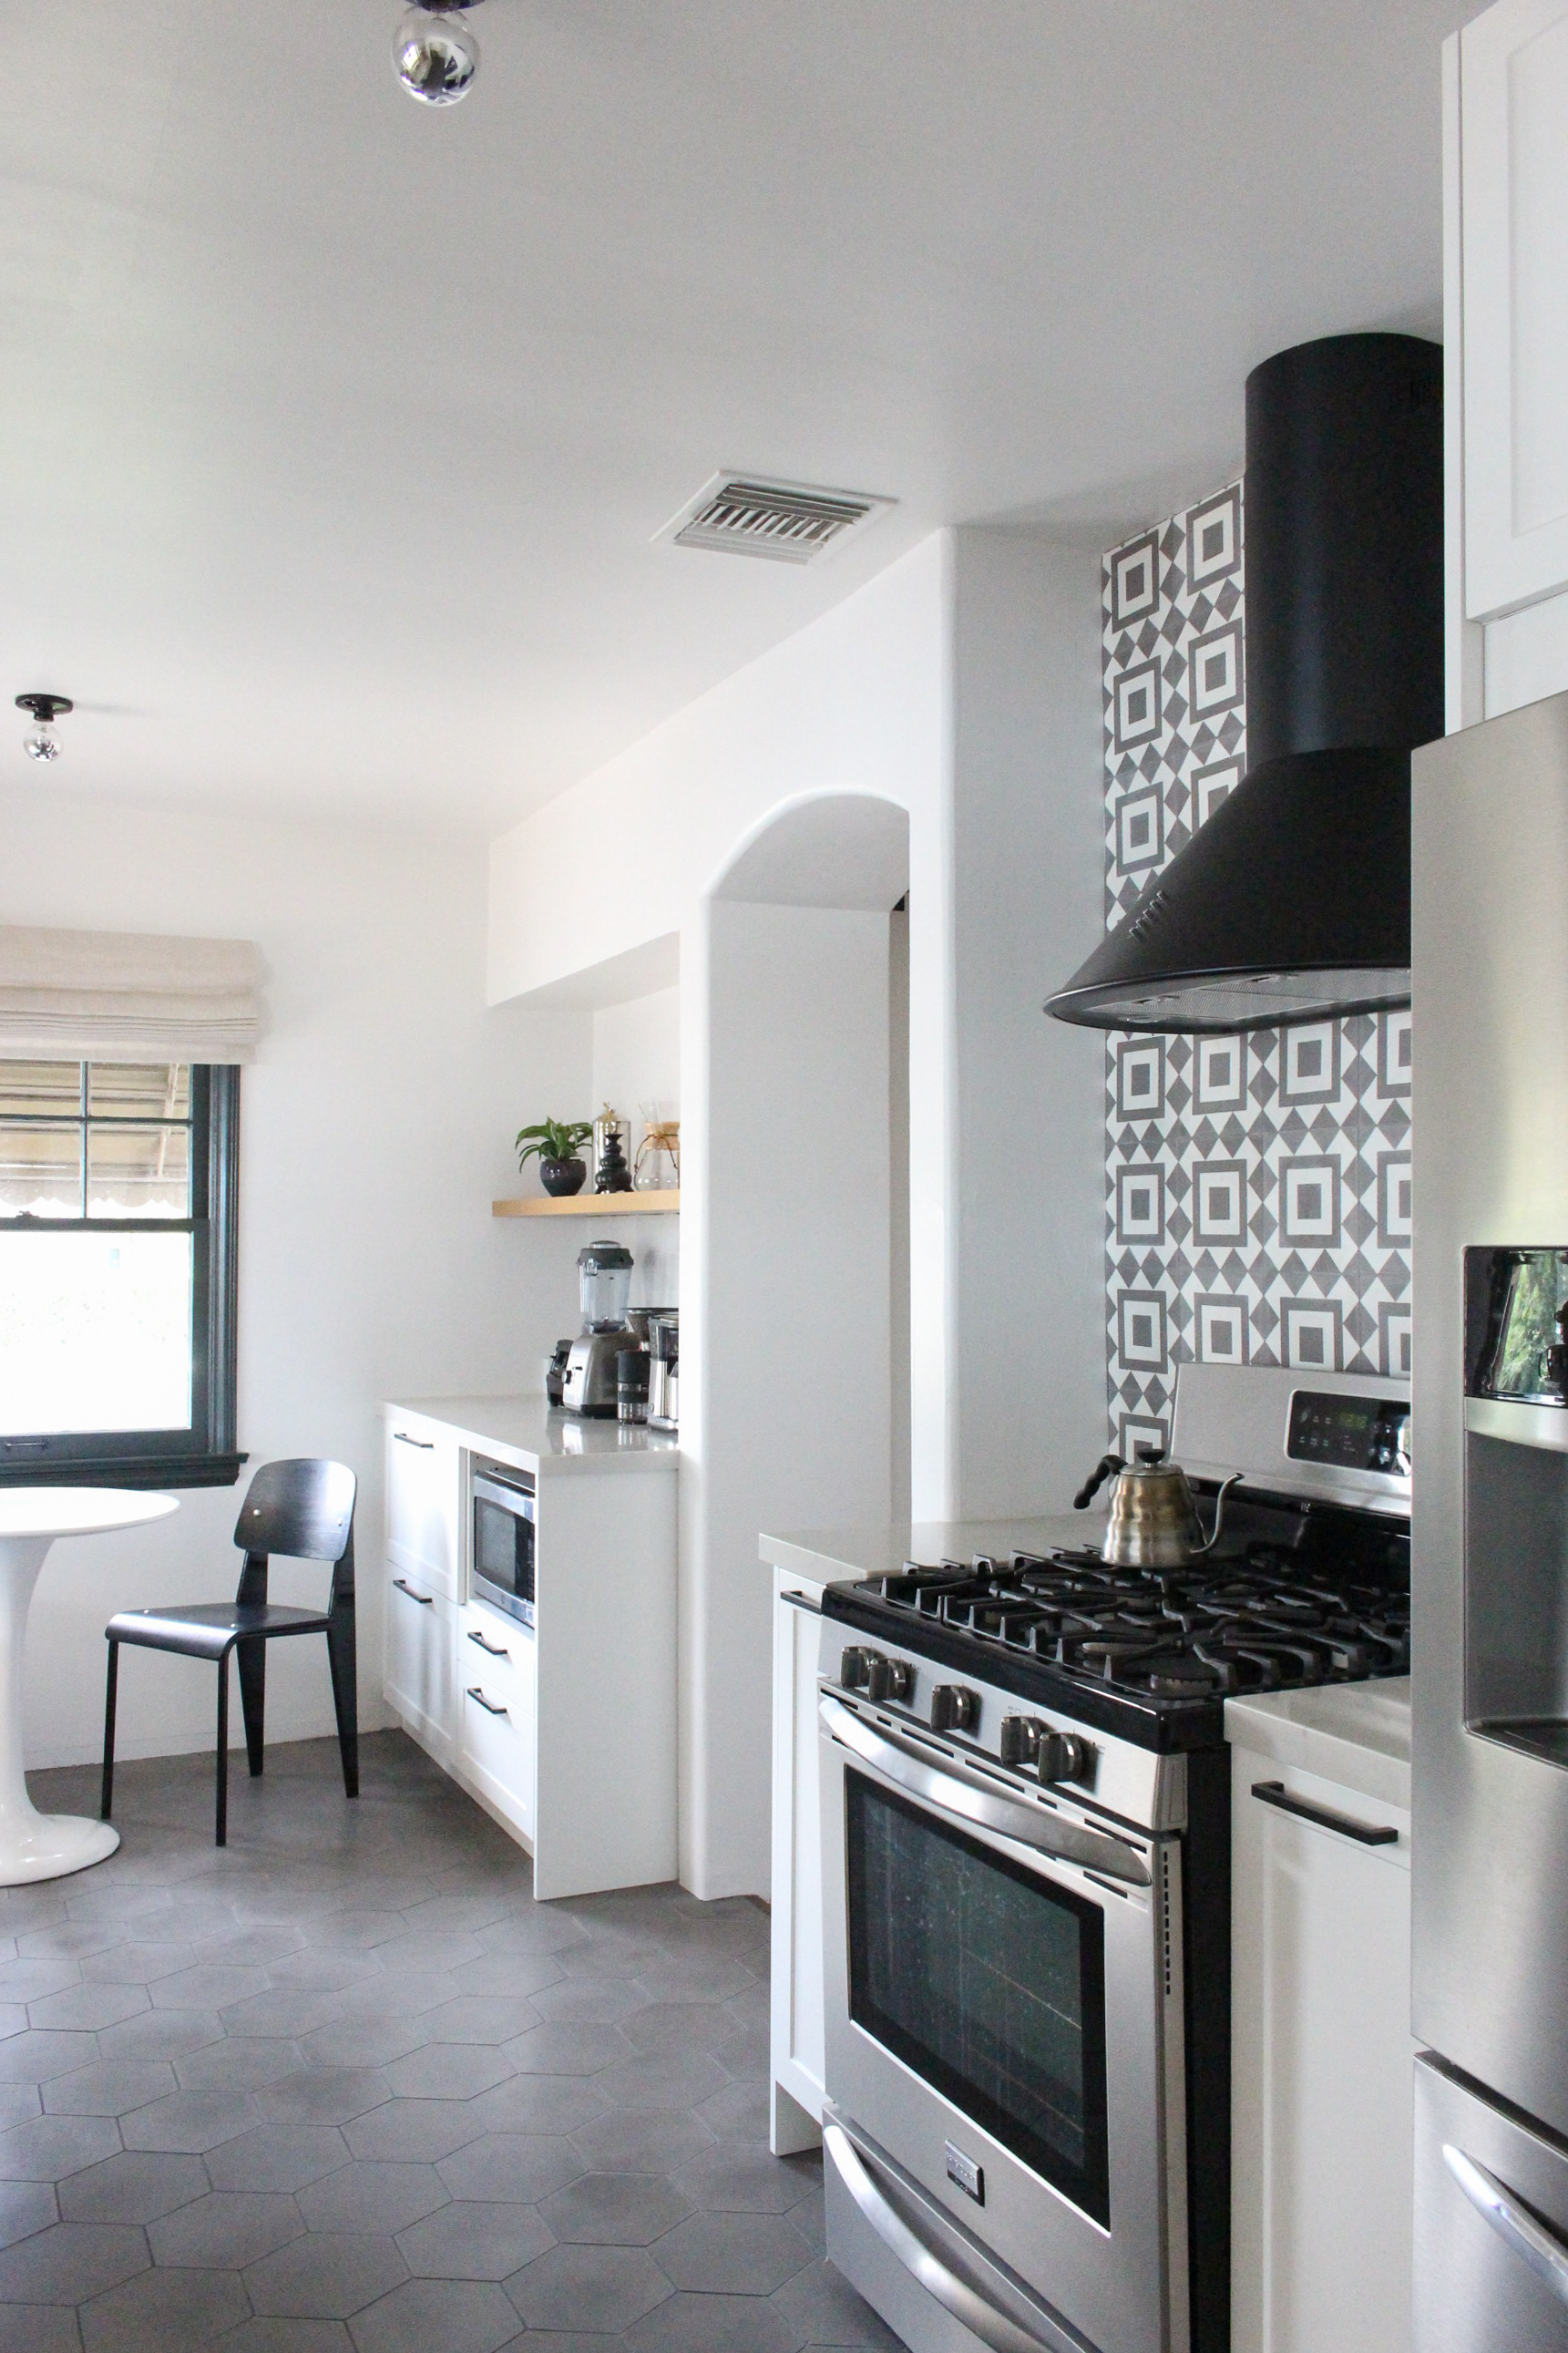
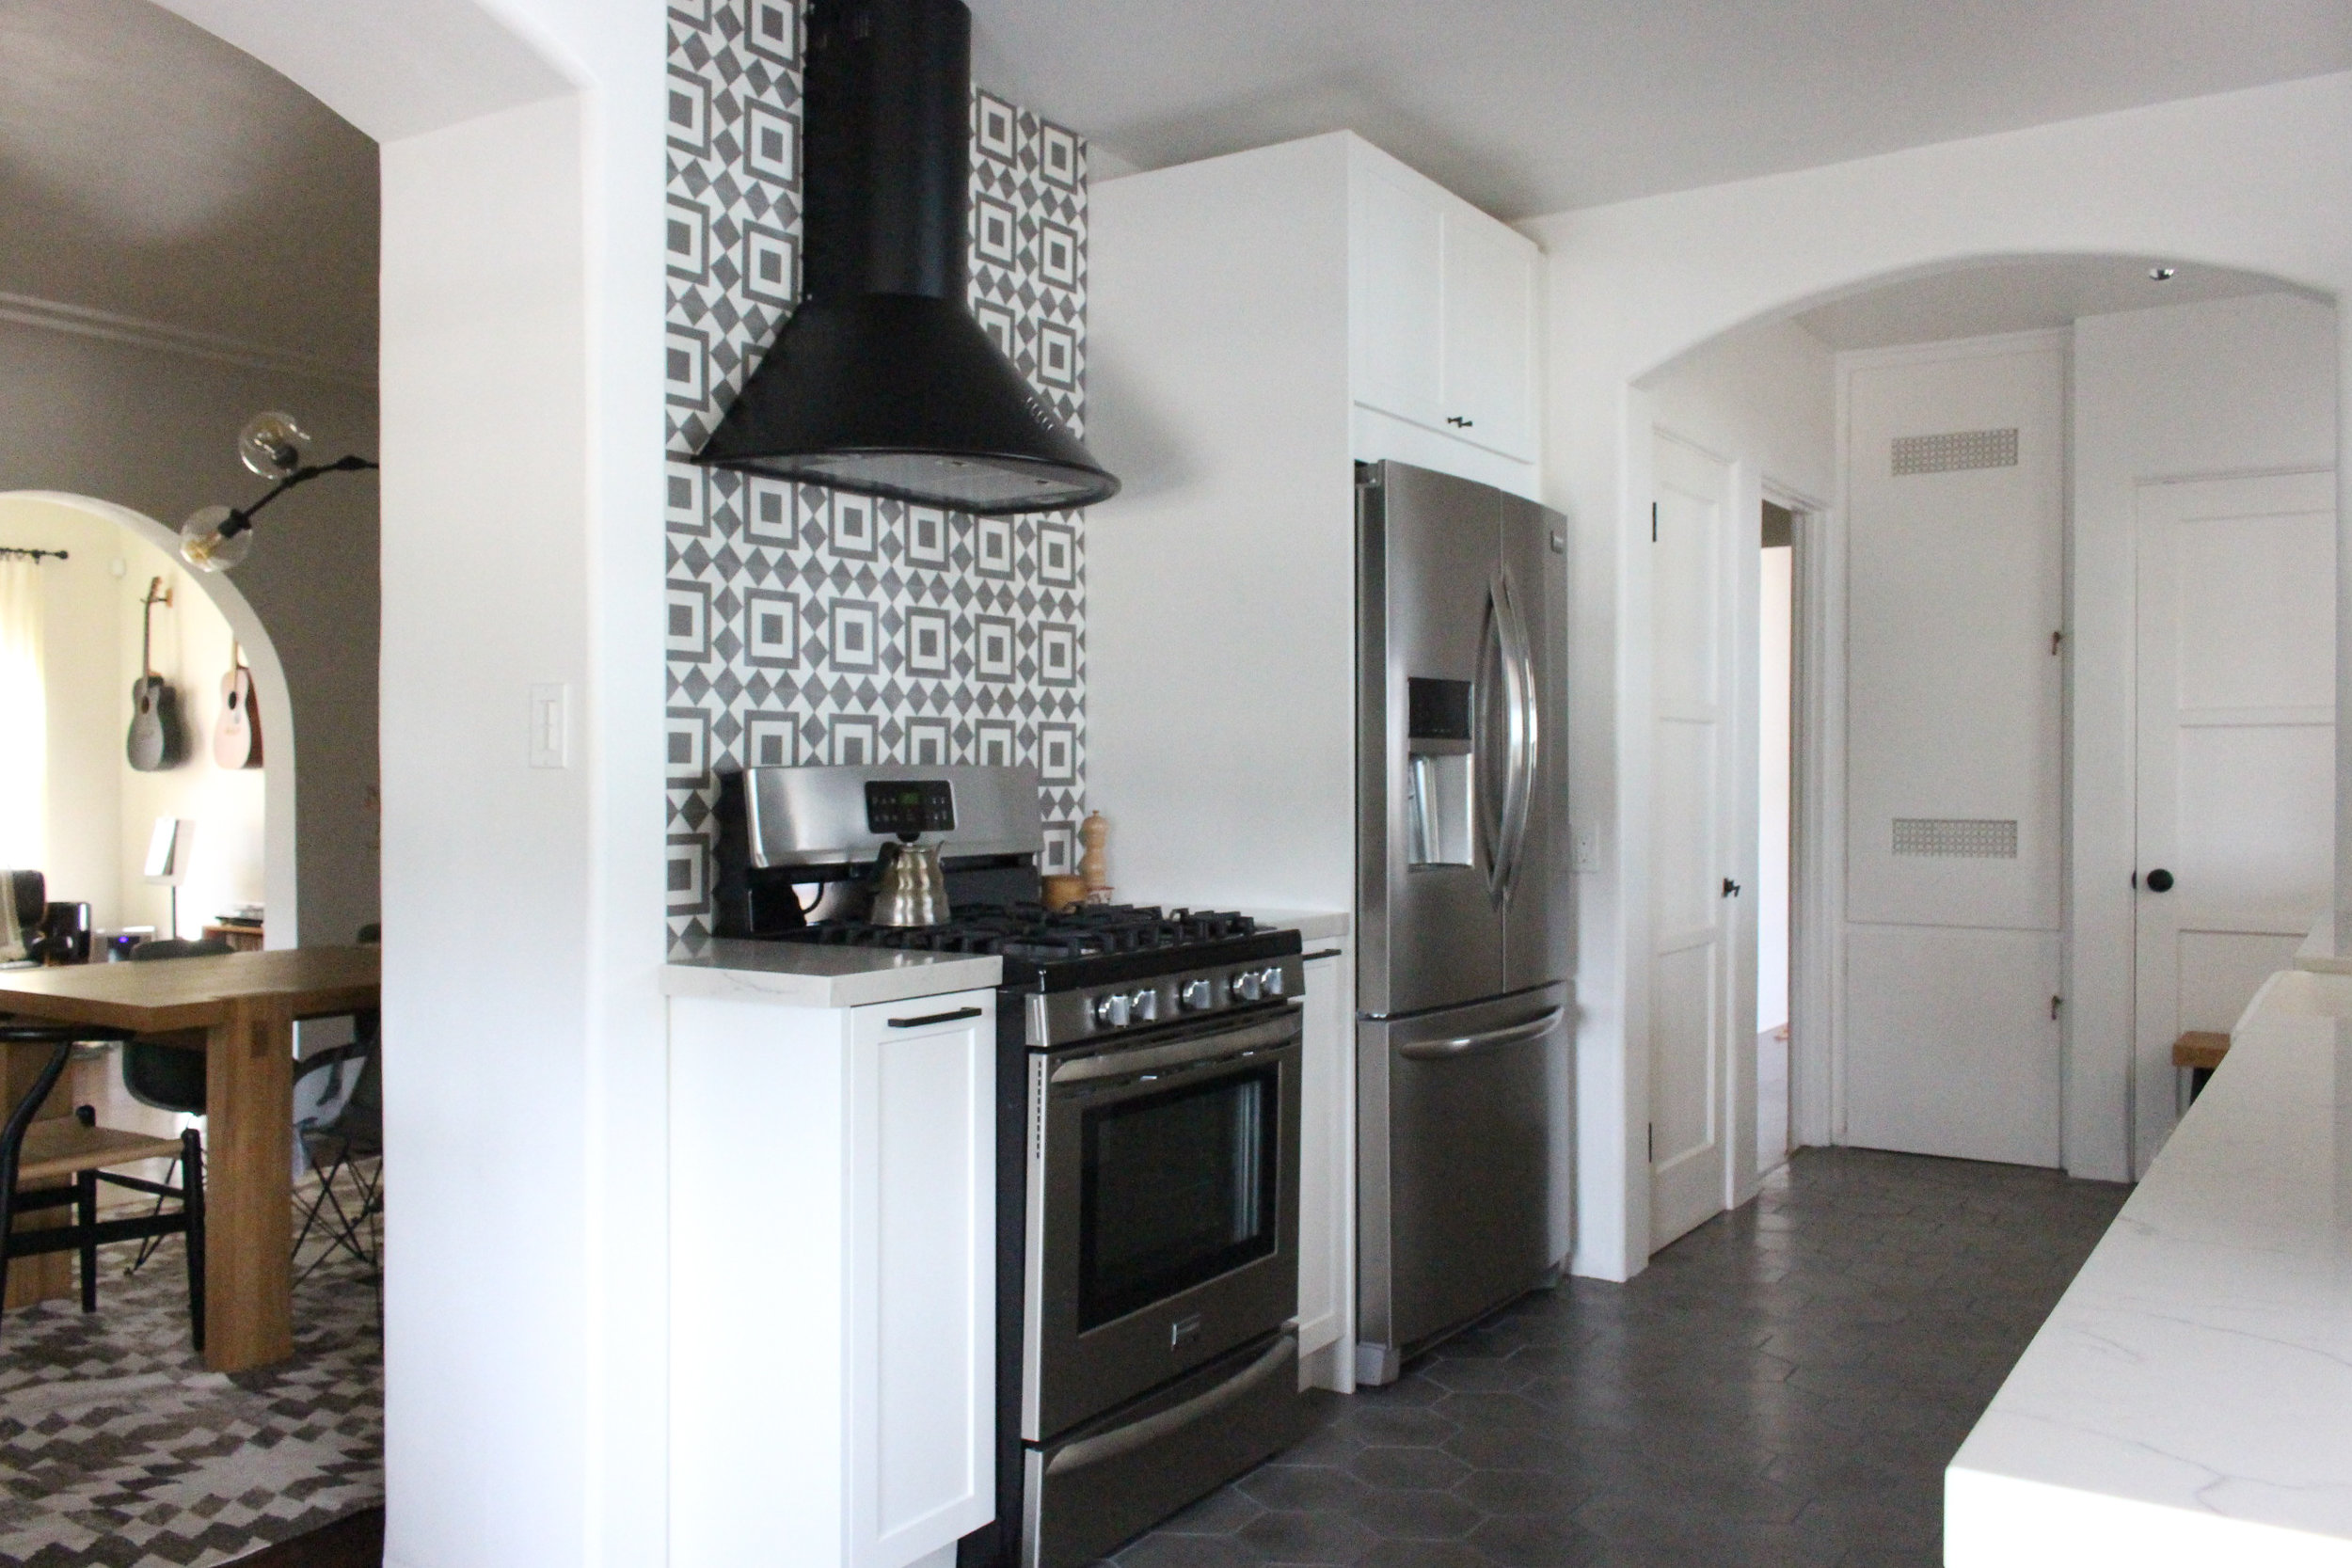
Flooring was one of the primary reasons we needed to renovate the kitchen in the first place (second to the cabinets which were falling apart). The old linoleum flooring was chipped, creaking and discolored - aka barf color. There was certainly no saving it, so we wanted to do something that was durable and was a good transition with the dark wood floors in the rest of the house. After deciding on white cabinets we knew we wanted to go dark with the flooring for contrast, but not black. We landed on a dark grey cement tile in a hexagon pattern, which is a nice nod to our deco inspiration and the tile we used behind the stove.

Backsplash:

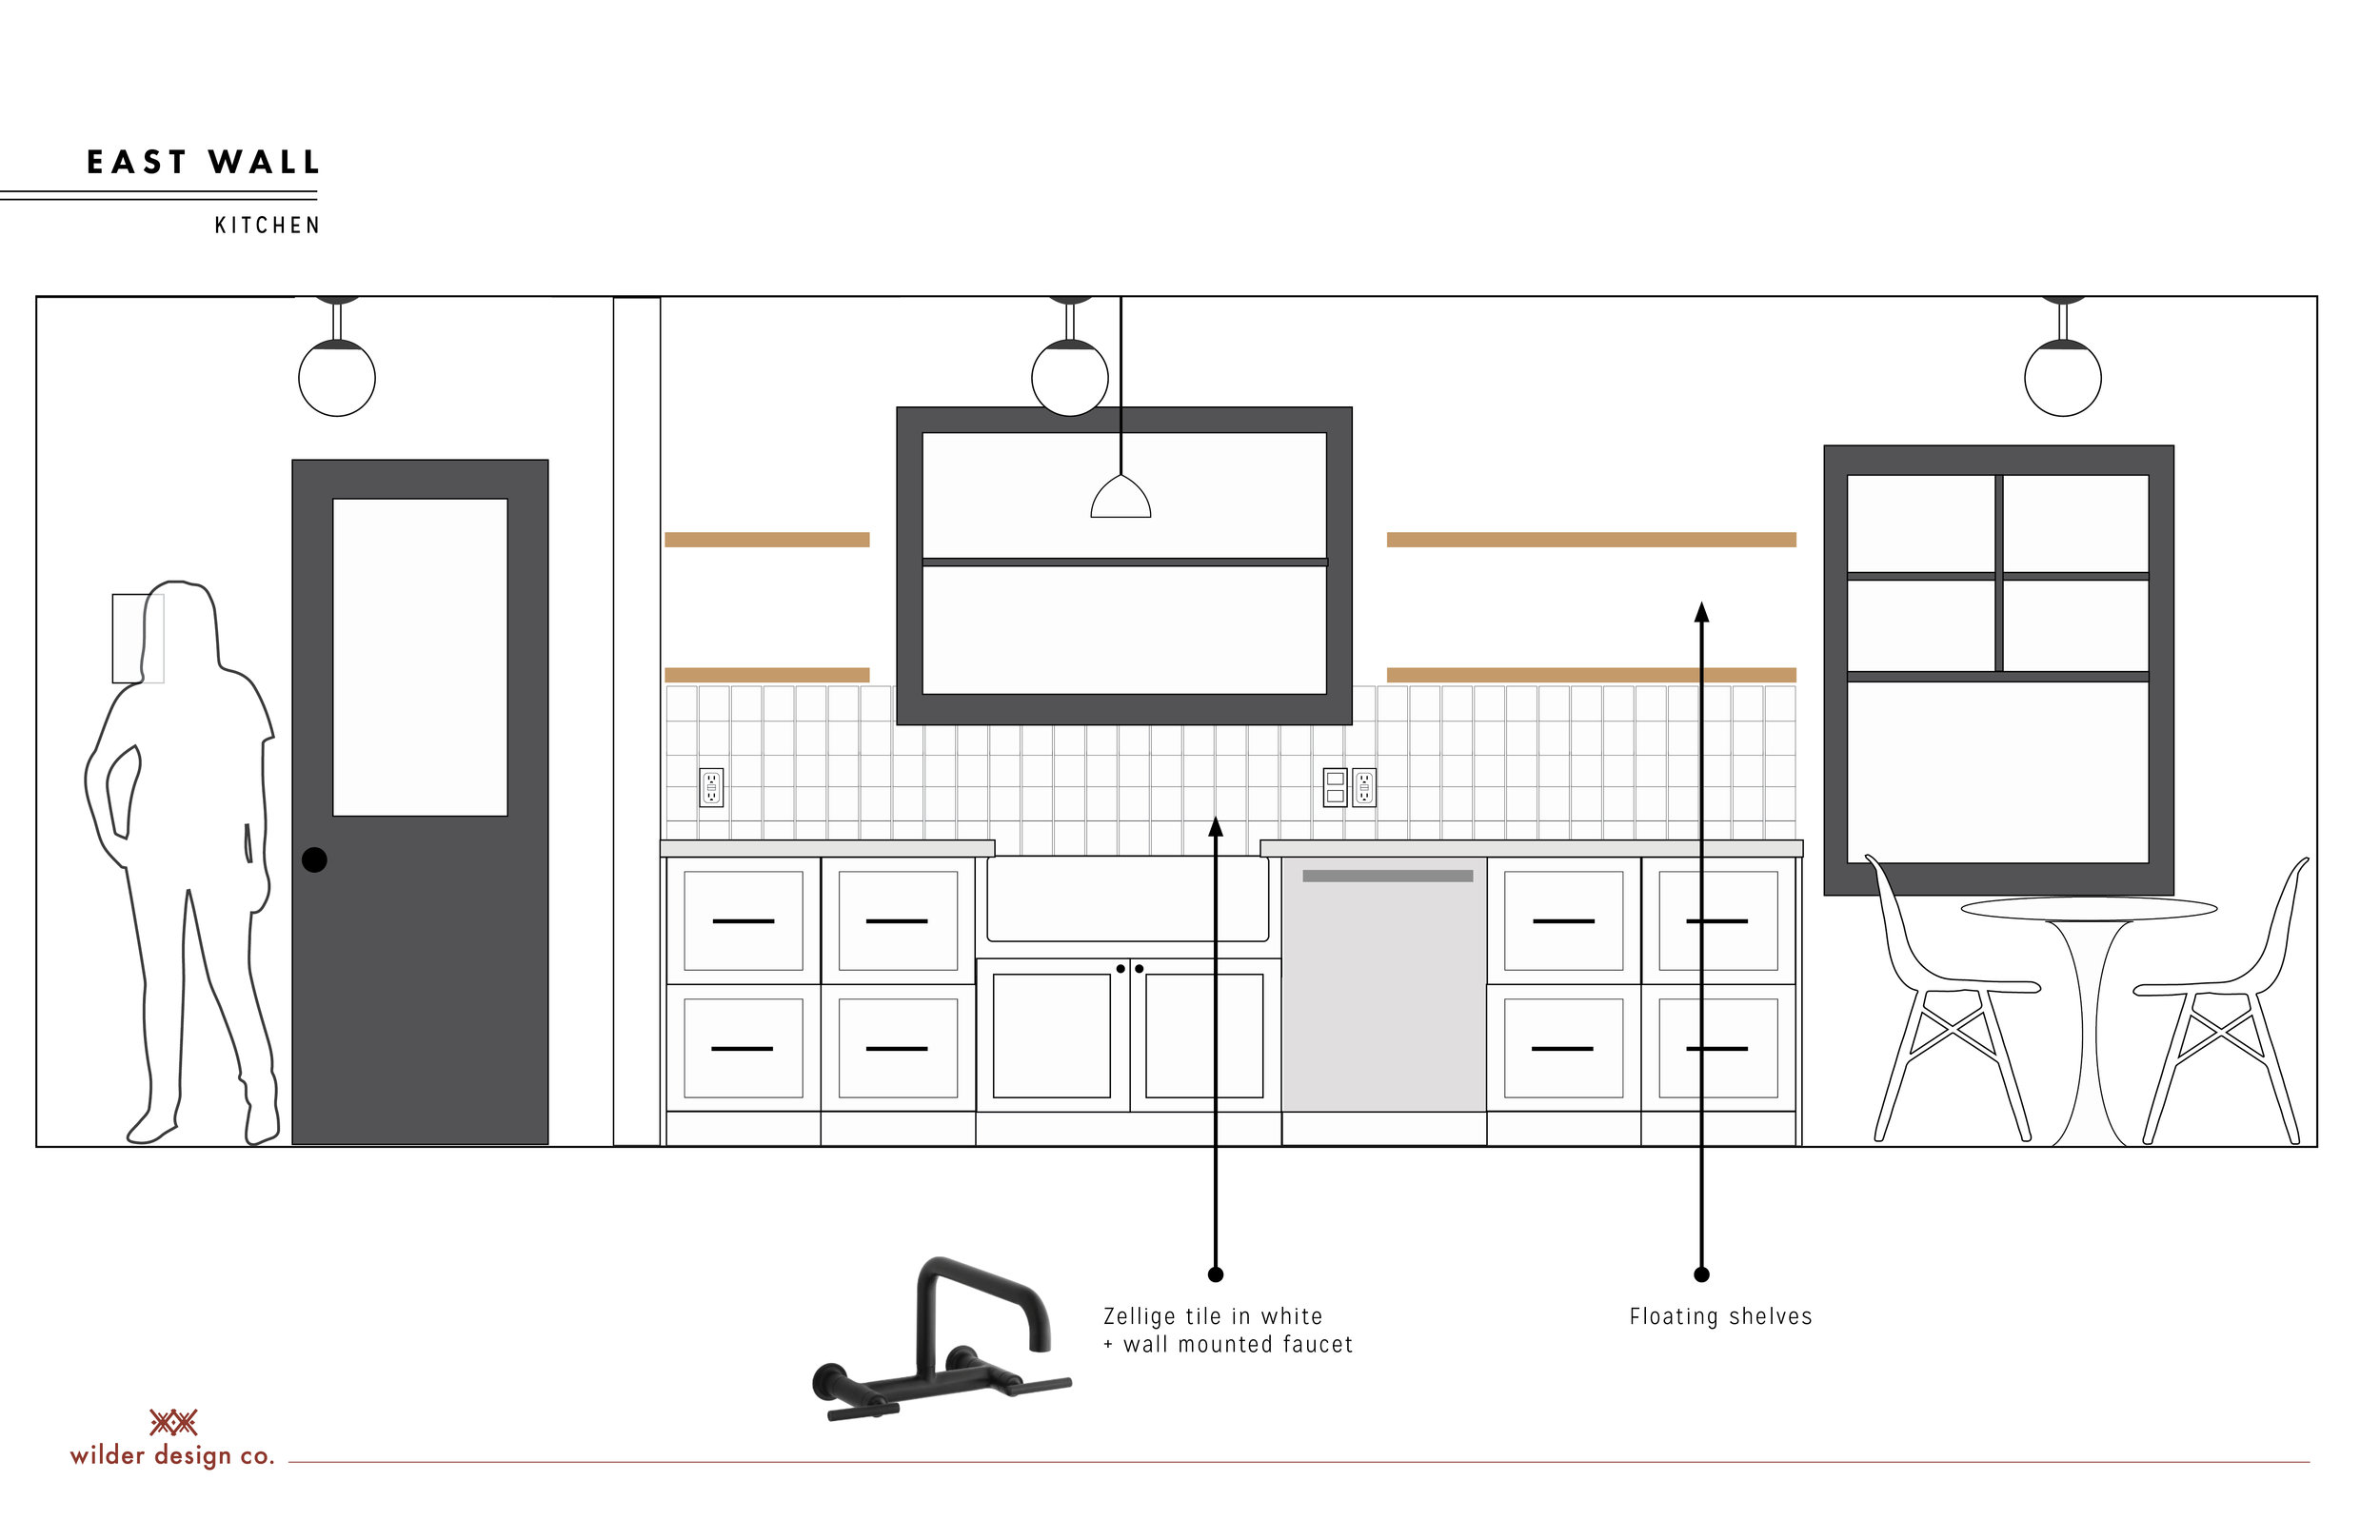
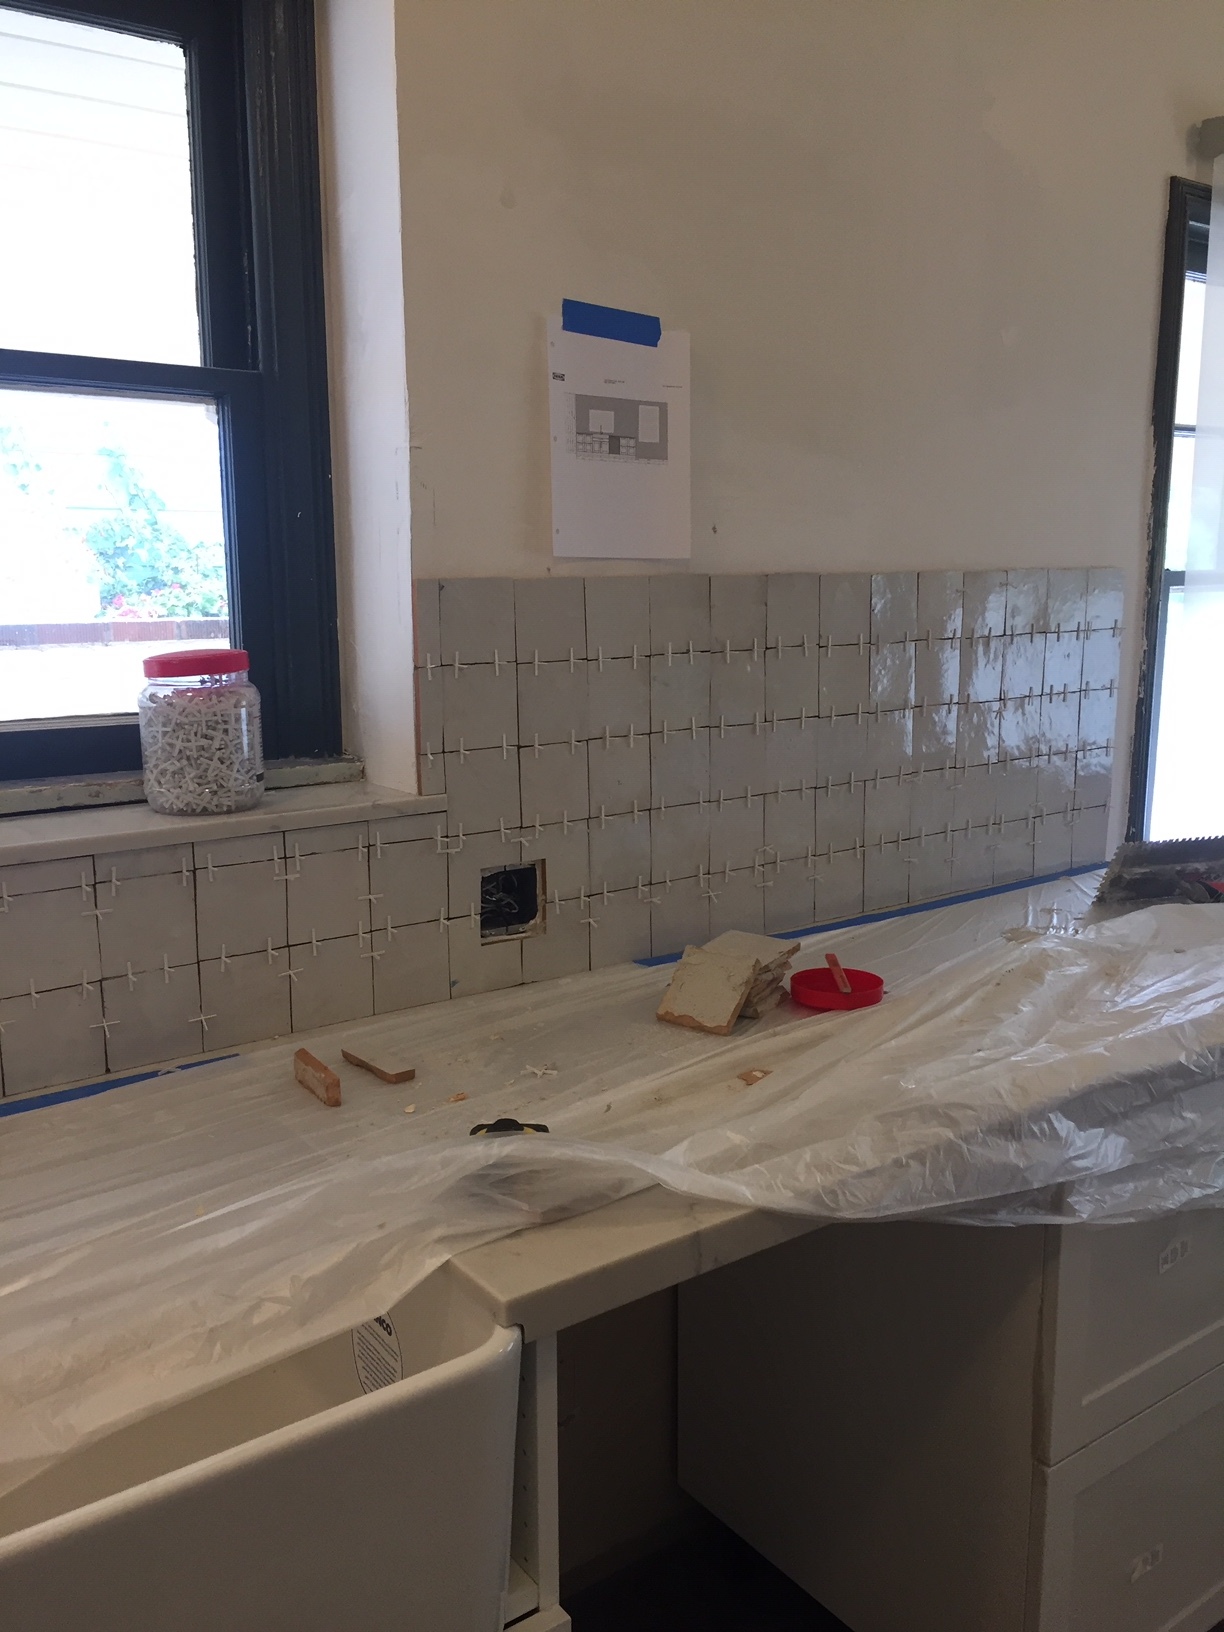
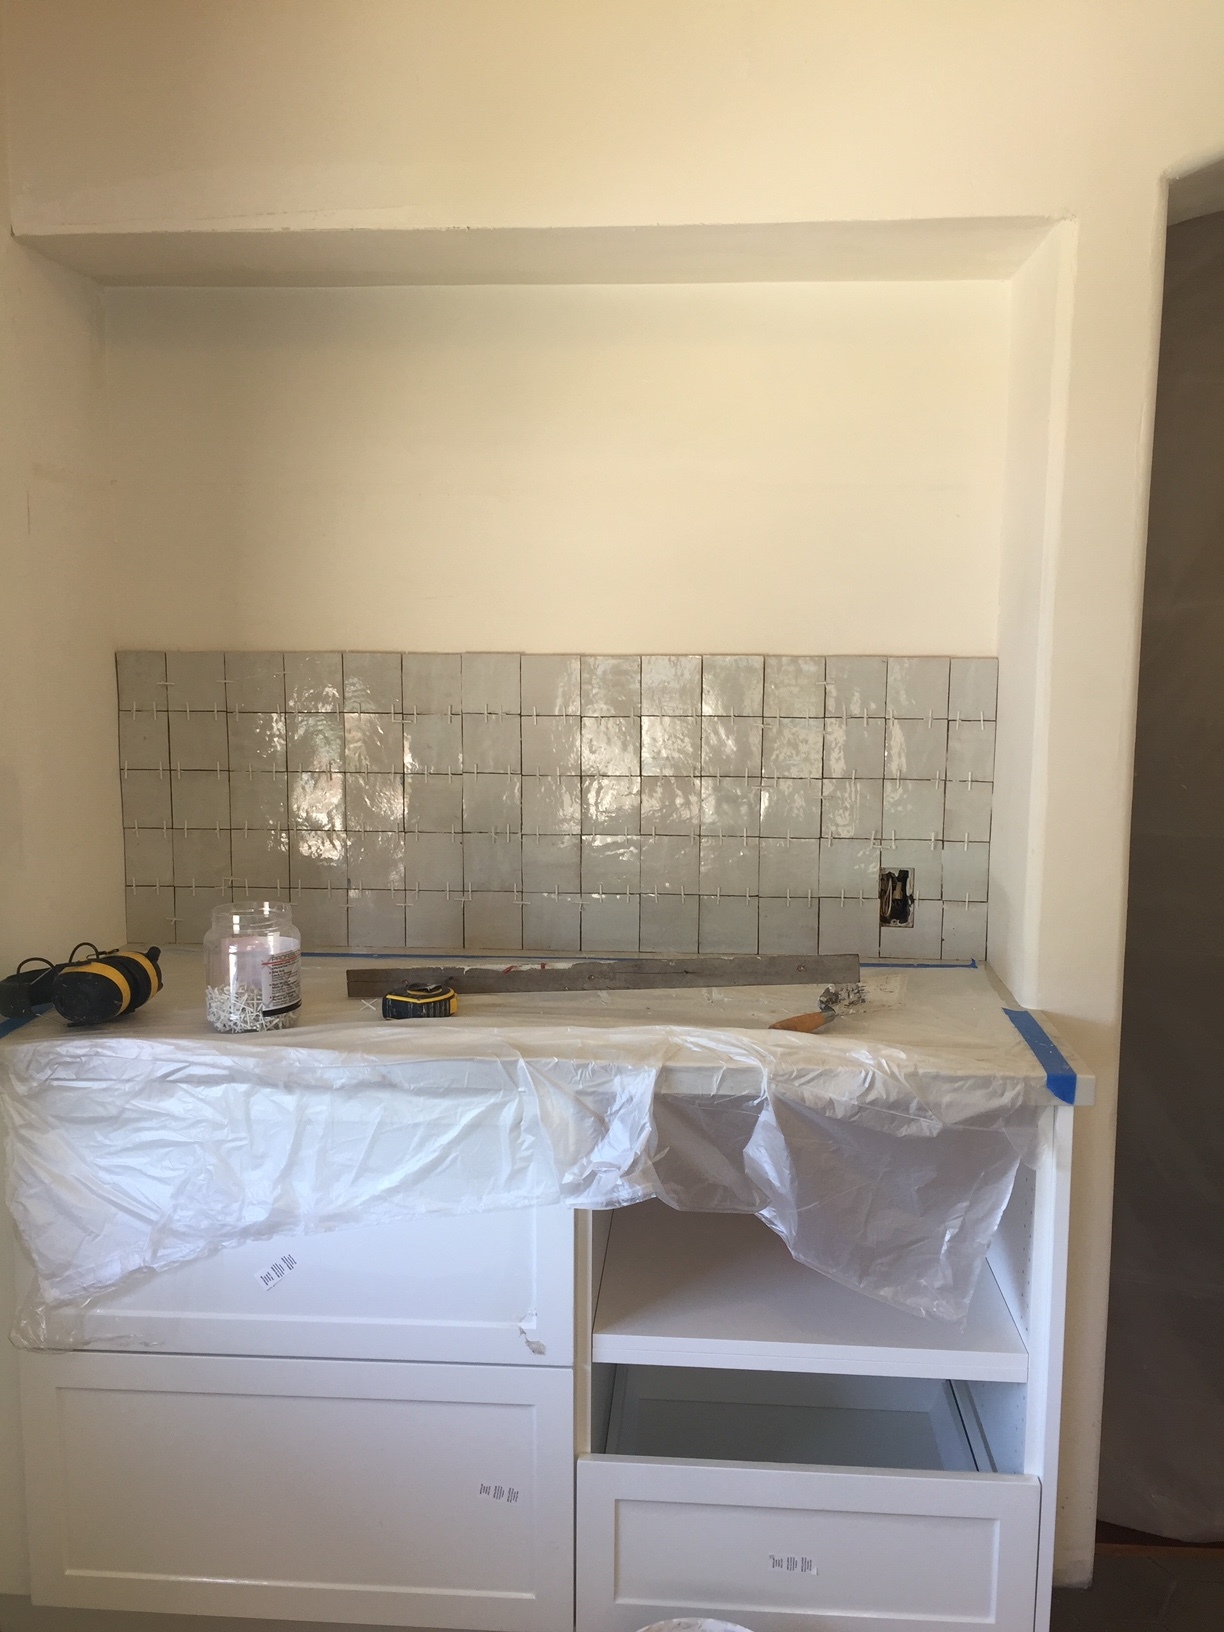
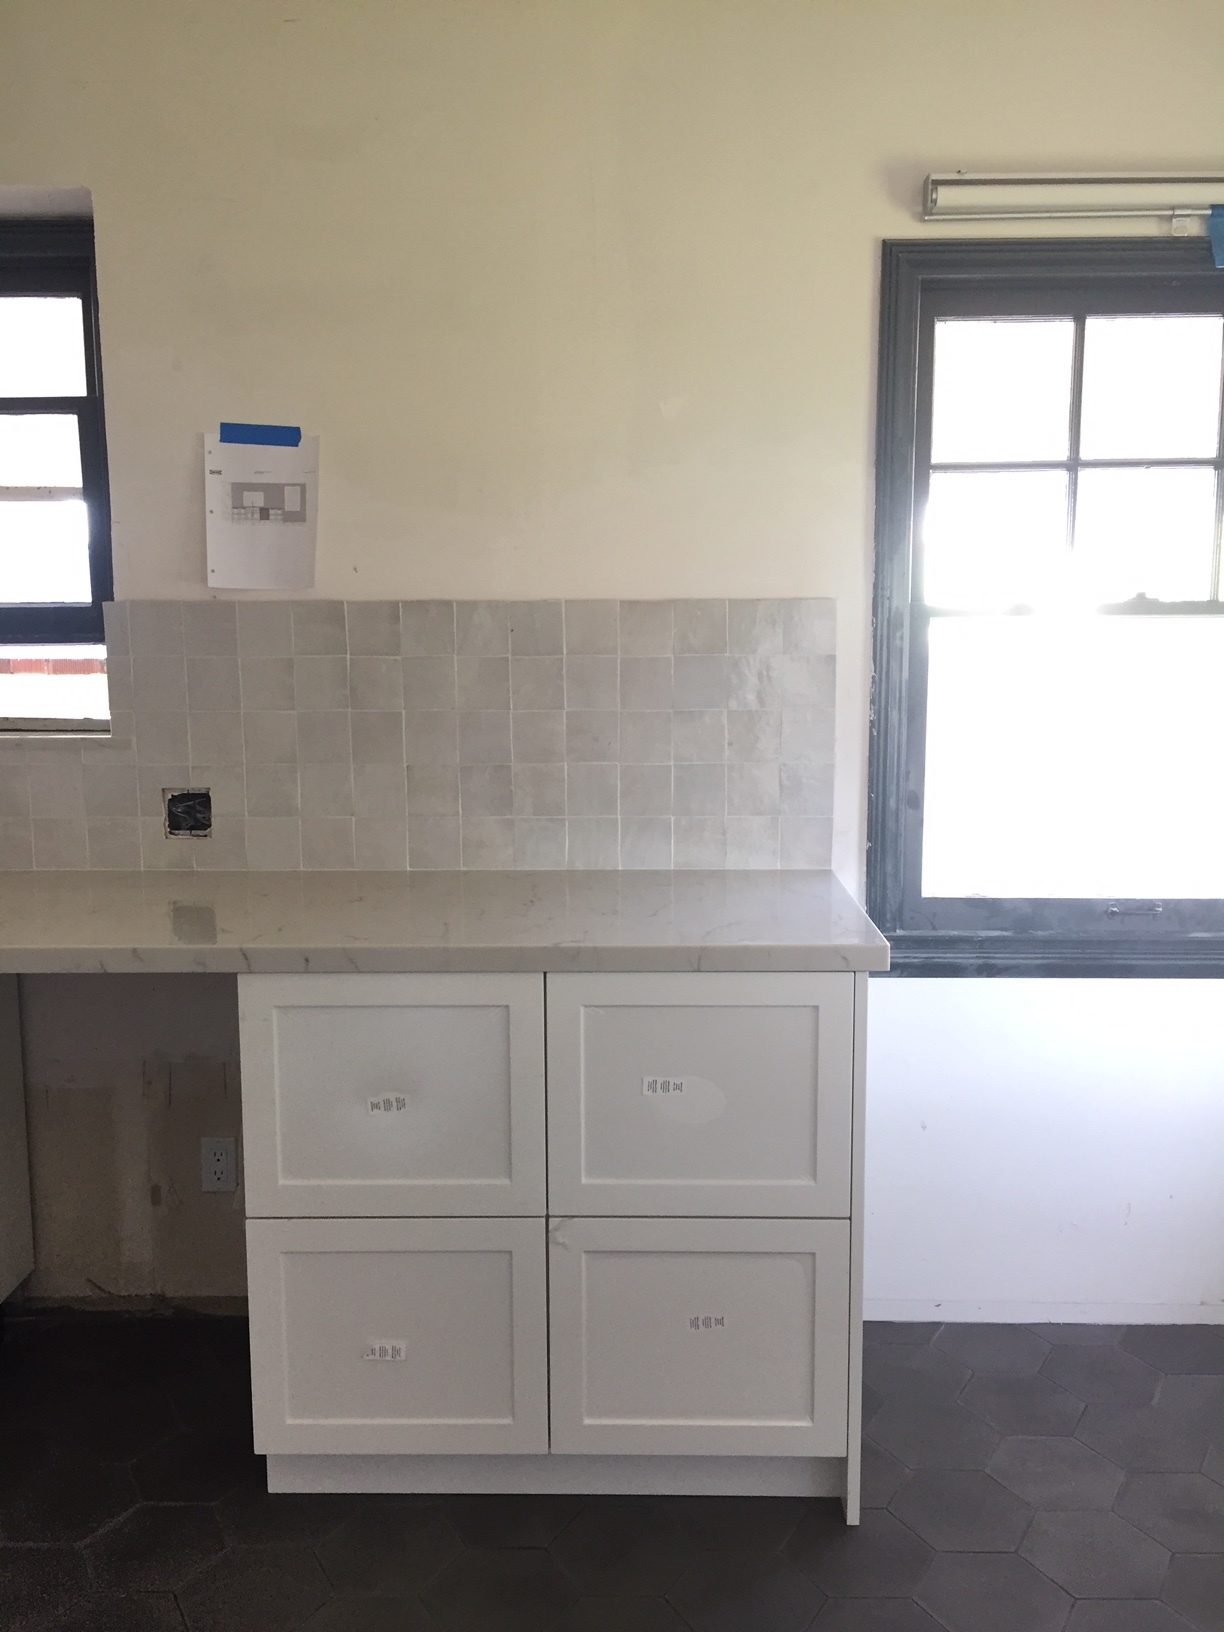
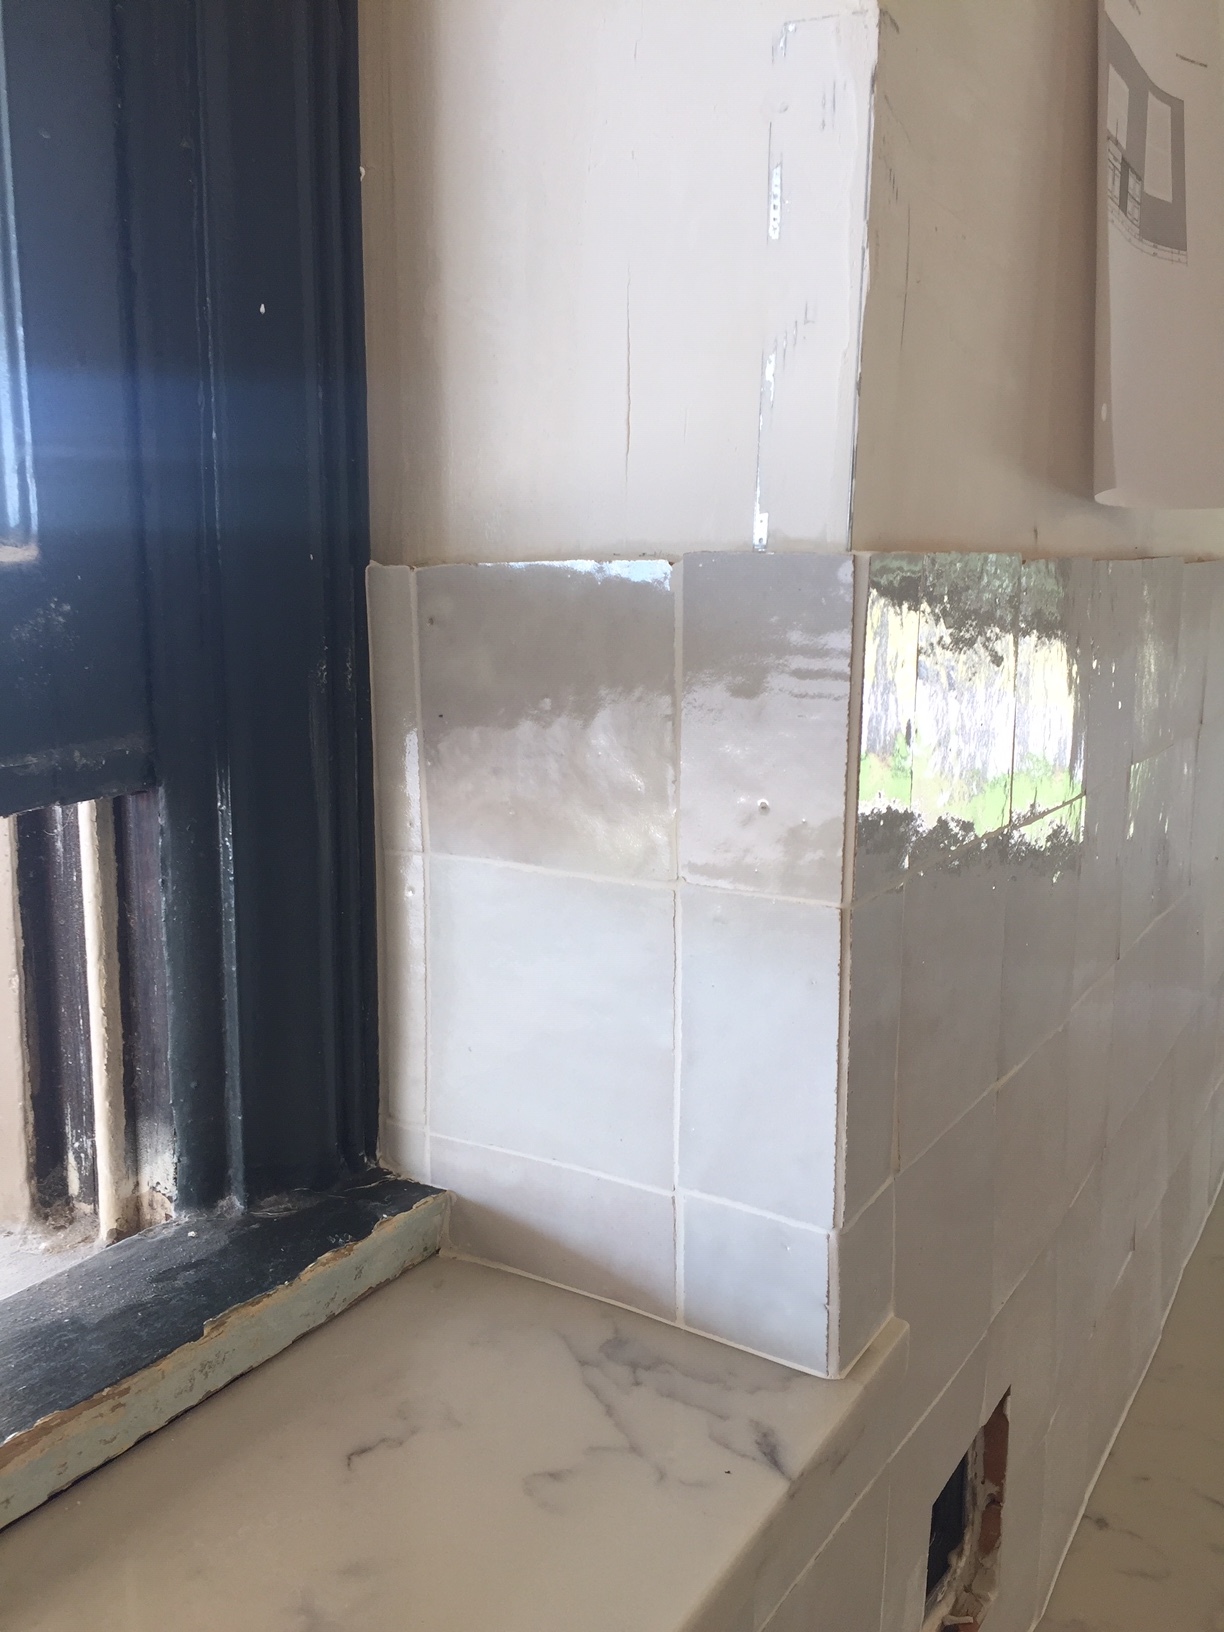
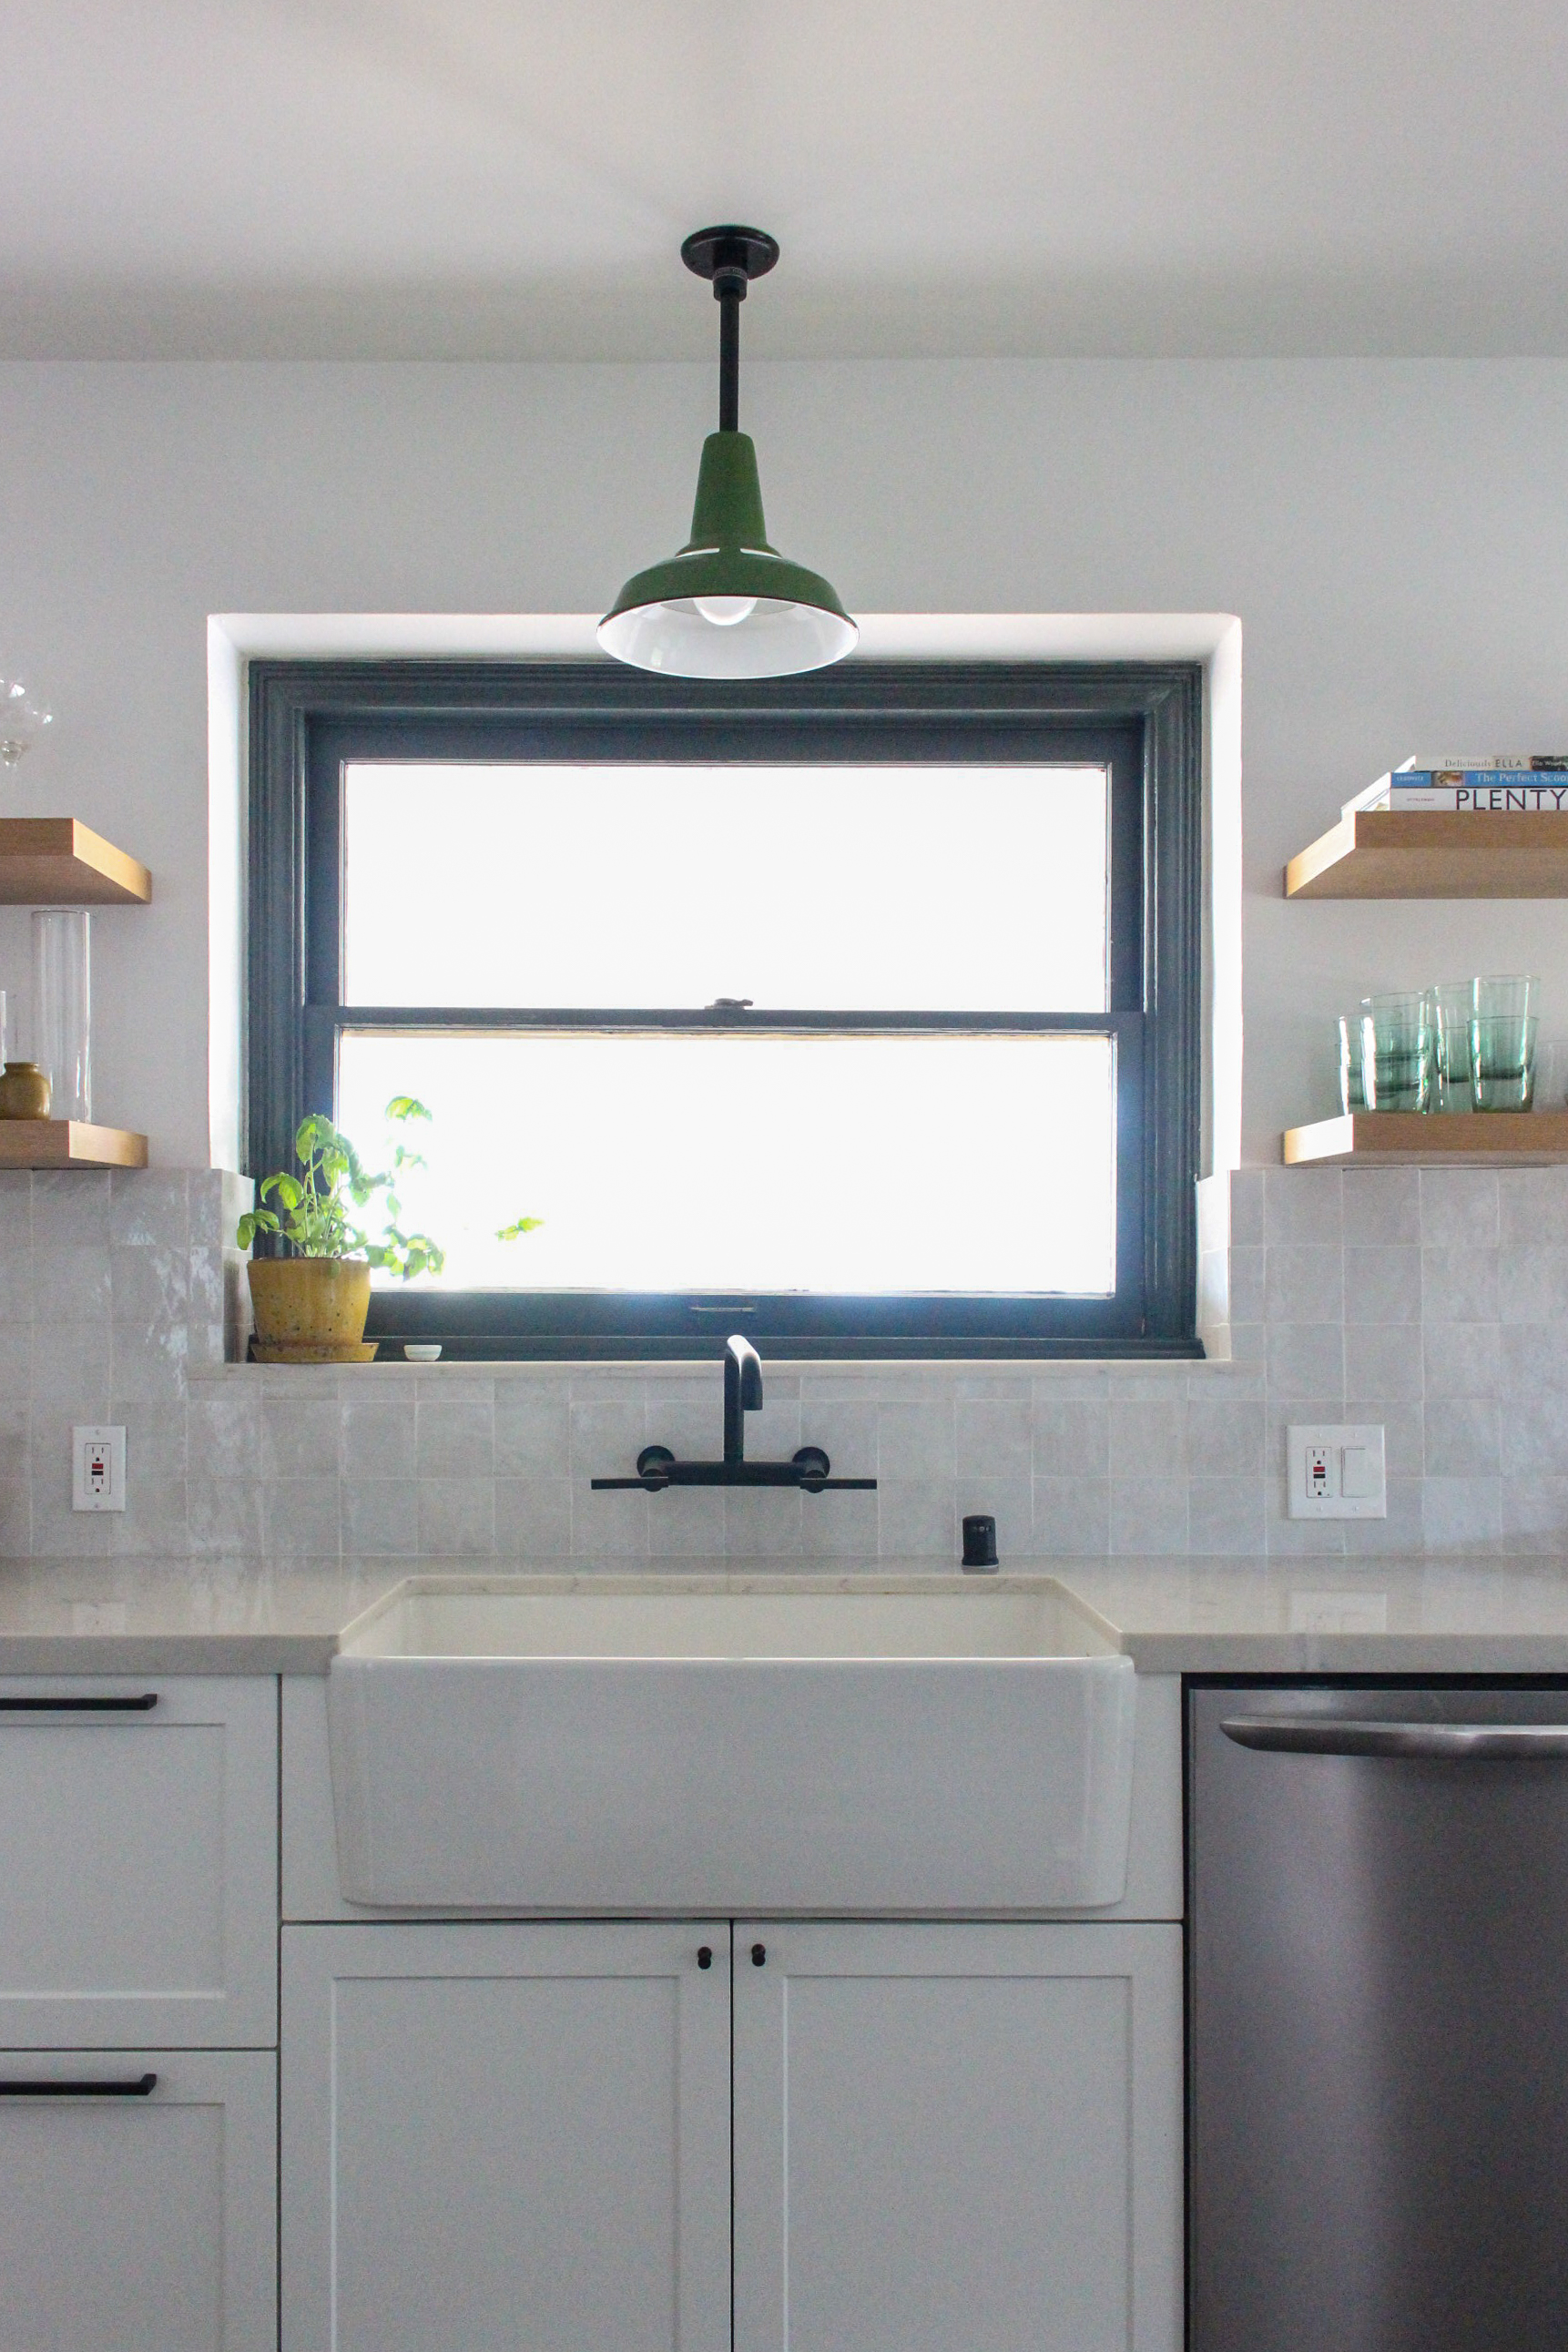
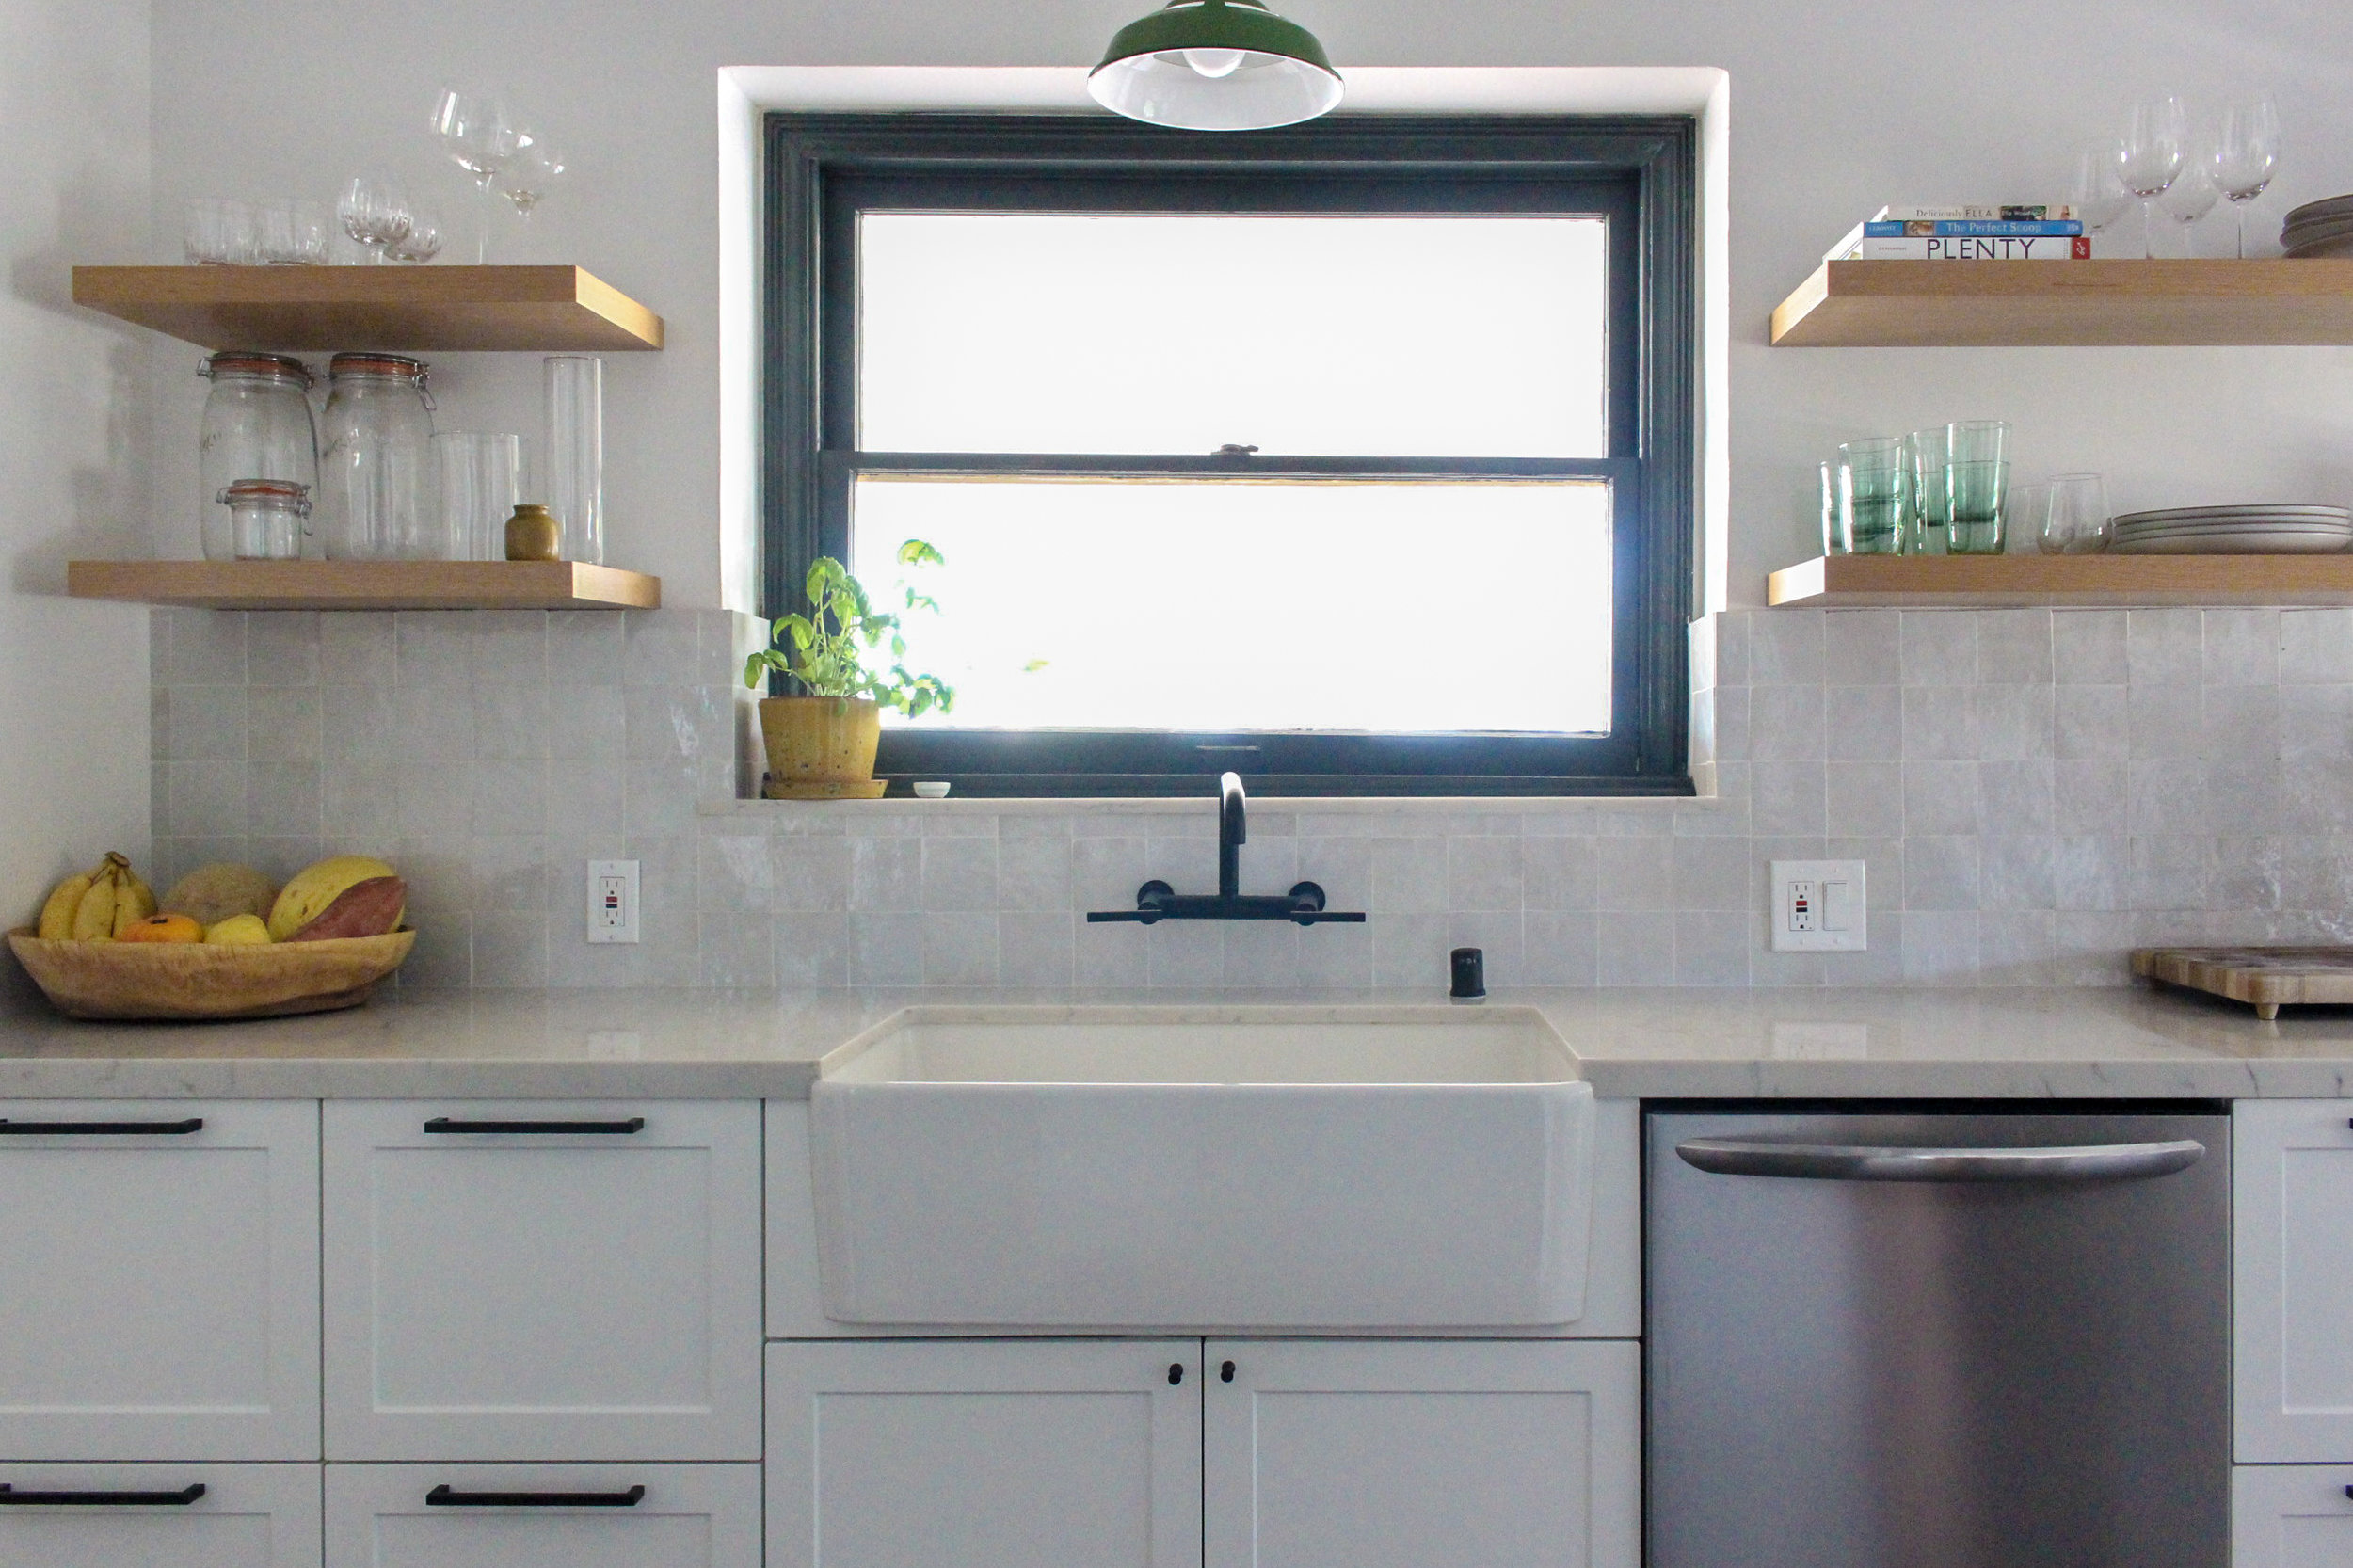
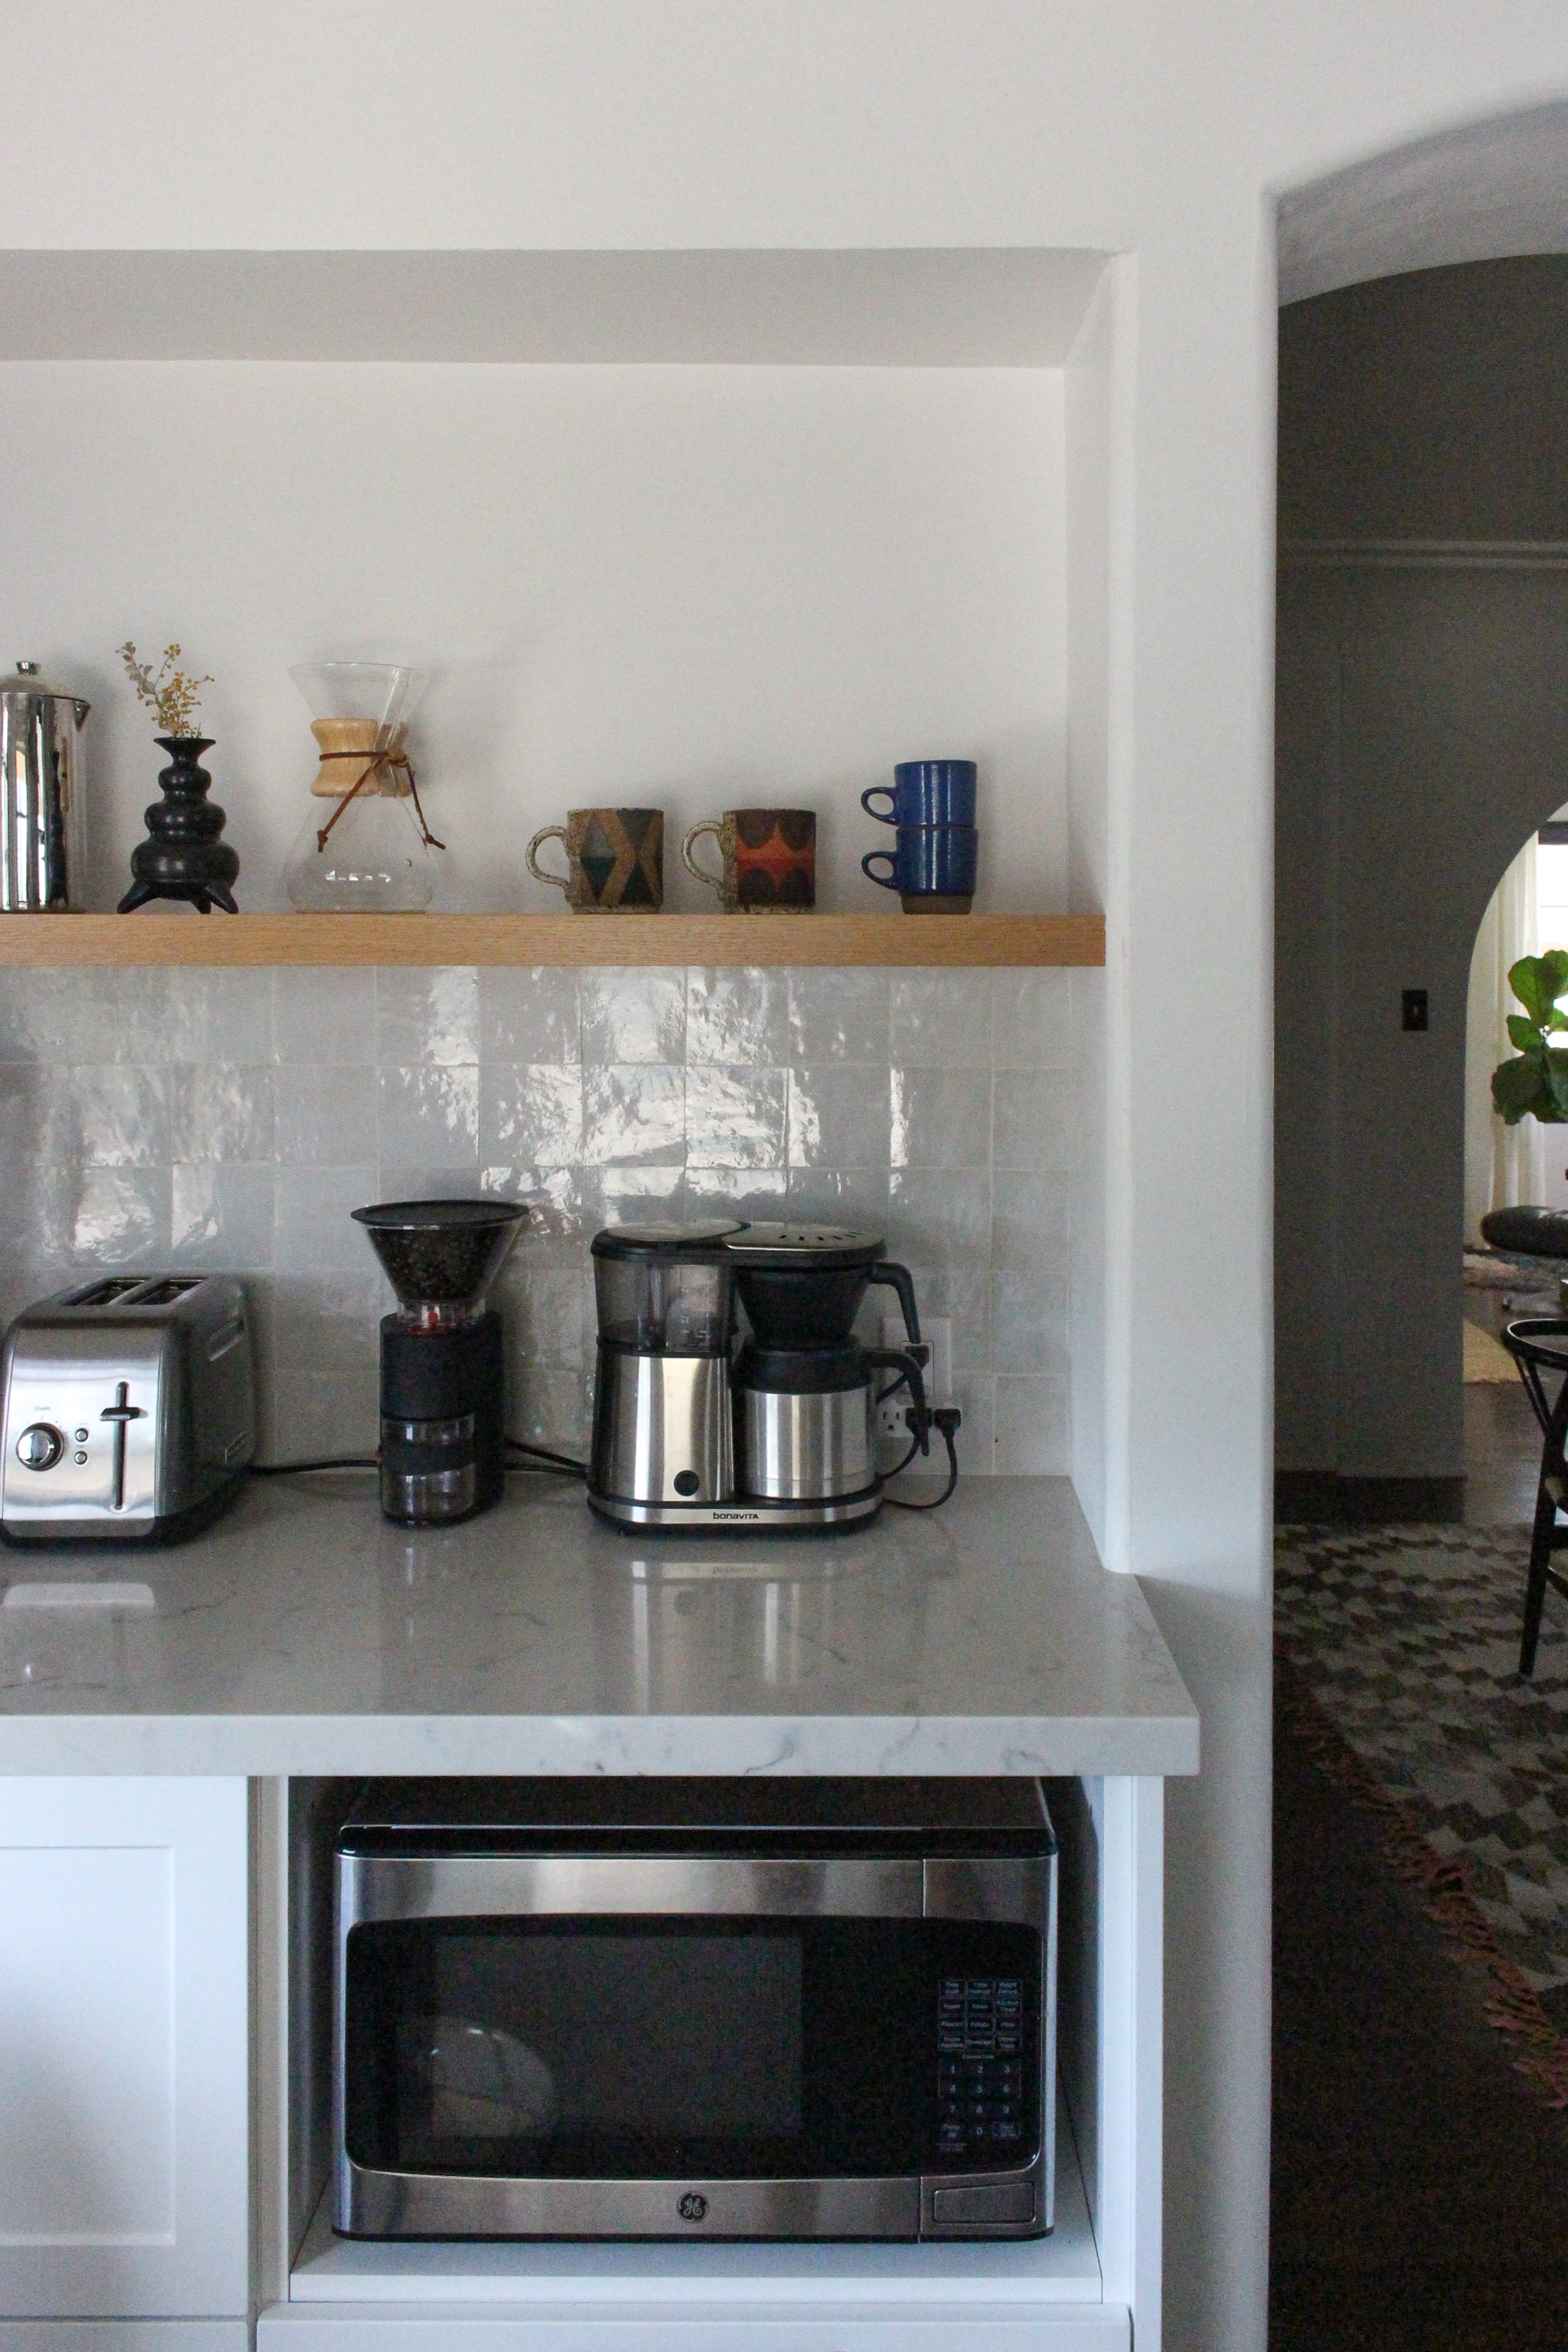
We decided to go neutral with the backsplash - and with the kitchen in general, since kitchens can get pretty cluttered and we wanted to have a calm backdrop for all the visual noise. Multi colored sippies anyone? We didn’t want to go the subway route, or even a geometric pattern or shaped tile. We wanted something that was imperfect and added to the romance that the spanish vibes in the house give off. So after discovering zellige tile we knew we had a winner. We fell in love with the beautiful iridescent, irregular surface and the raw edges perfectly tied into our perfectly imperfect plaster walls. With all the white we needed a bold focal point so behind the stove we went with a graphic moroccan cement tile which would play off the dark floor and the black accents in the kitchen.

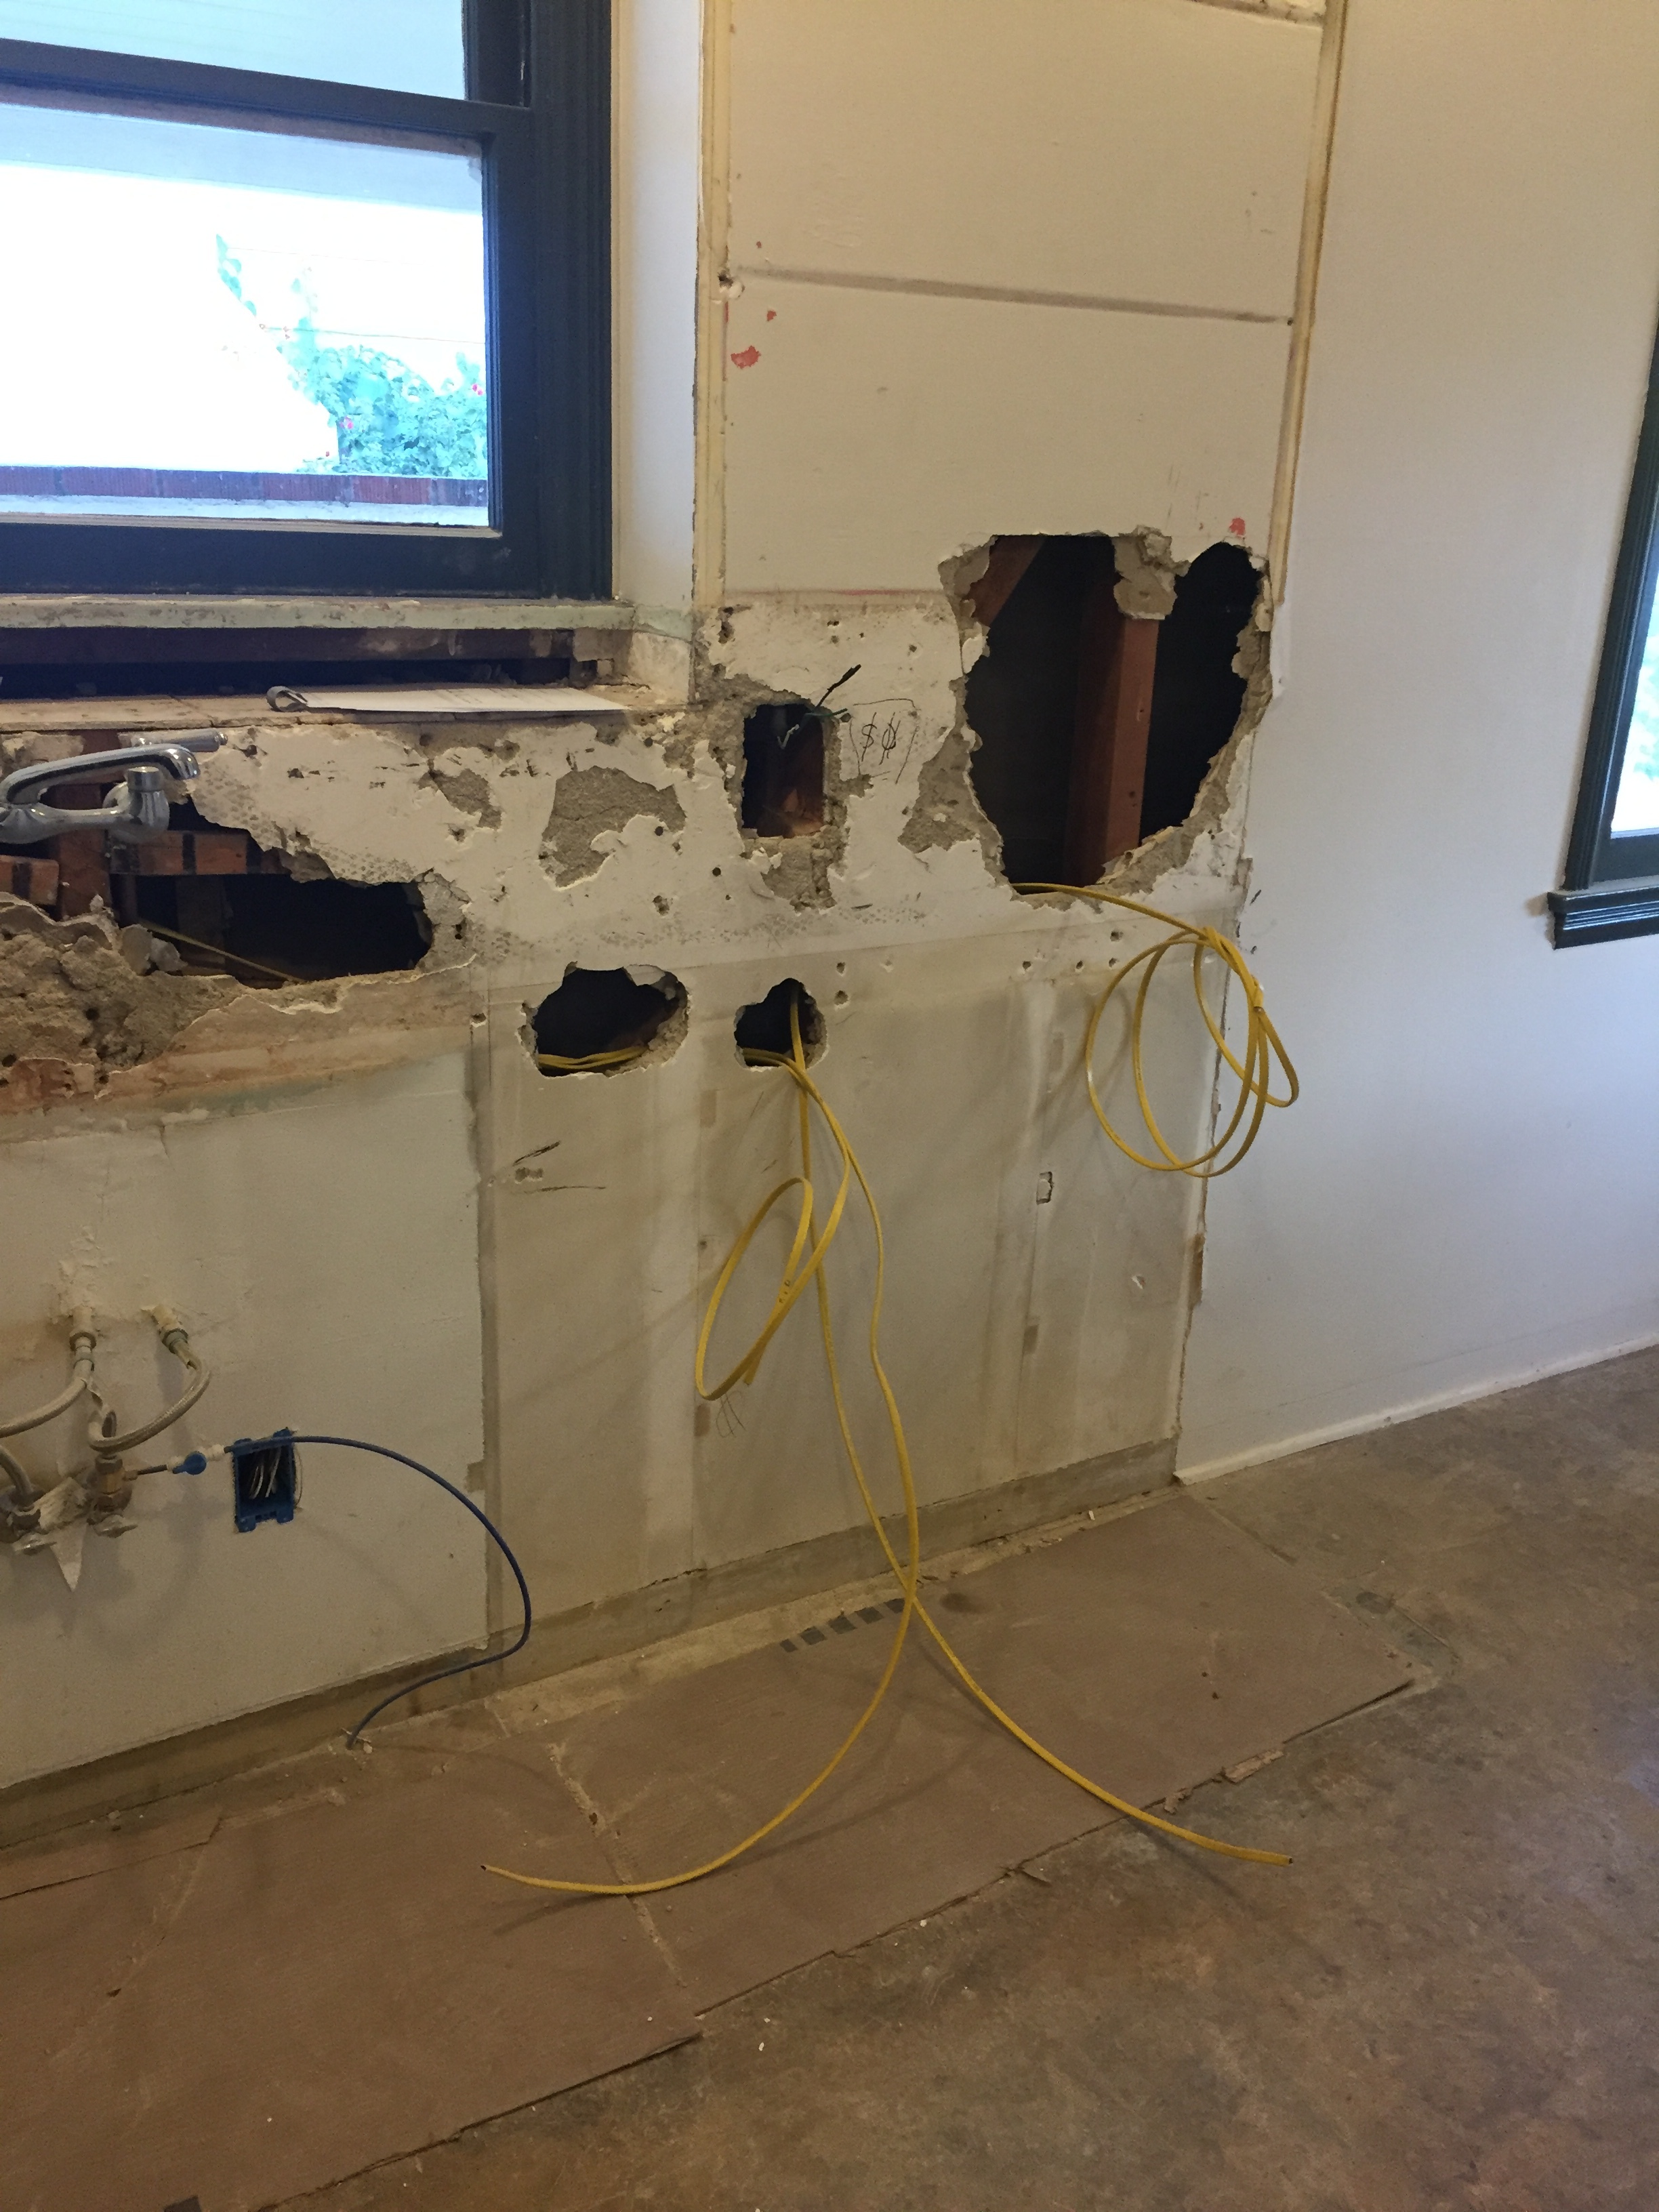
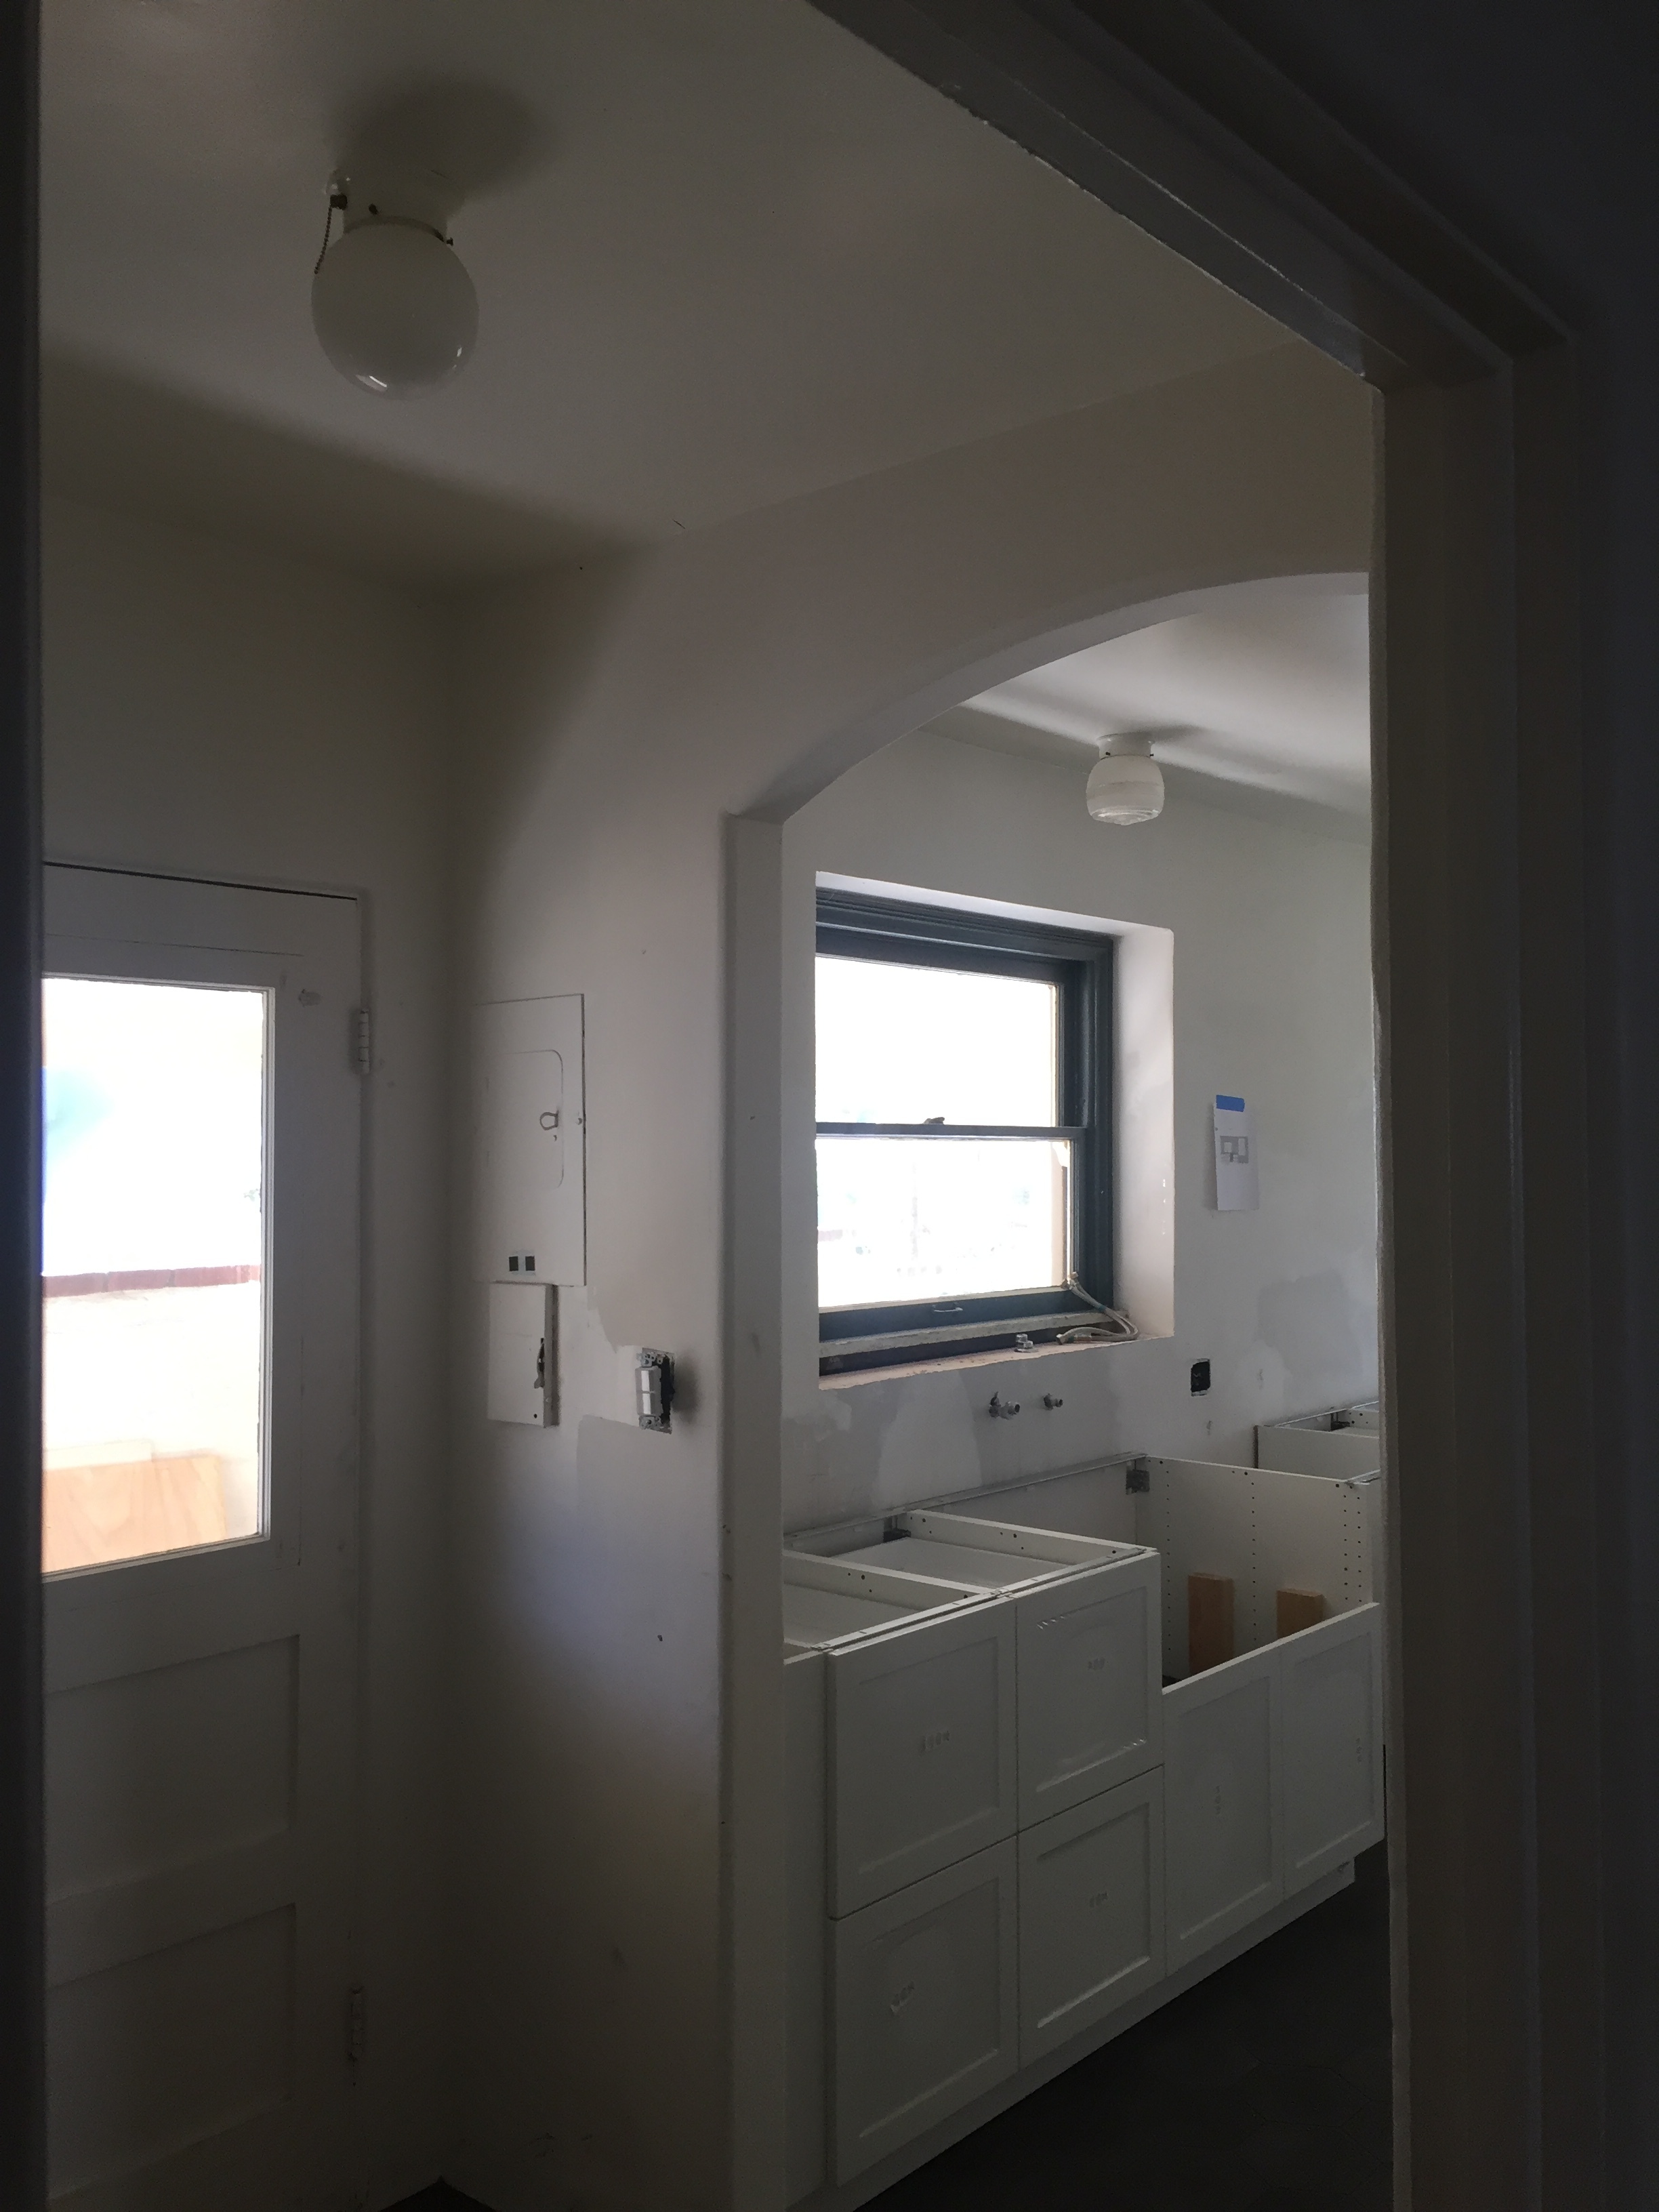
After getting a few quotes from contractors we opted to take the job on ourselves and I’m happy to say our sanity and marriage survived! It was actually a great decision since were able to keep a close eye on everything and ensure the integrity of the design stayed on track. I’ll spare you guys the tedium of the 6 week construction details (most of which was spent waiting for the faucet and light to arrive) and skip right to the progress pics.

Progress Photos:

IMG_4768.JPG
IMG_4868.JPG
IMG_4812.JPG
IMG_4826.JPG
IMG_4931.JPG
IMG_5157.JPG
IMG_5159.JPG
IMG_5161.JPG
IMG_5194.JPG
IMG_5208.JPG
IMG_5220.JPG
IMG_5215.JPG

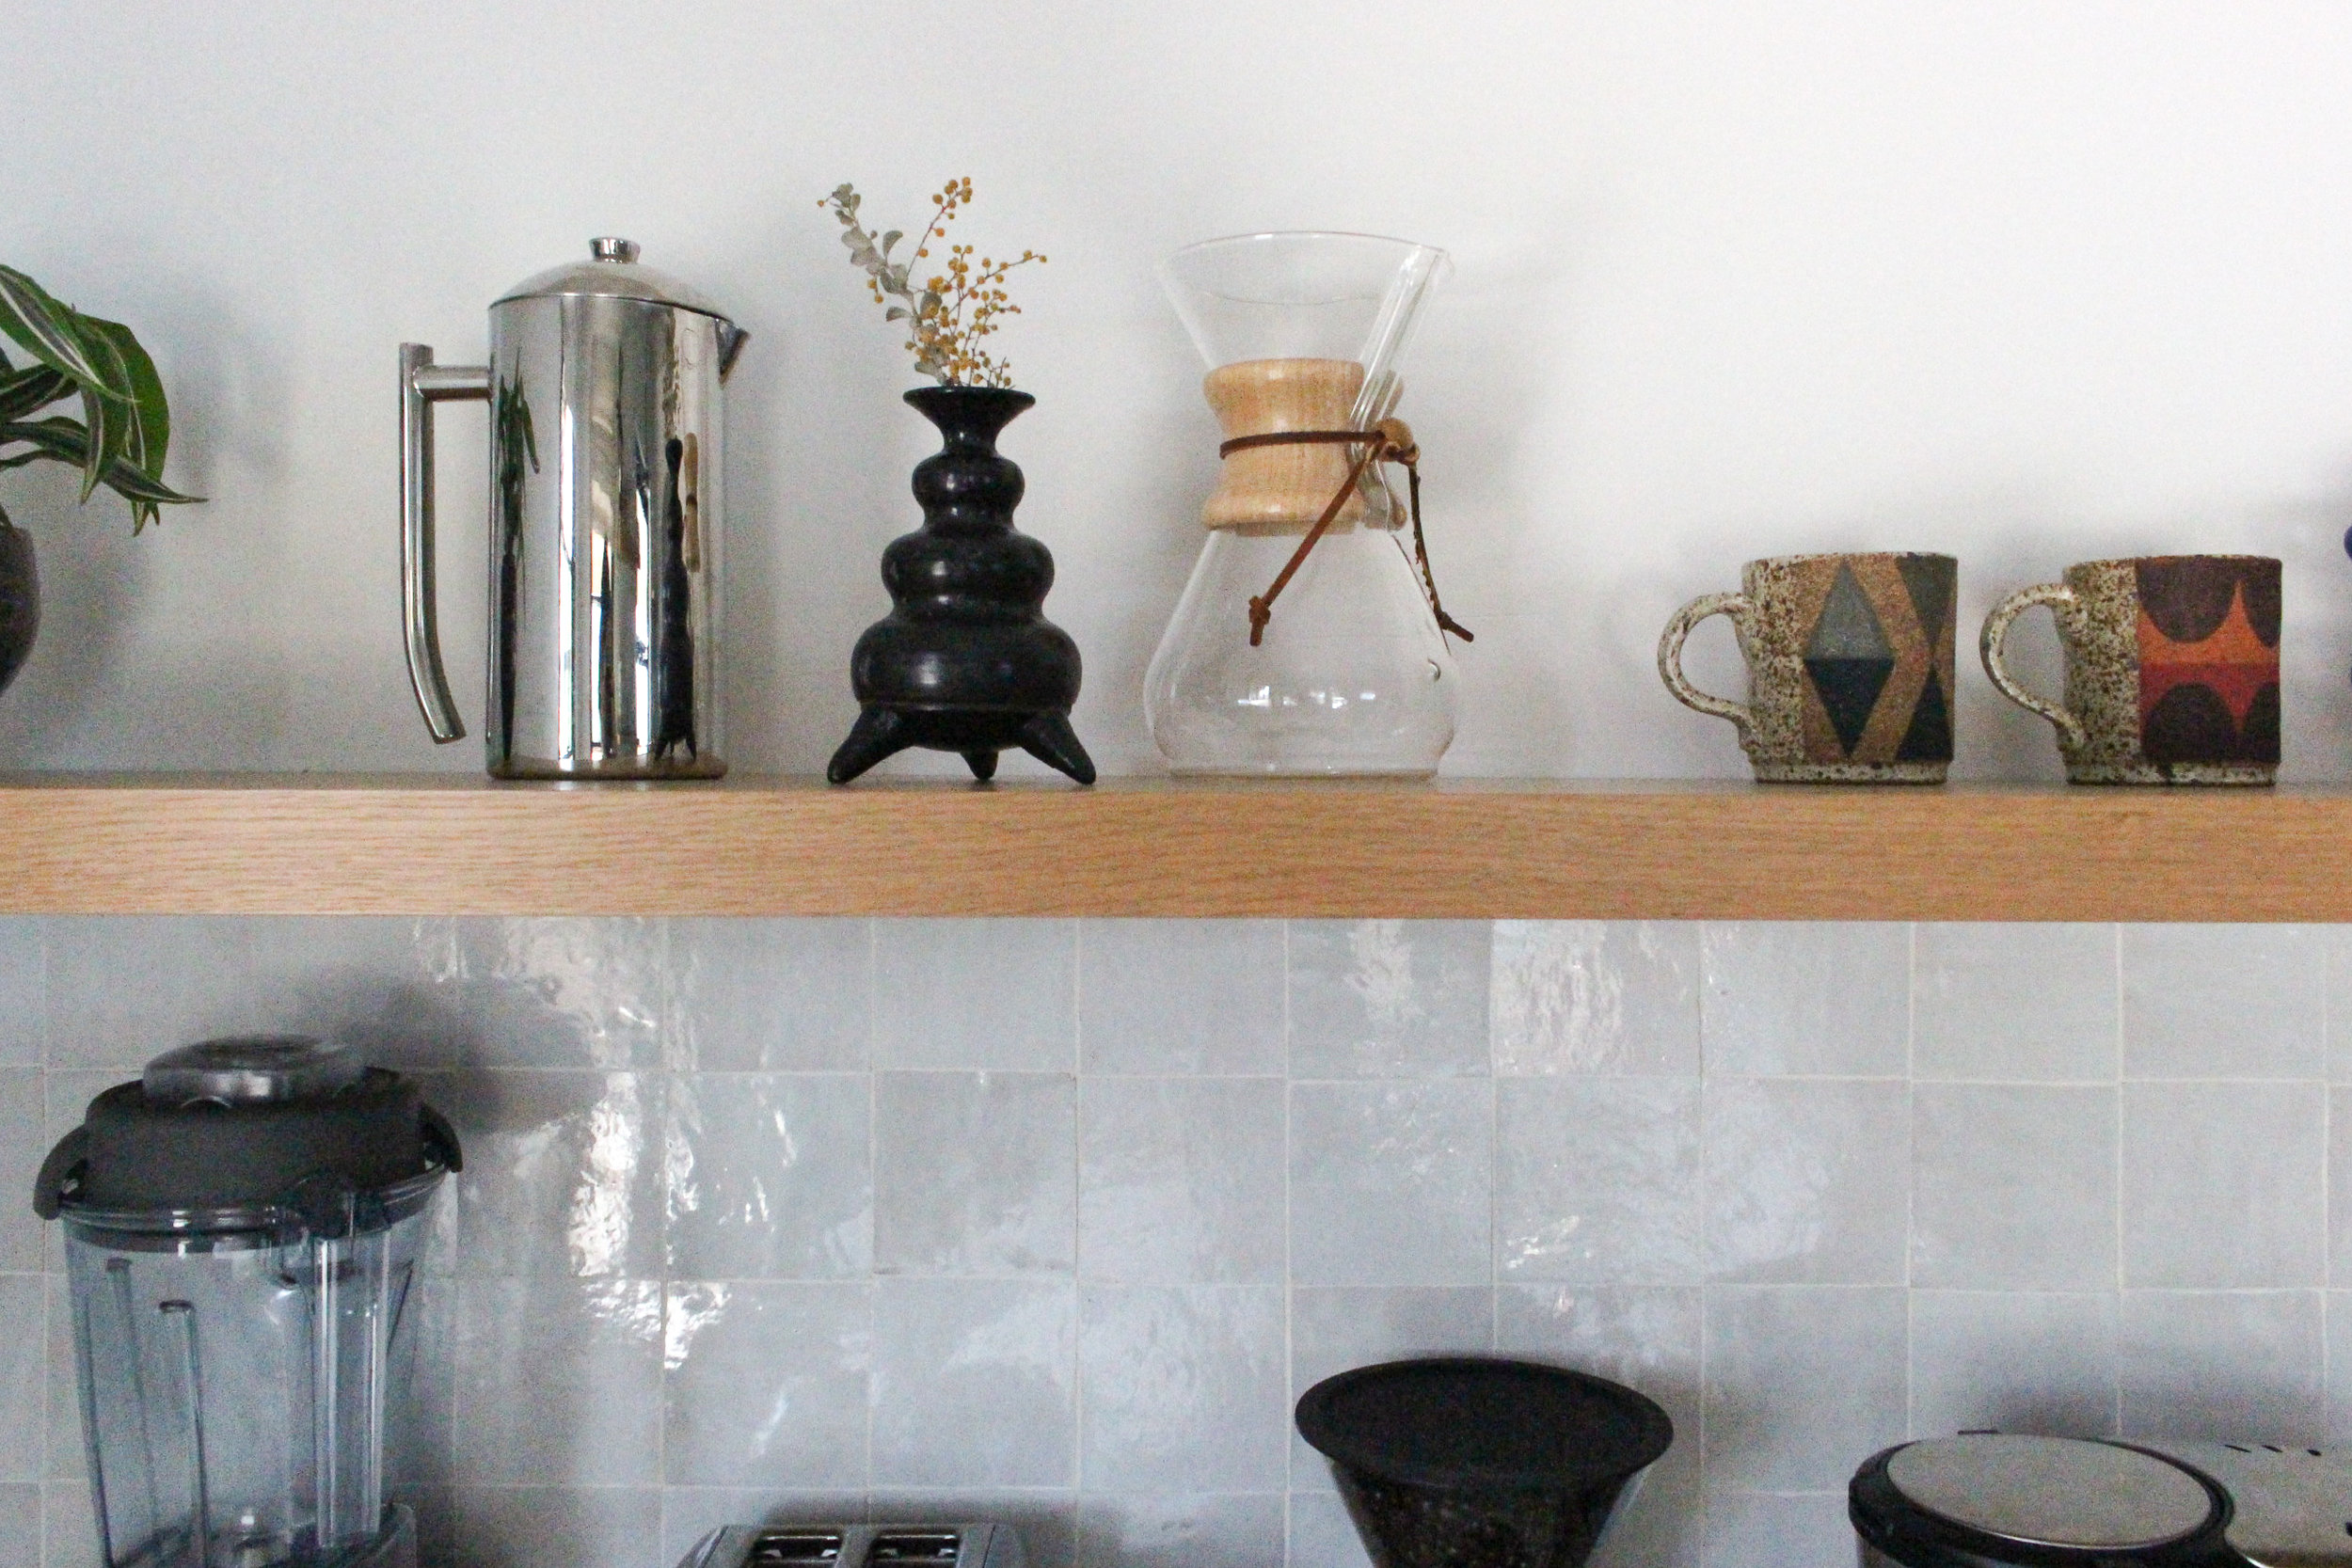
After all that hard work, we had a few other loose ends to take care of, like mounting the shelves, ordering window treatments and installing the Elfa system in the pantry. So here’s how it turned out! I hesitate to say its finished because we’re always #housetweaking so in my mind its always a work in progress.

After:

CraryKitchen-6640.jpg
CraryKitchen-6544.jpg
CraryKitchen-6530.jpg
CraryKitchen-6503.jpg
CraryKitchen-6496.jpg
CraryKitchen-6522.jpg
CraryKitchen-6466.jpg
CraryKitchen-6581.jpg
CraryKitchen-6582.jpg
CraryKitchen-6680.jpg
CraryKitchen-6662.jpg
CraryKitchen-6452.jpg
CraryKitchen-6587.jpg

Hope you enjoyed reliving our kitchen reno journey! Now I’m itching to do another one - anyone game? xo -jojo

tags: harrison hacienda, kitchen design, hometour, reno, reveal
categories: design process, interior design, harrison hacienda, before and after
Wednesday 10.03.18
Posted by Joanna Harrison
 

Master Bedroom Refresh

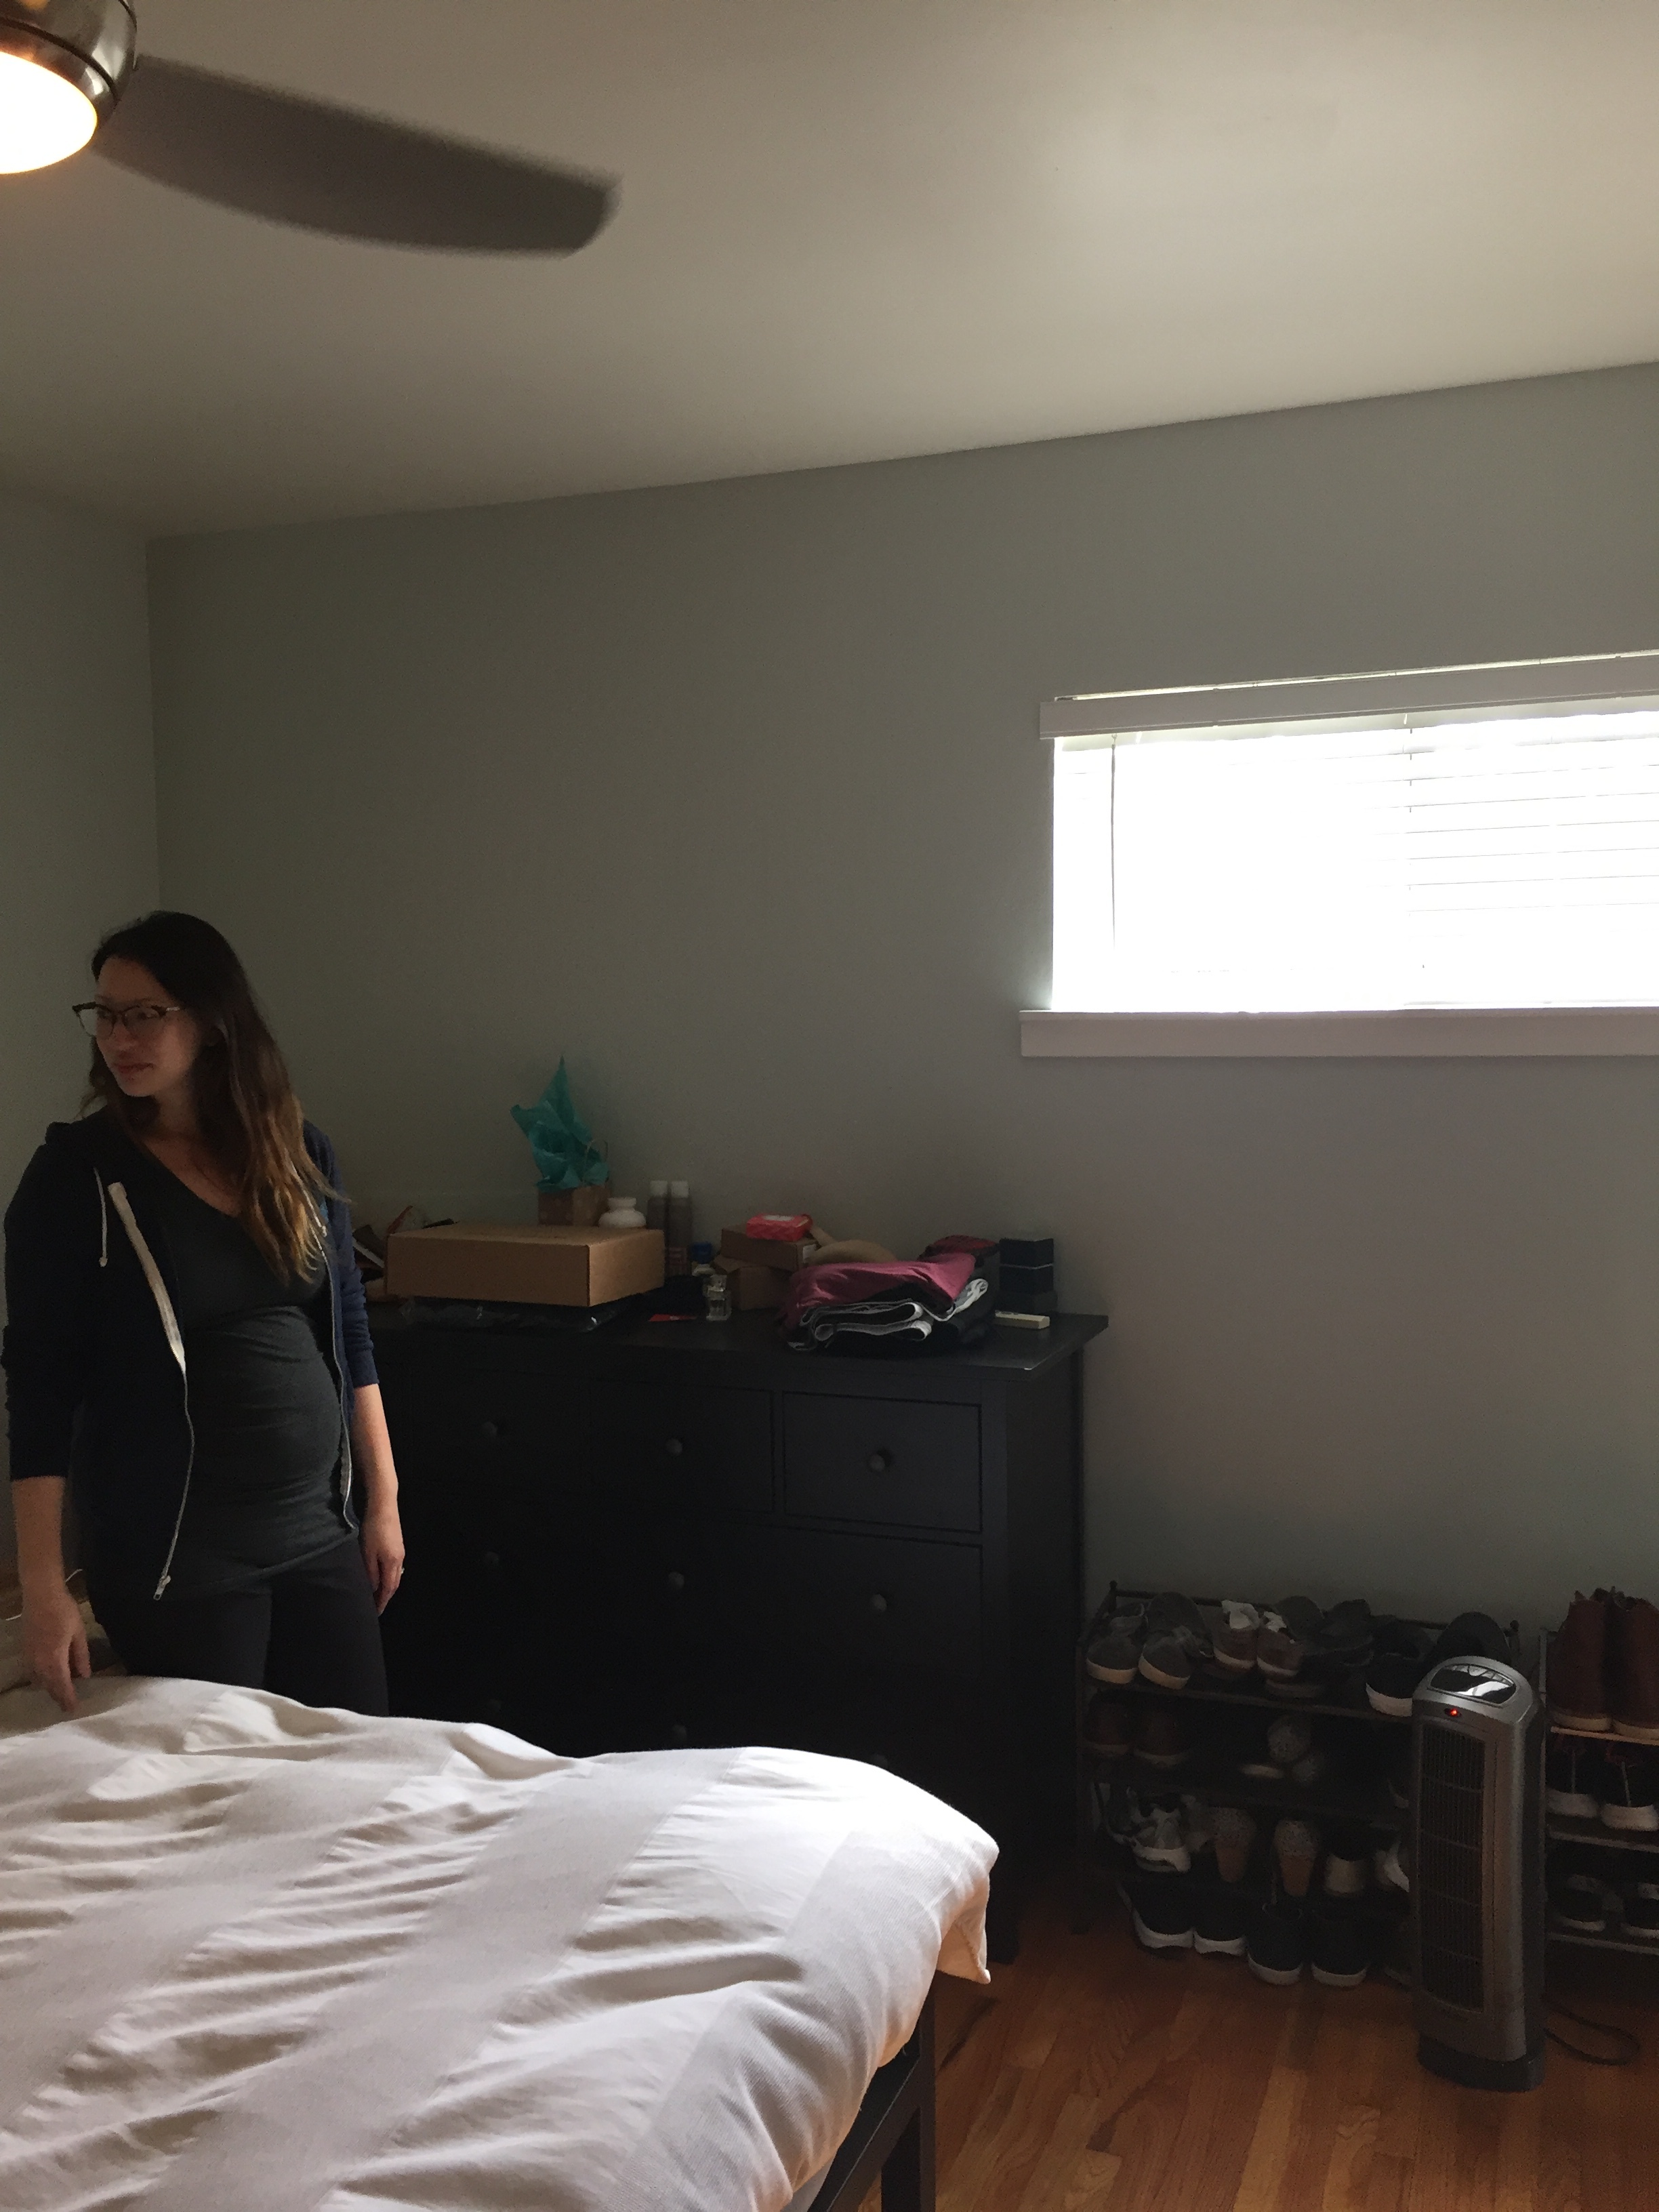
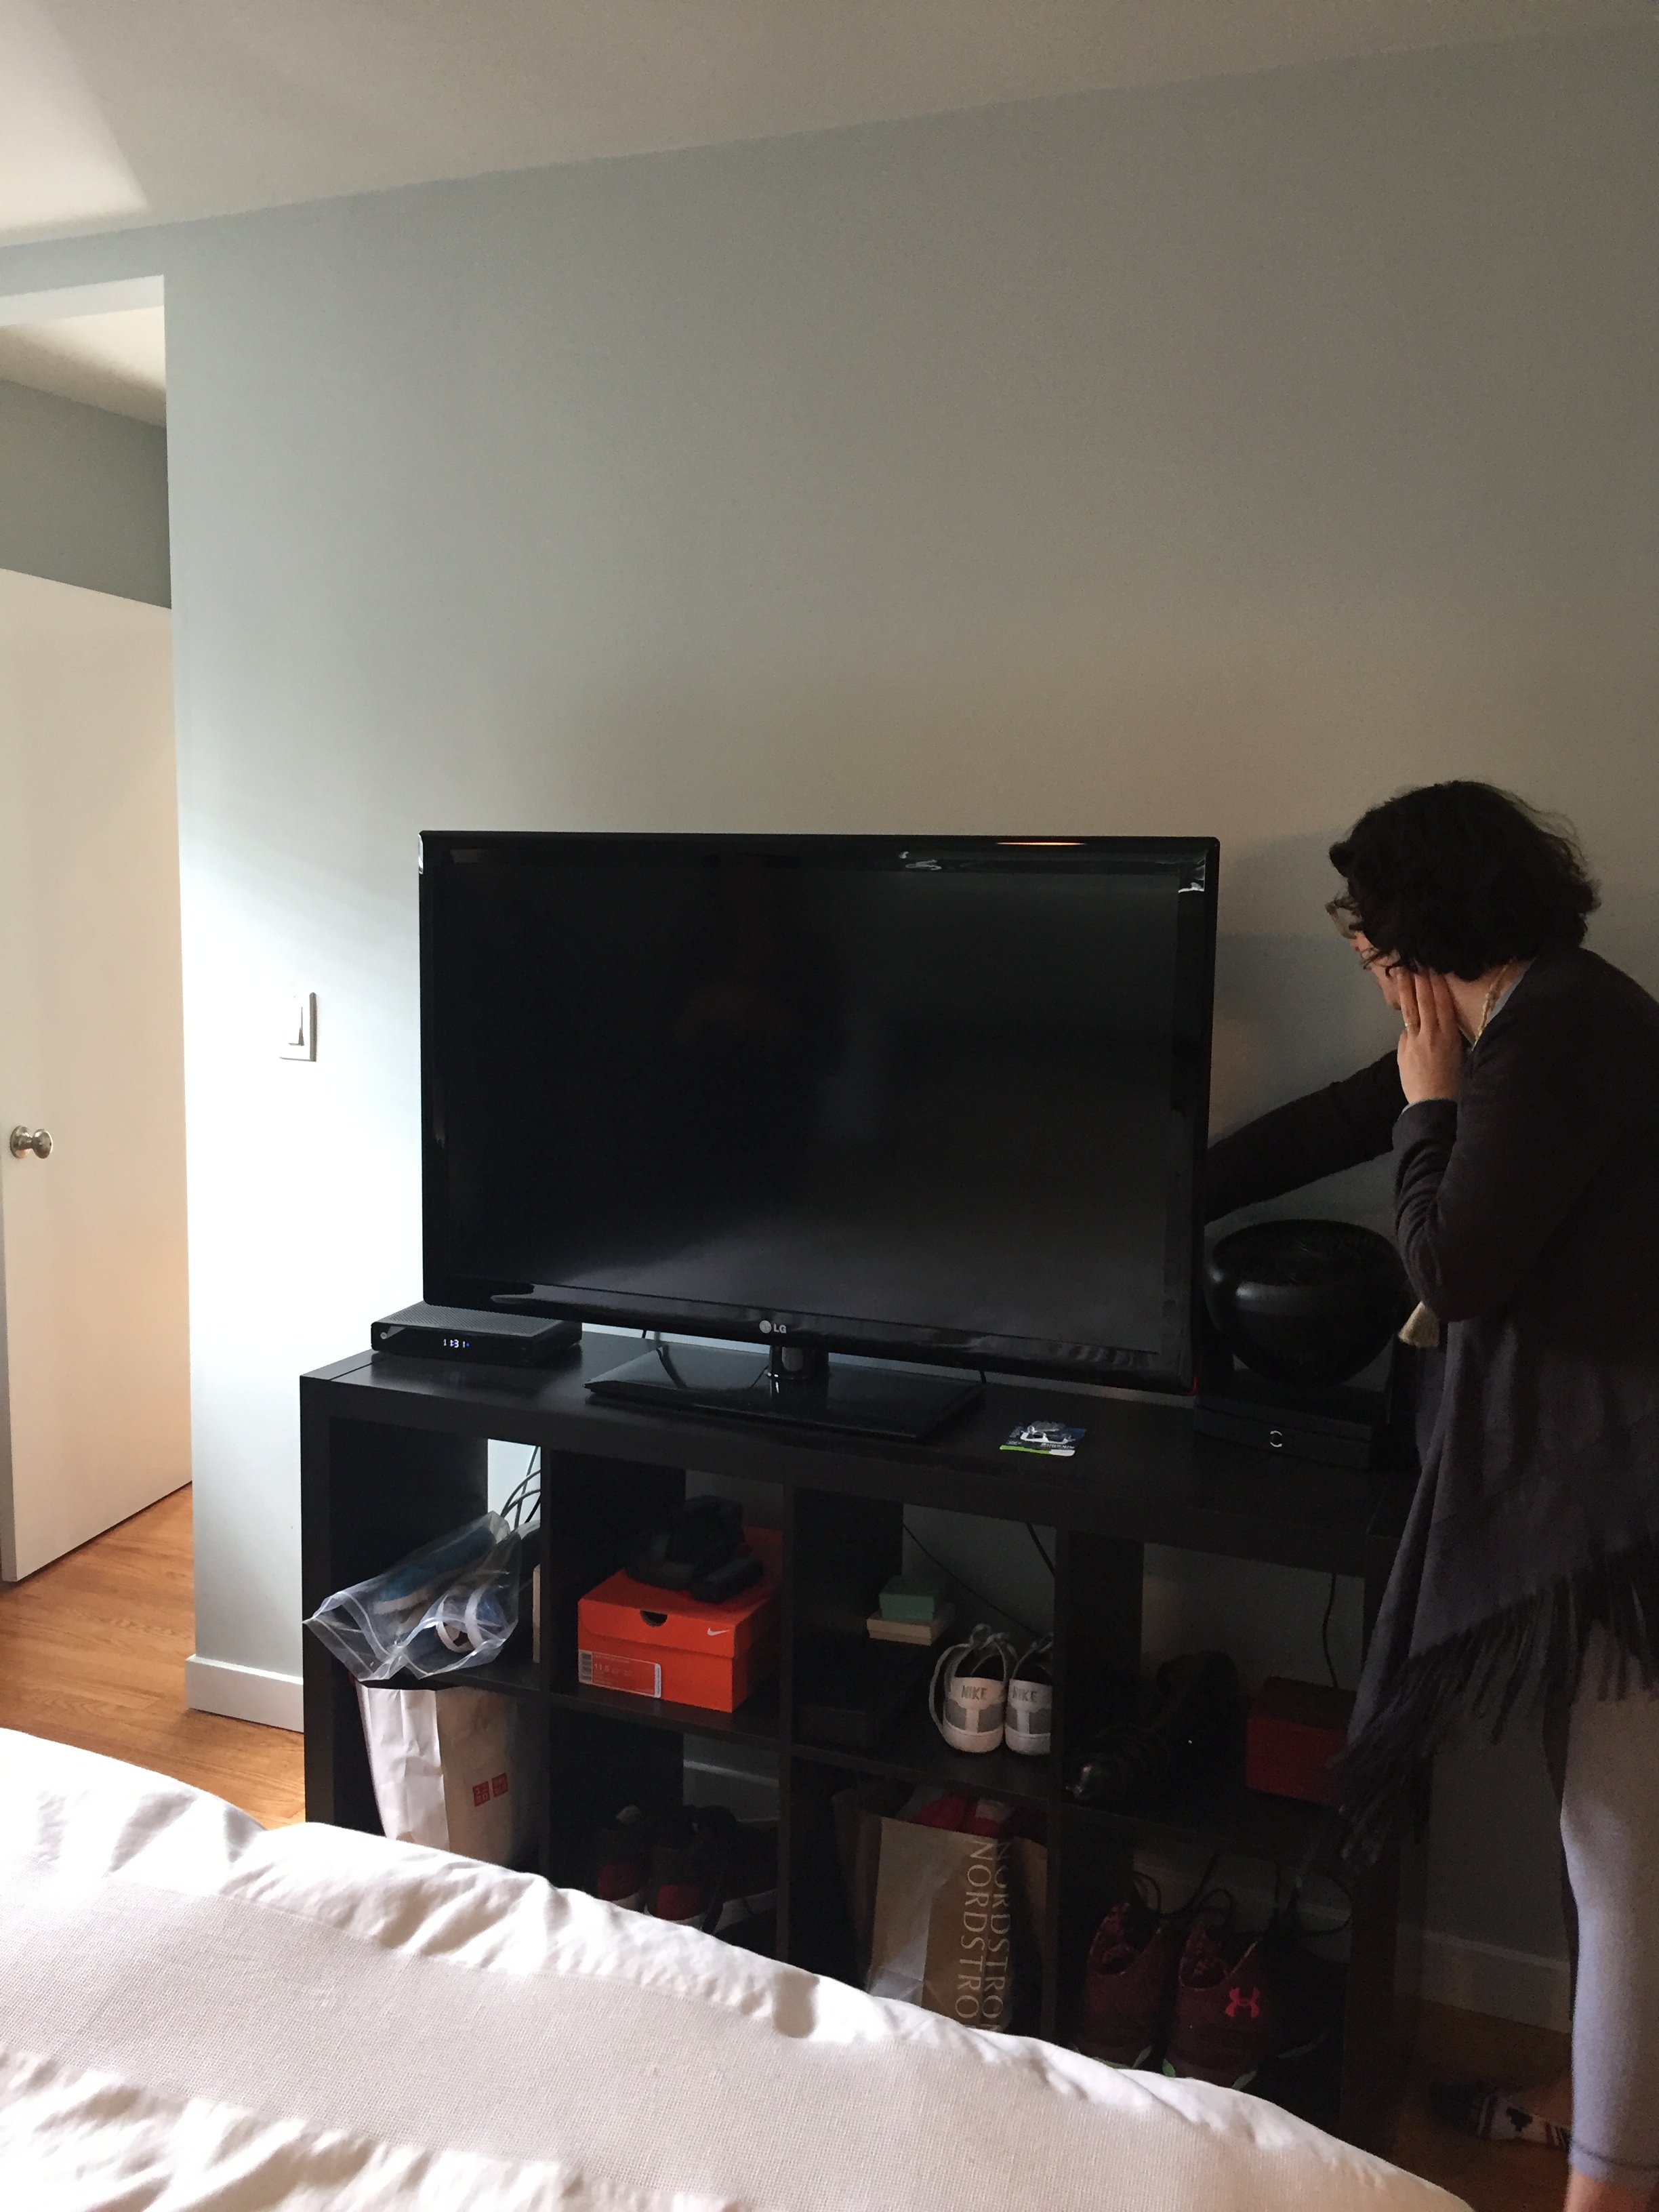
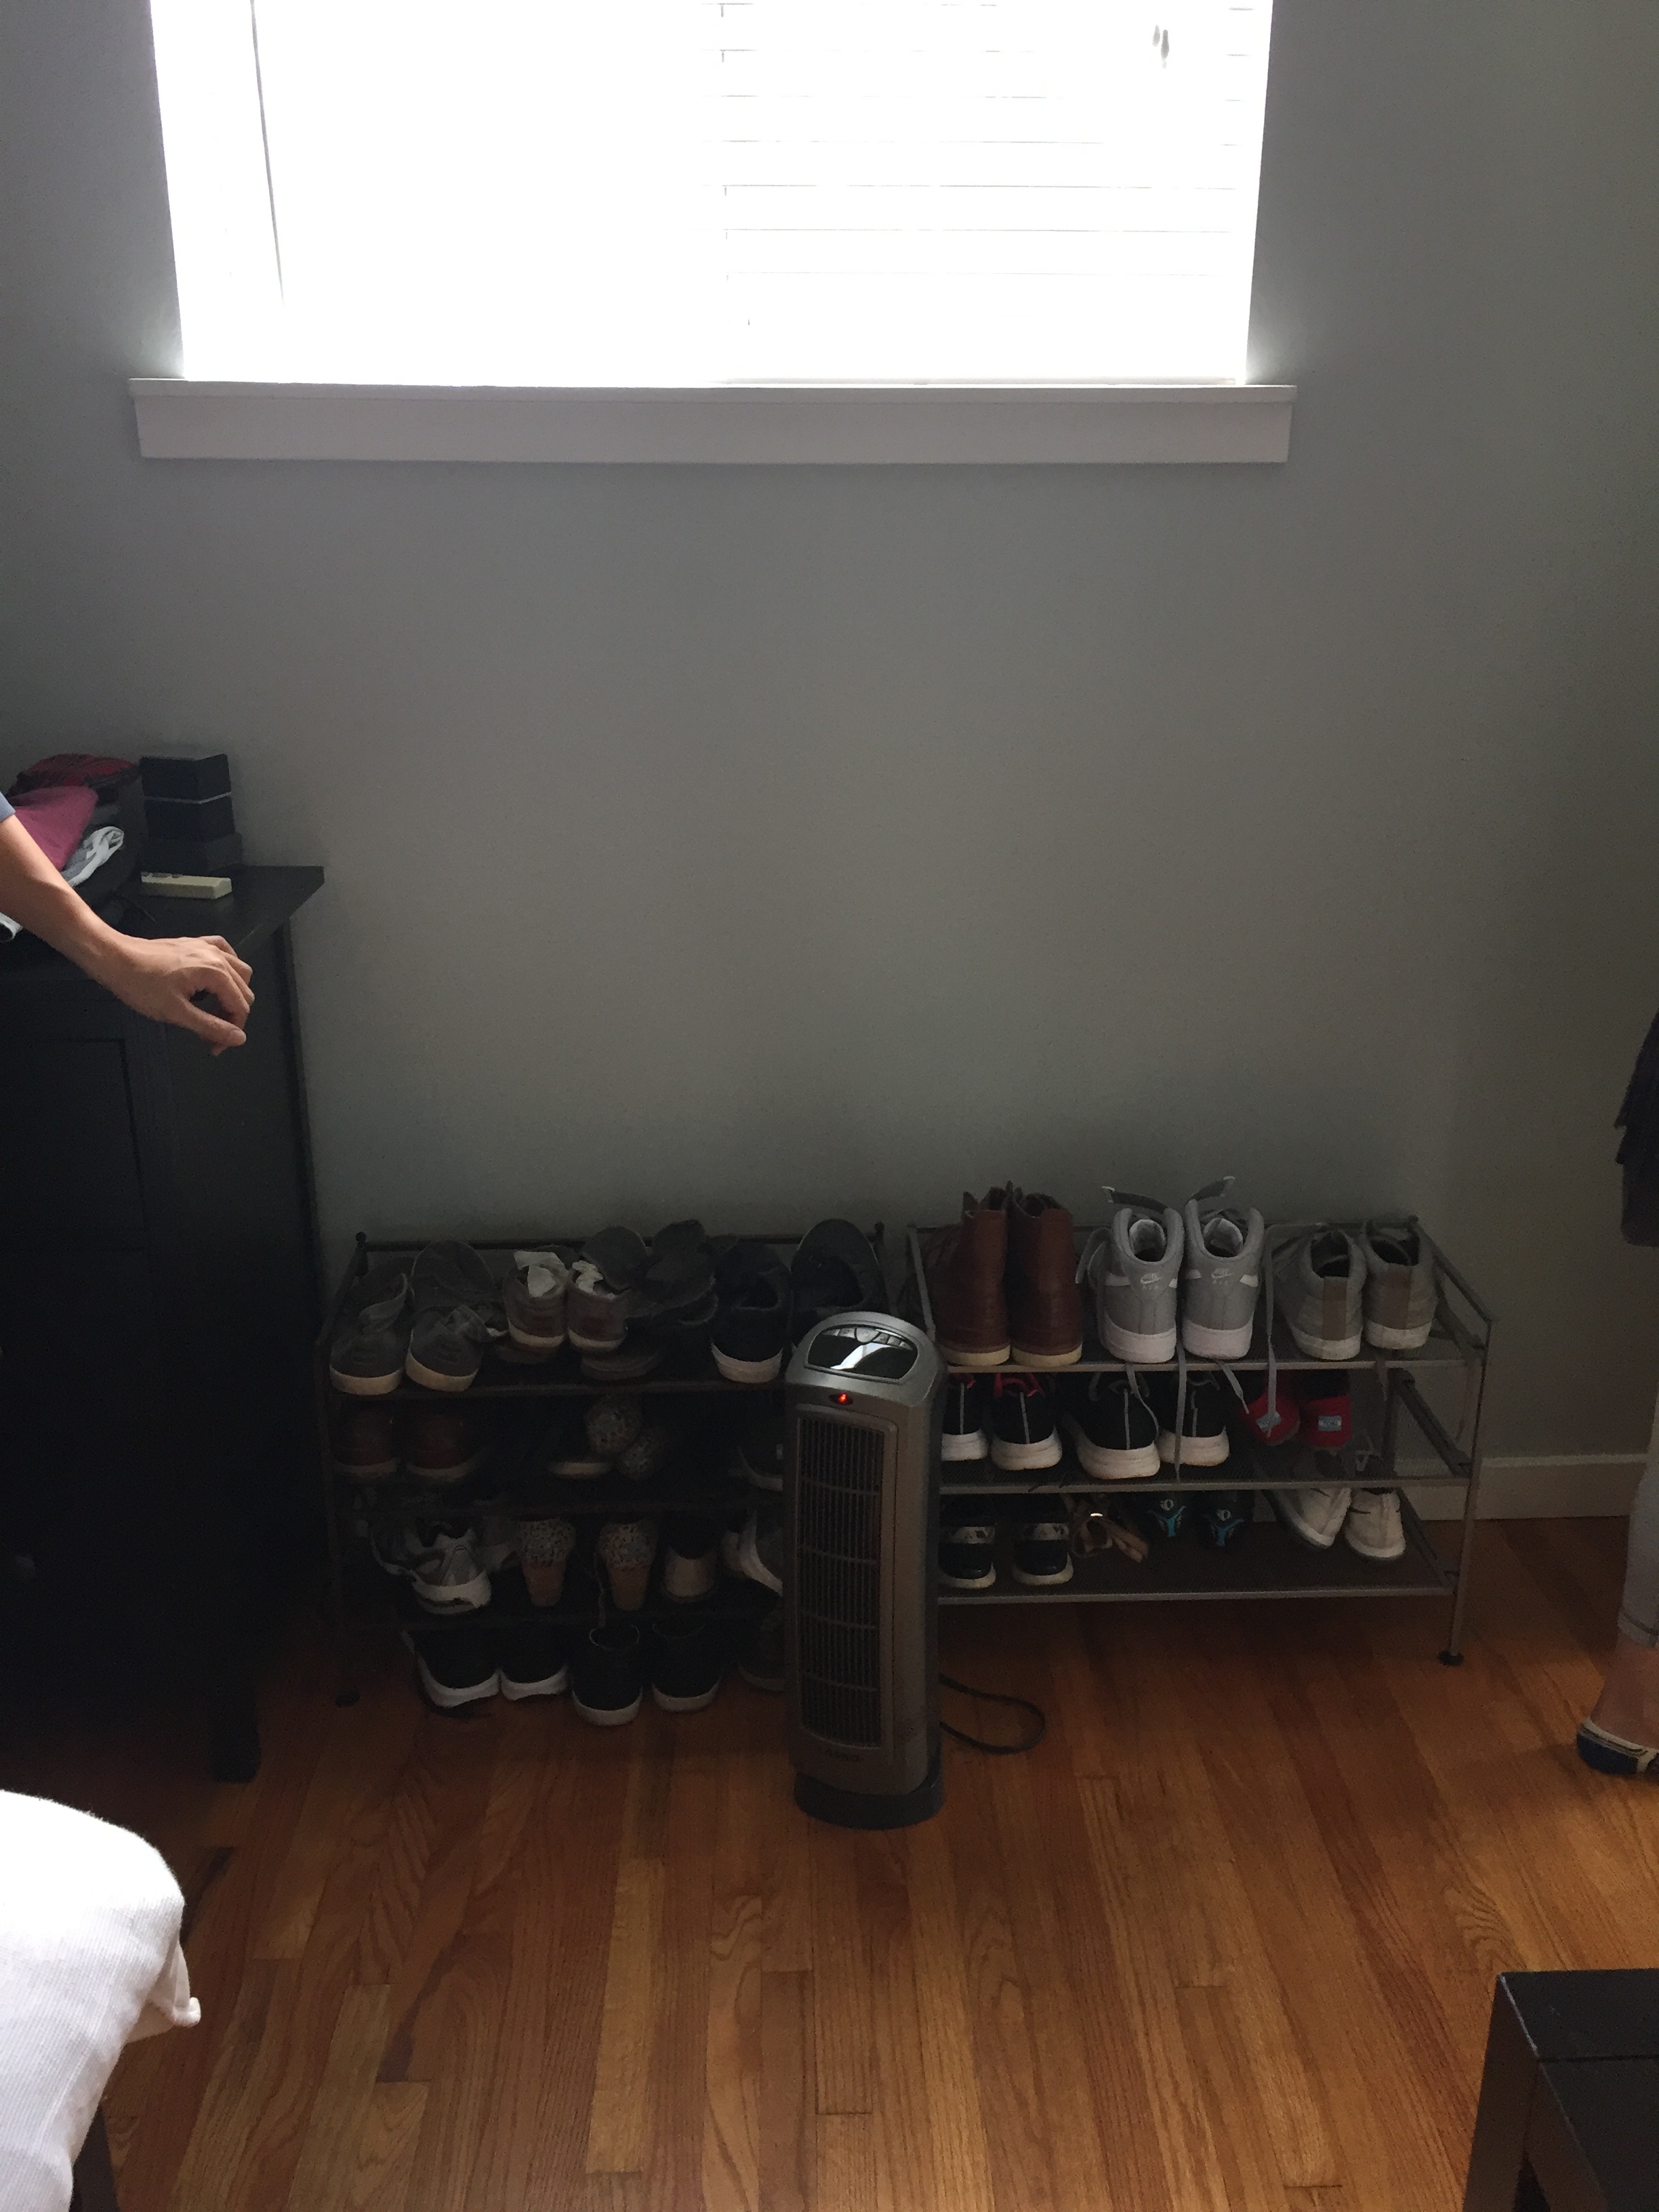
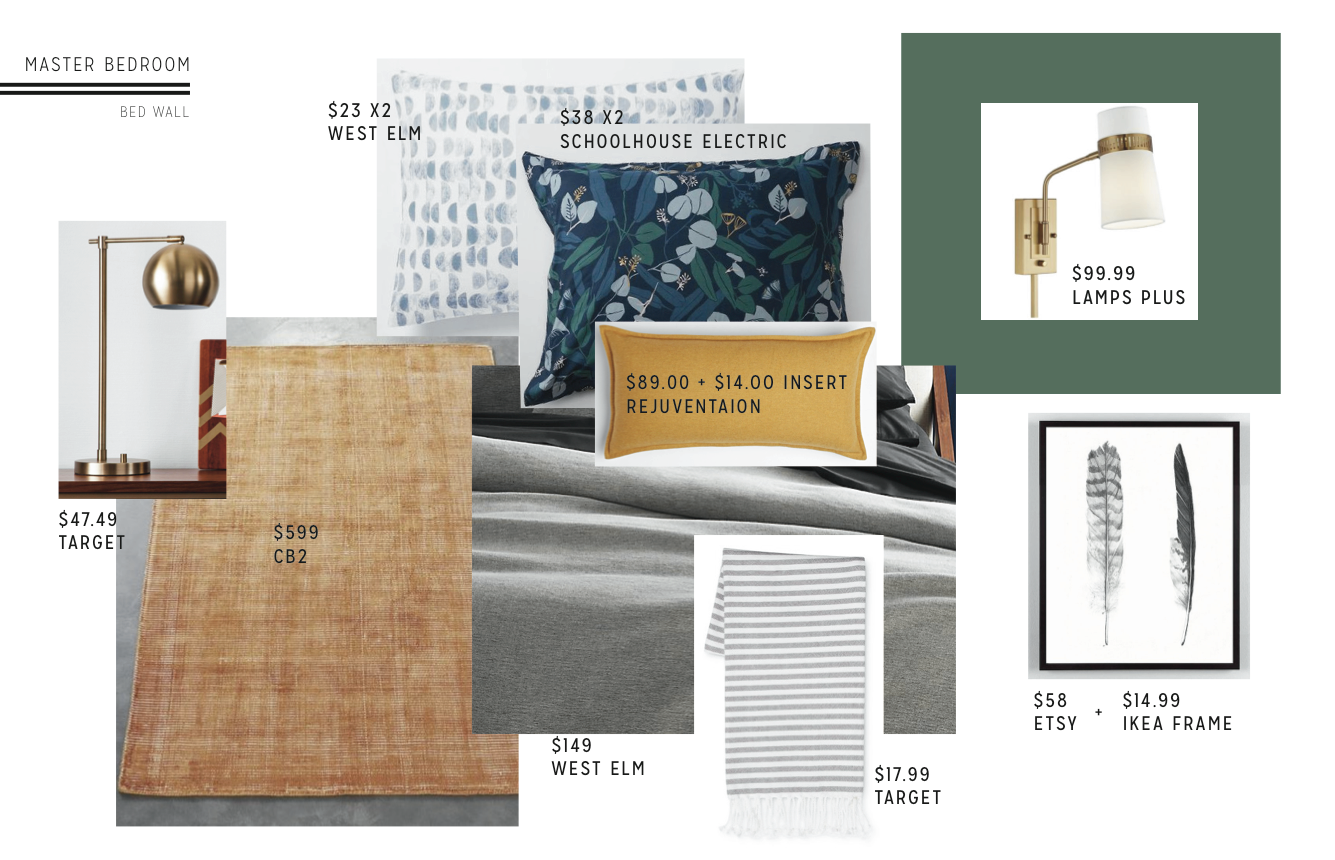
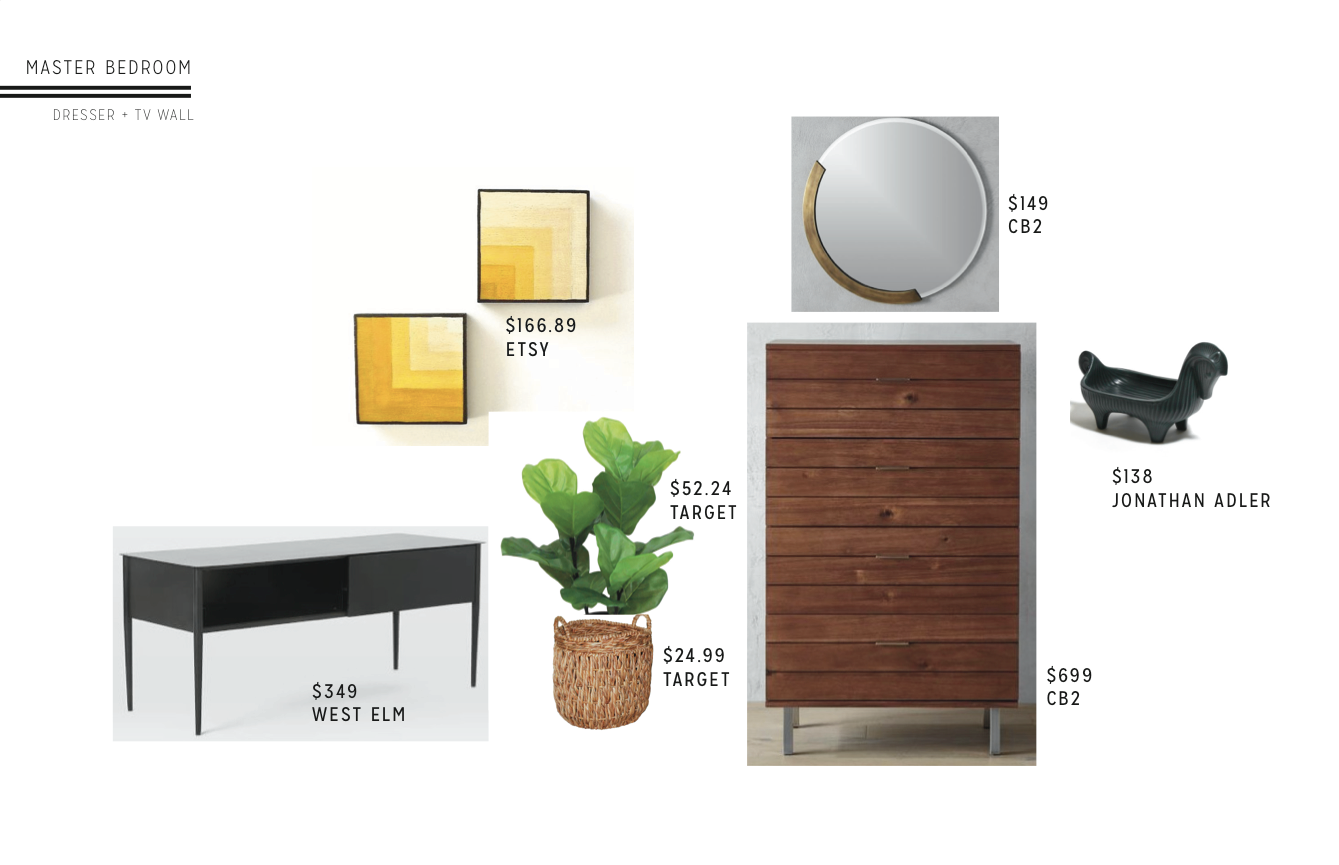
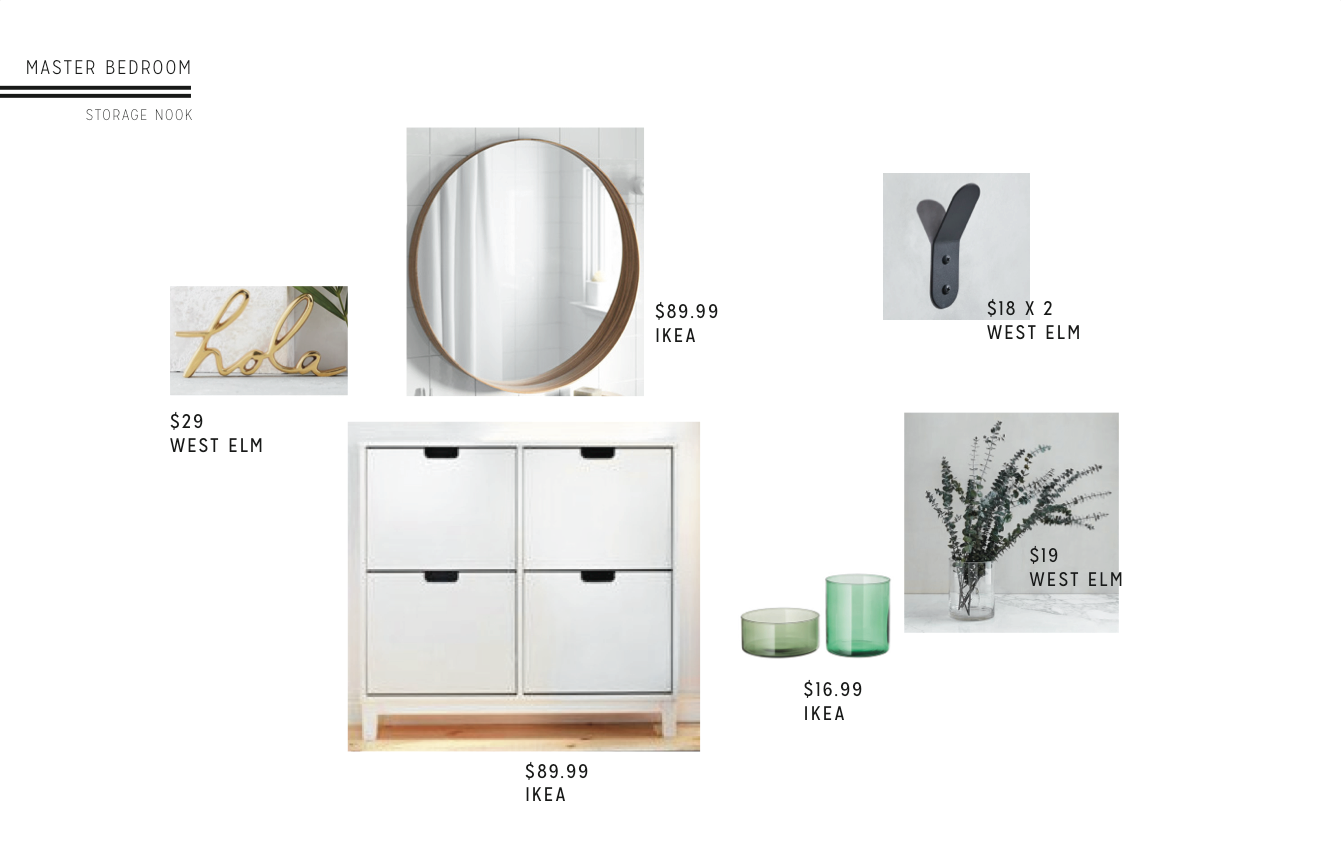
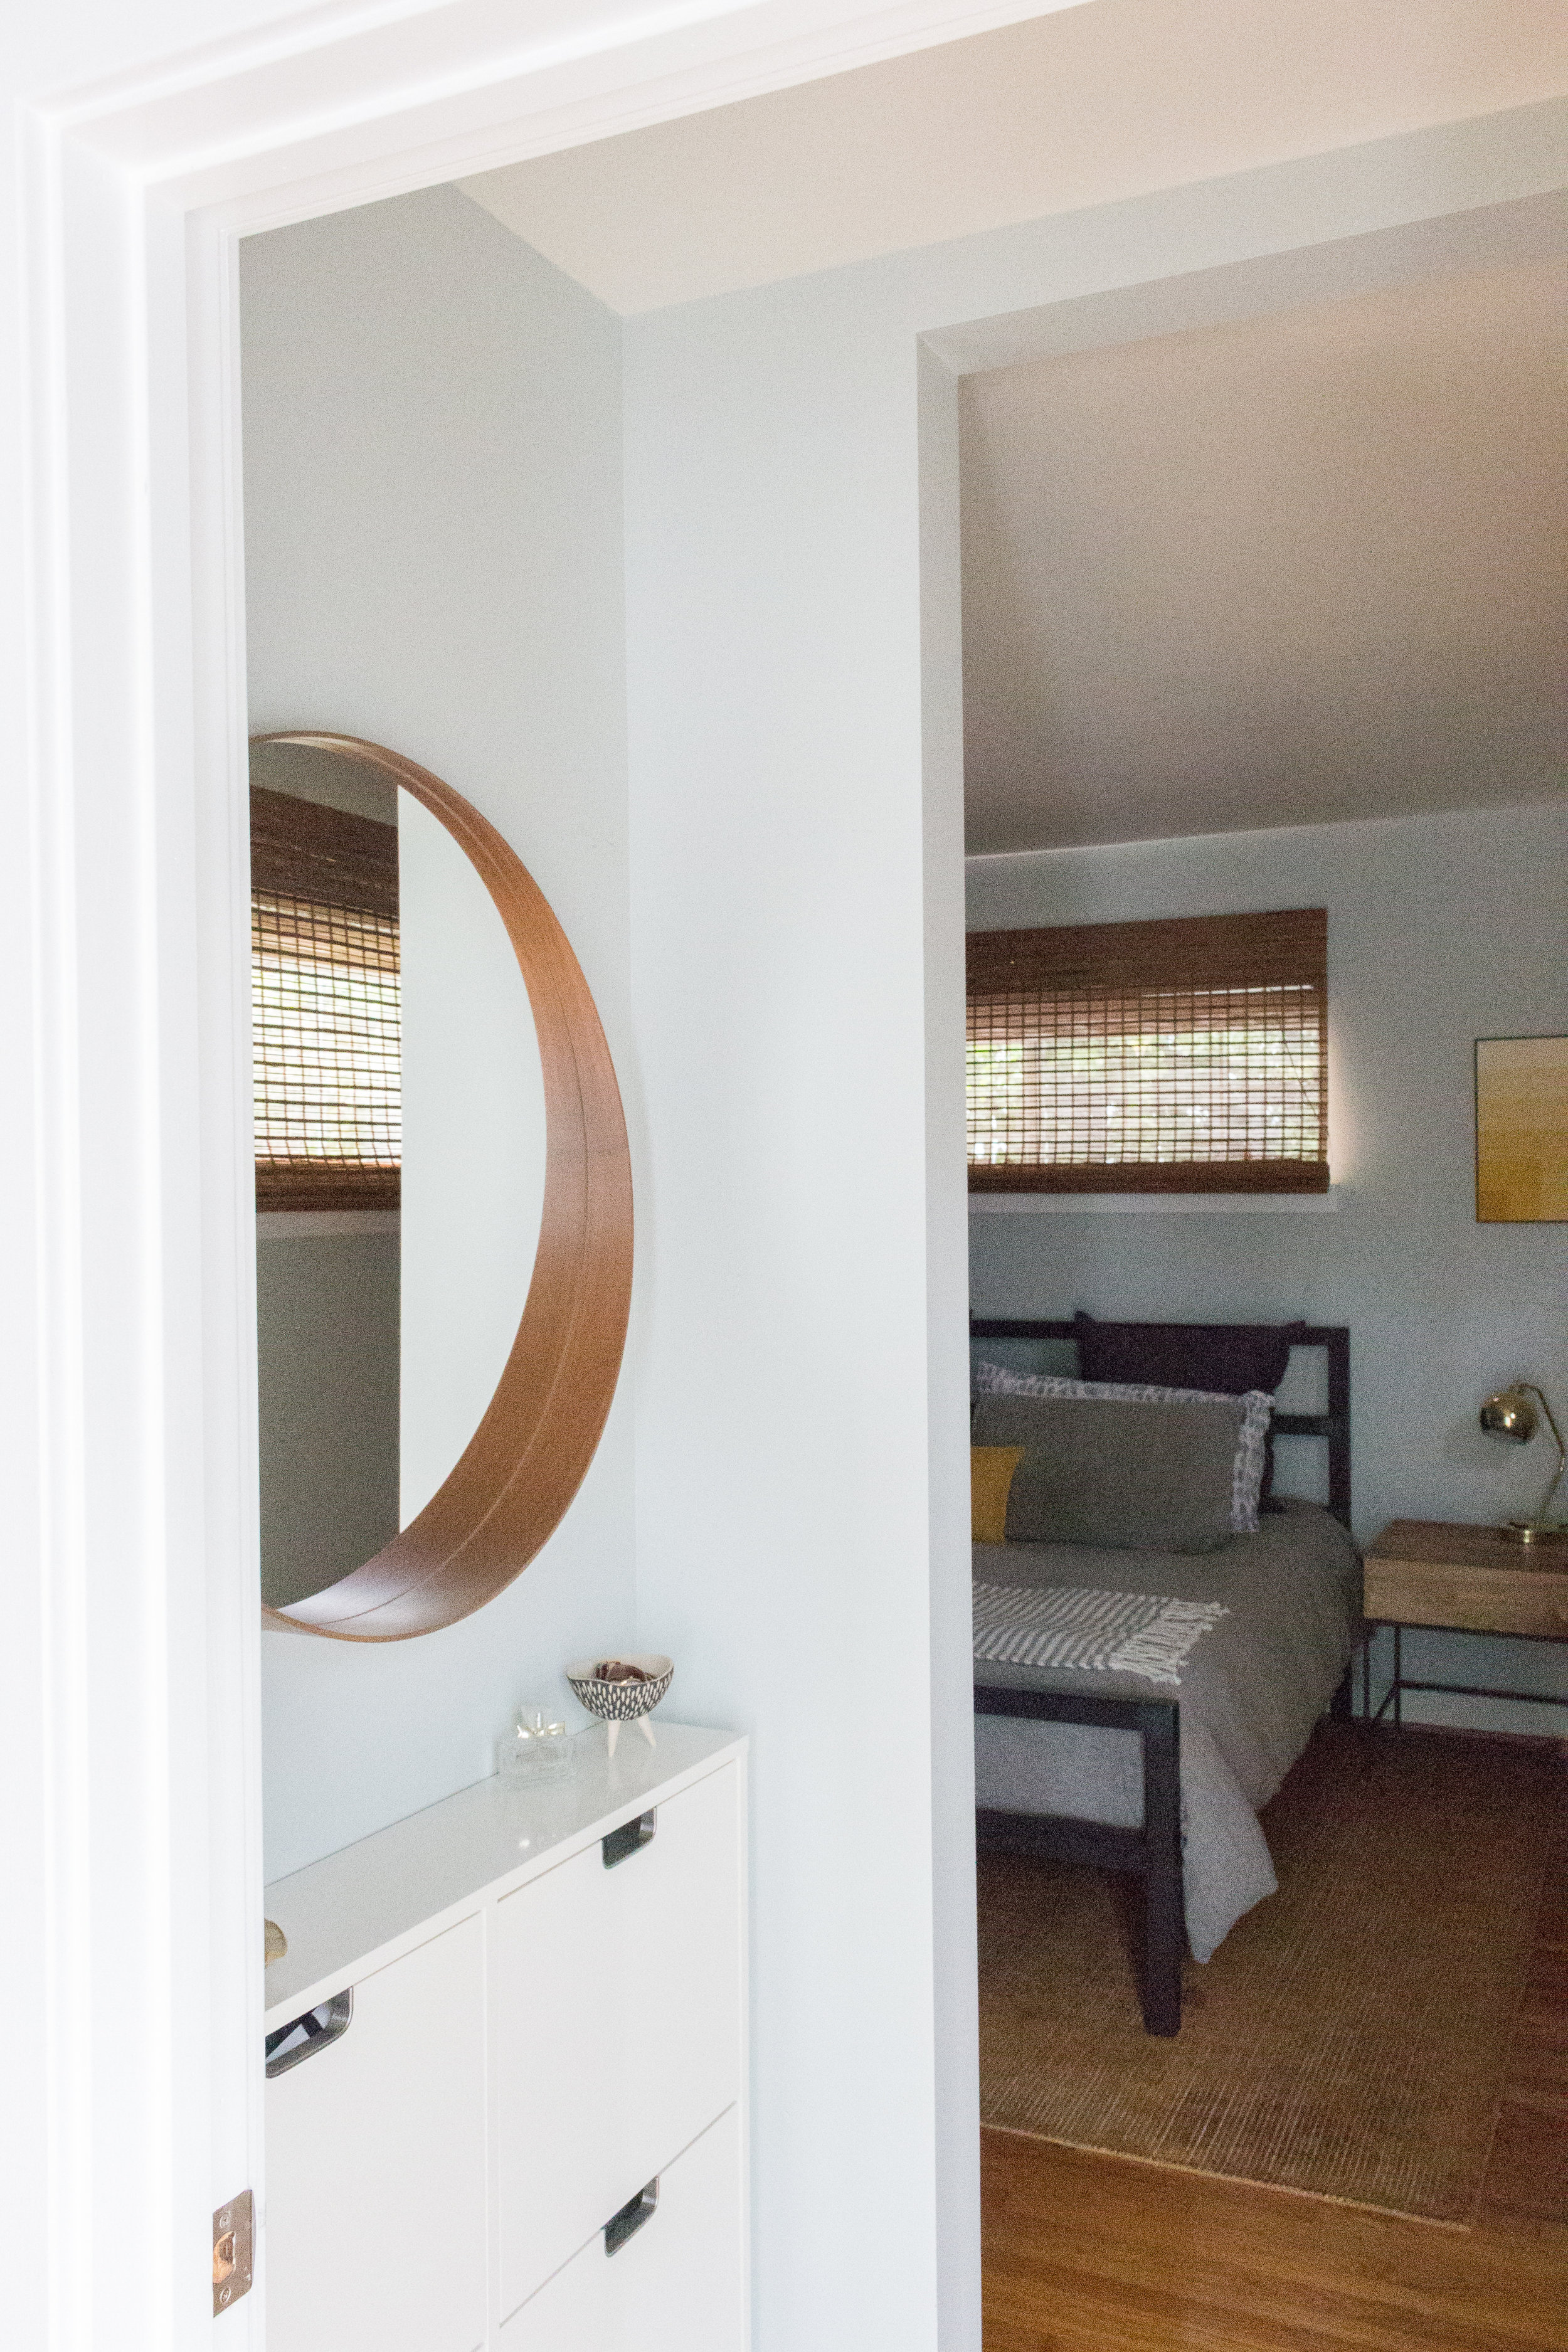
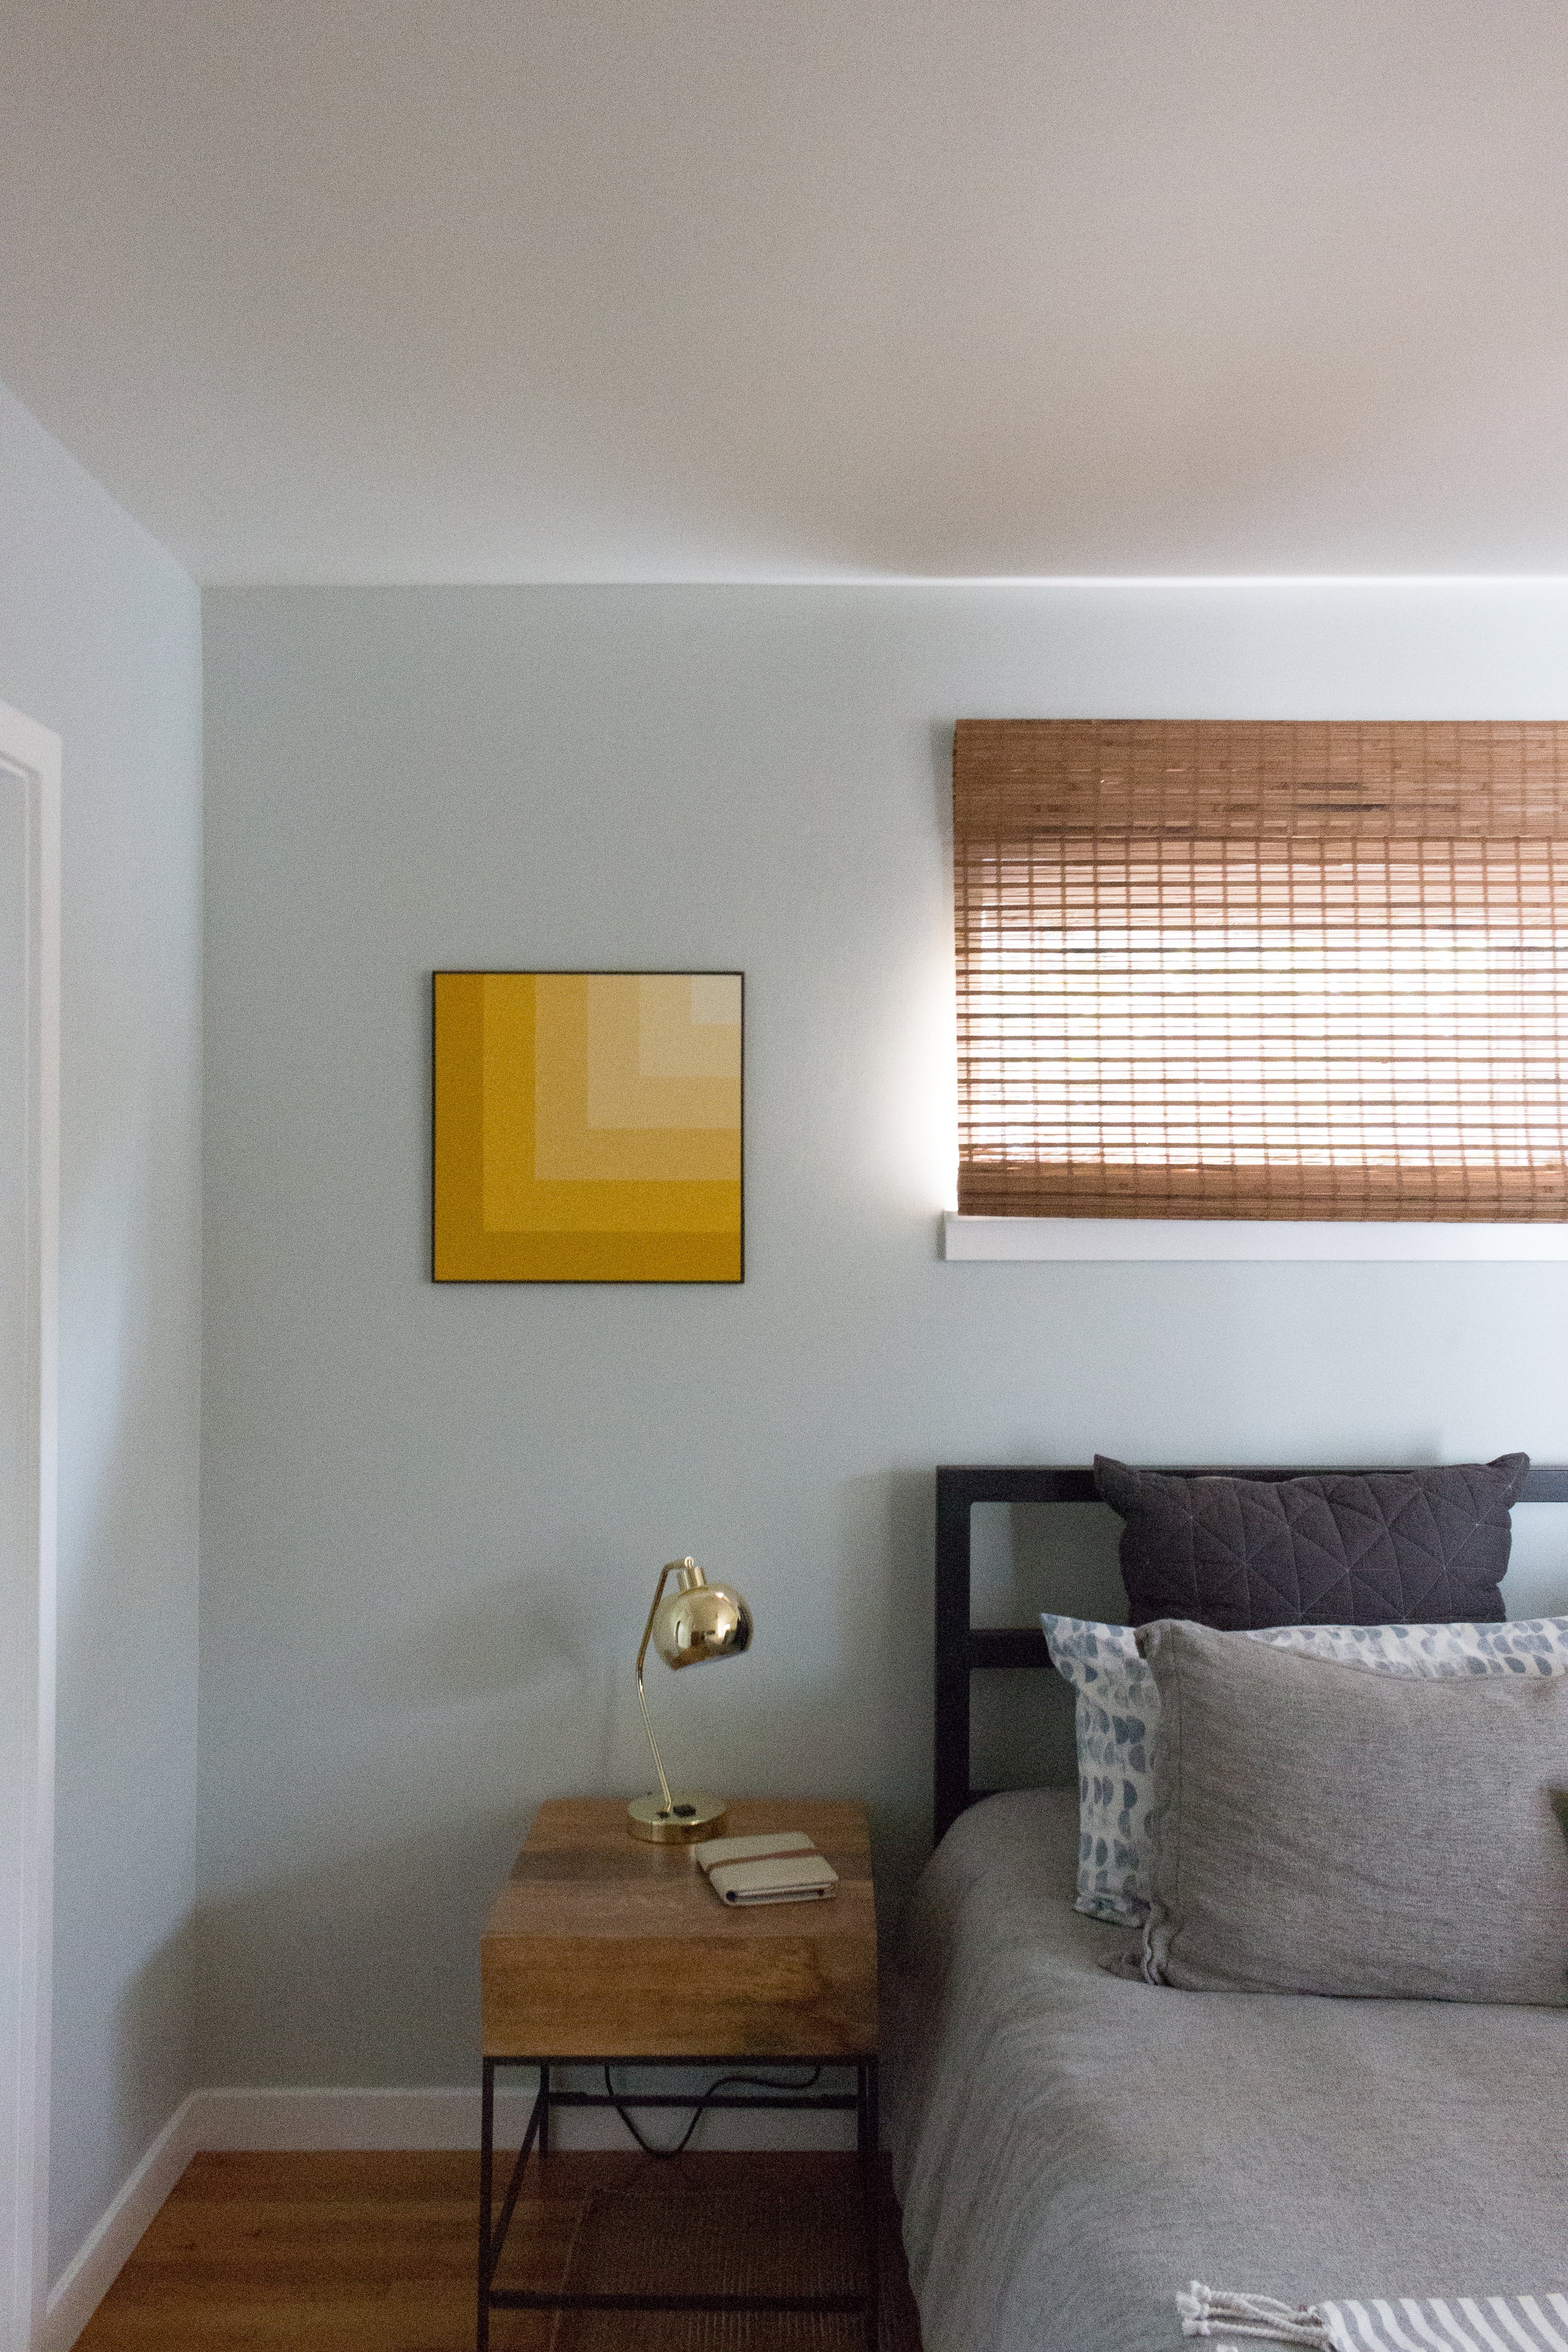
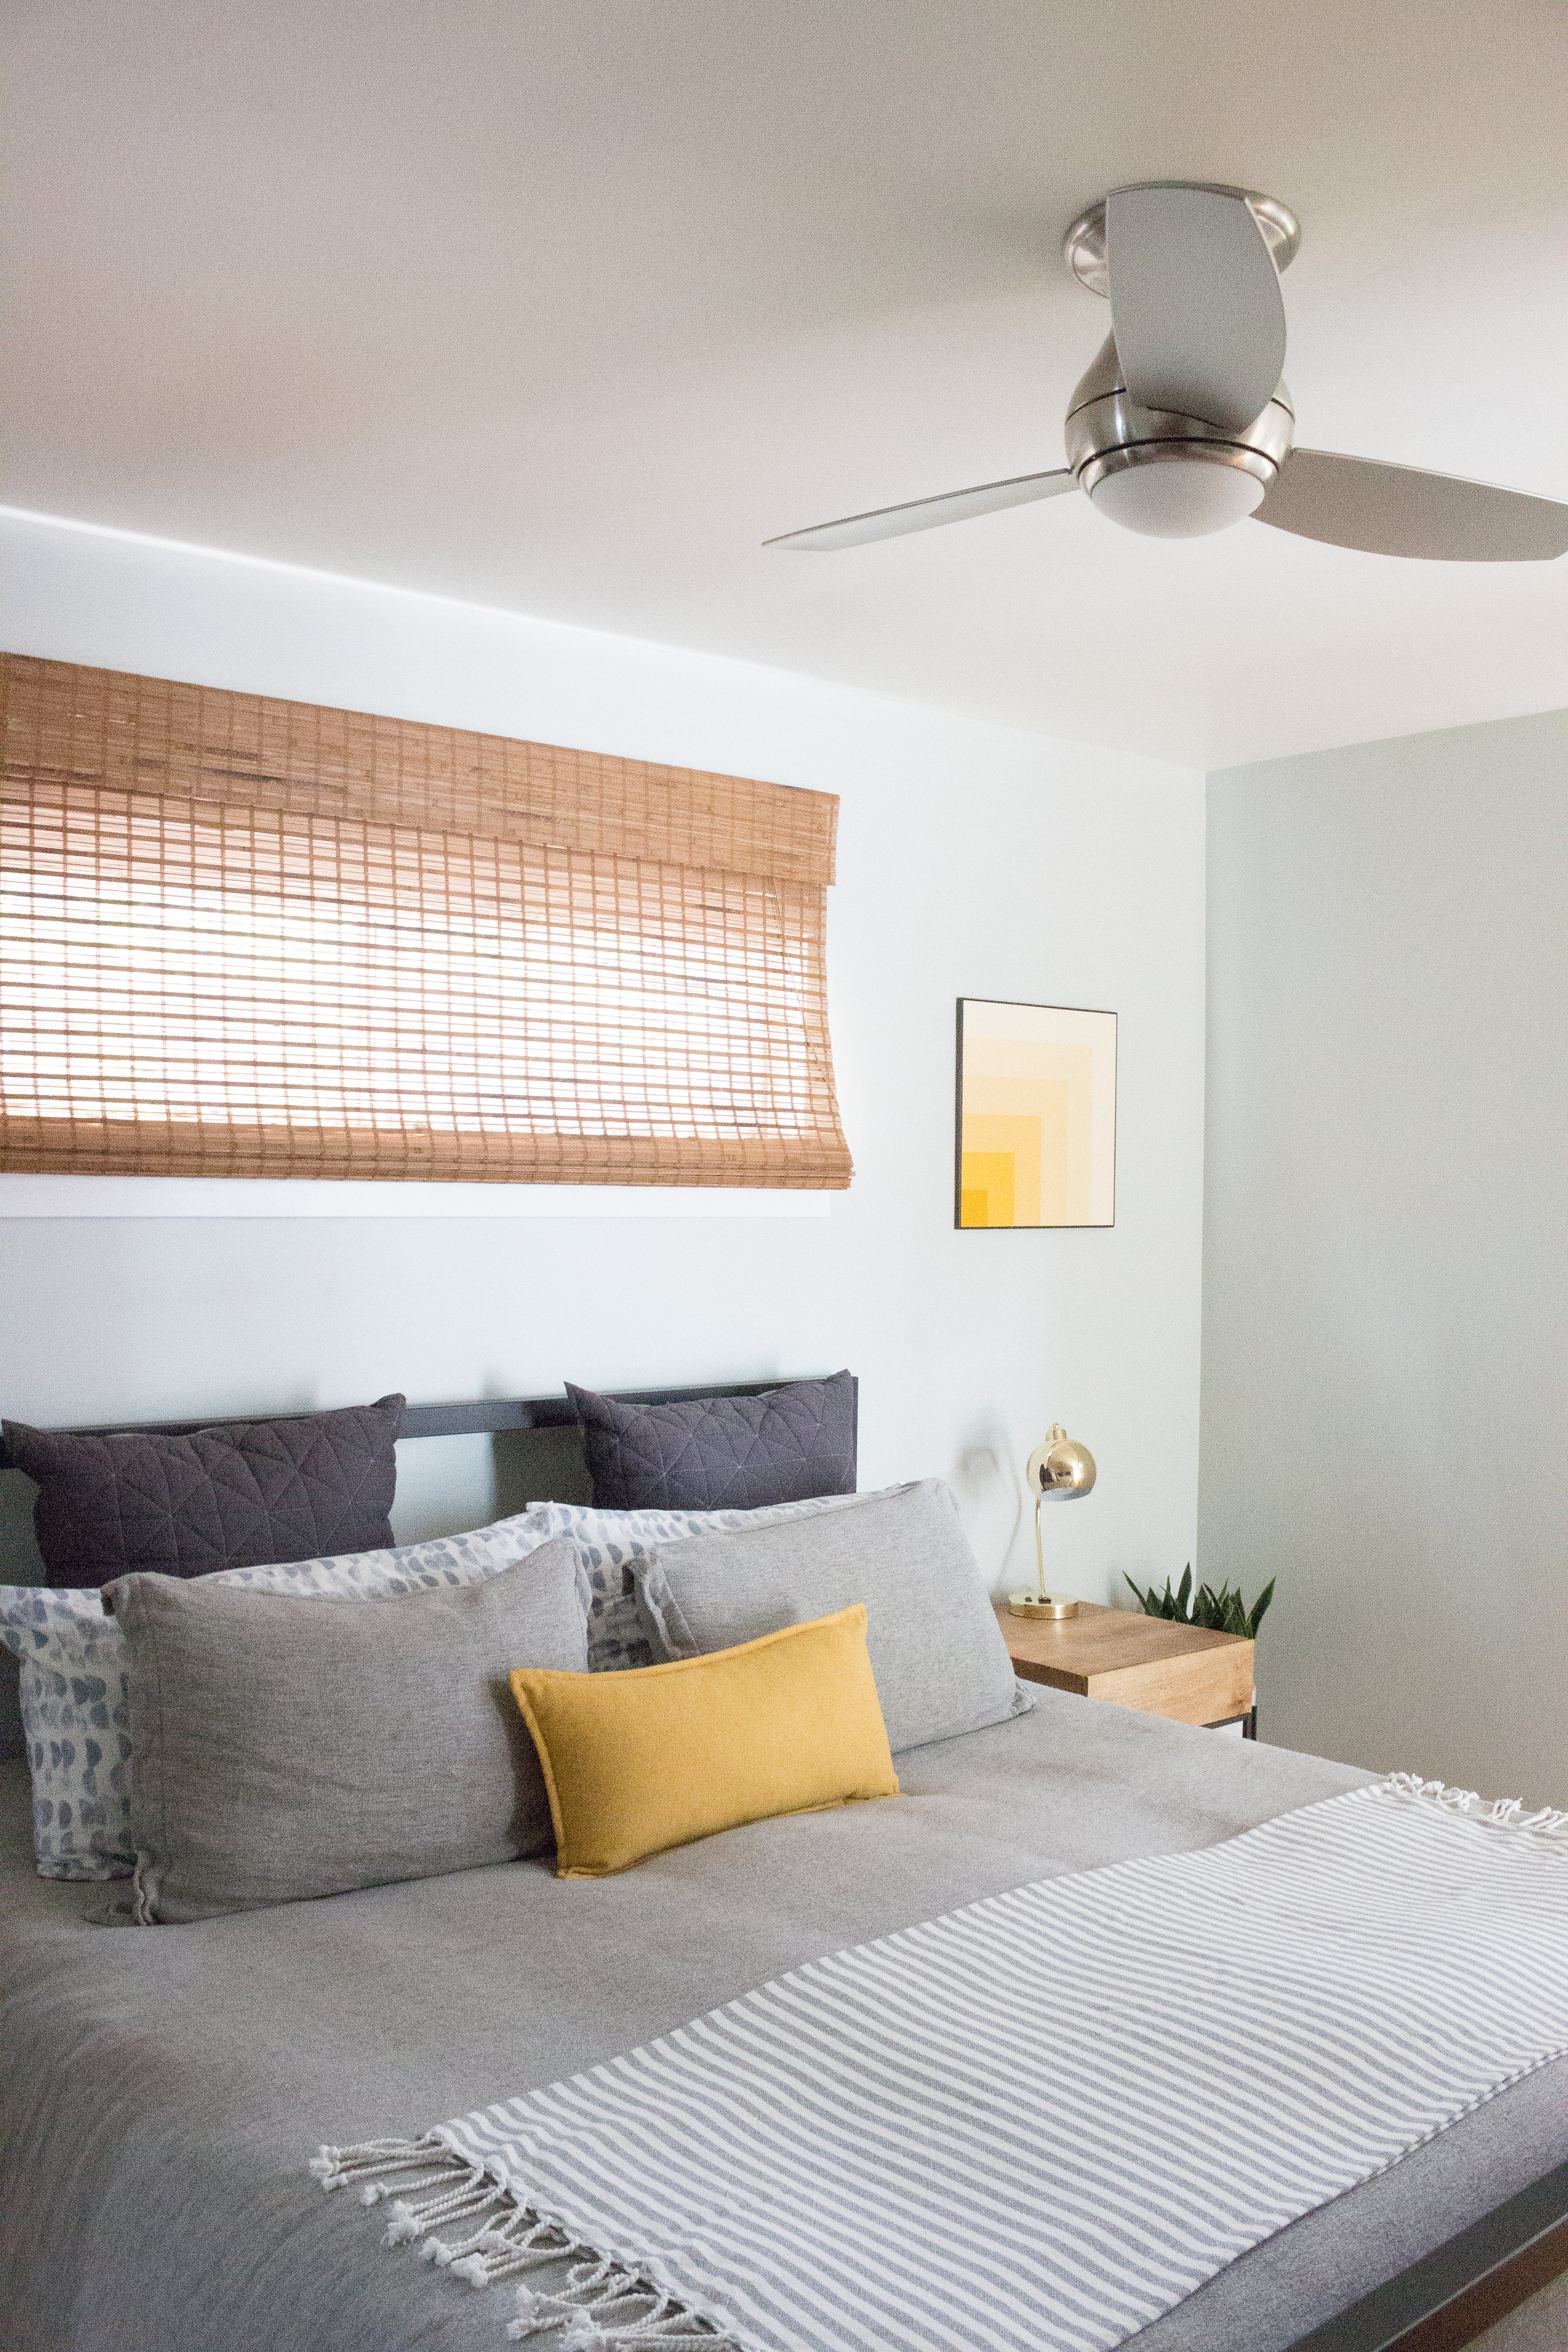
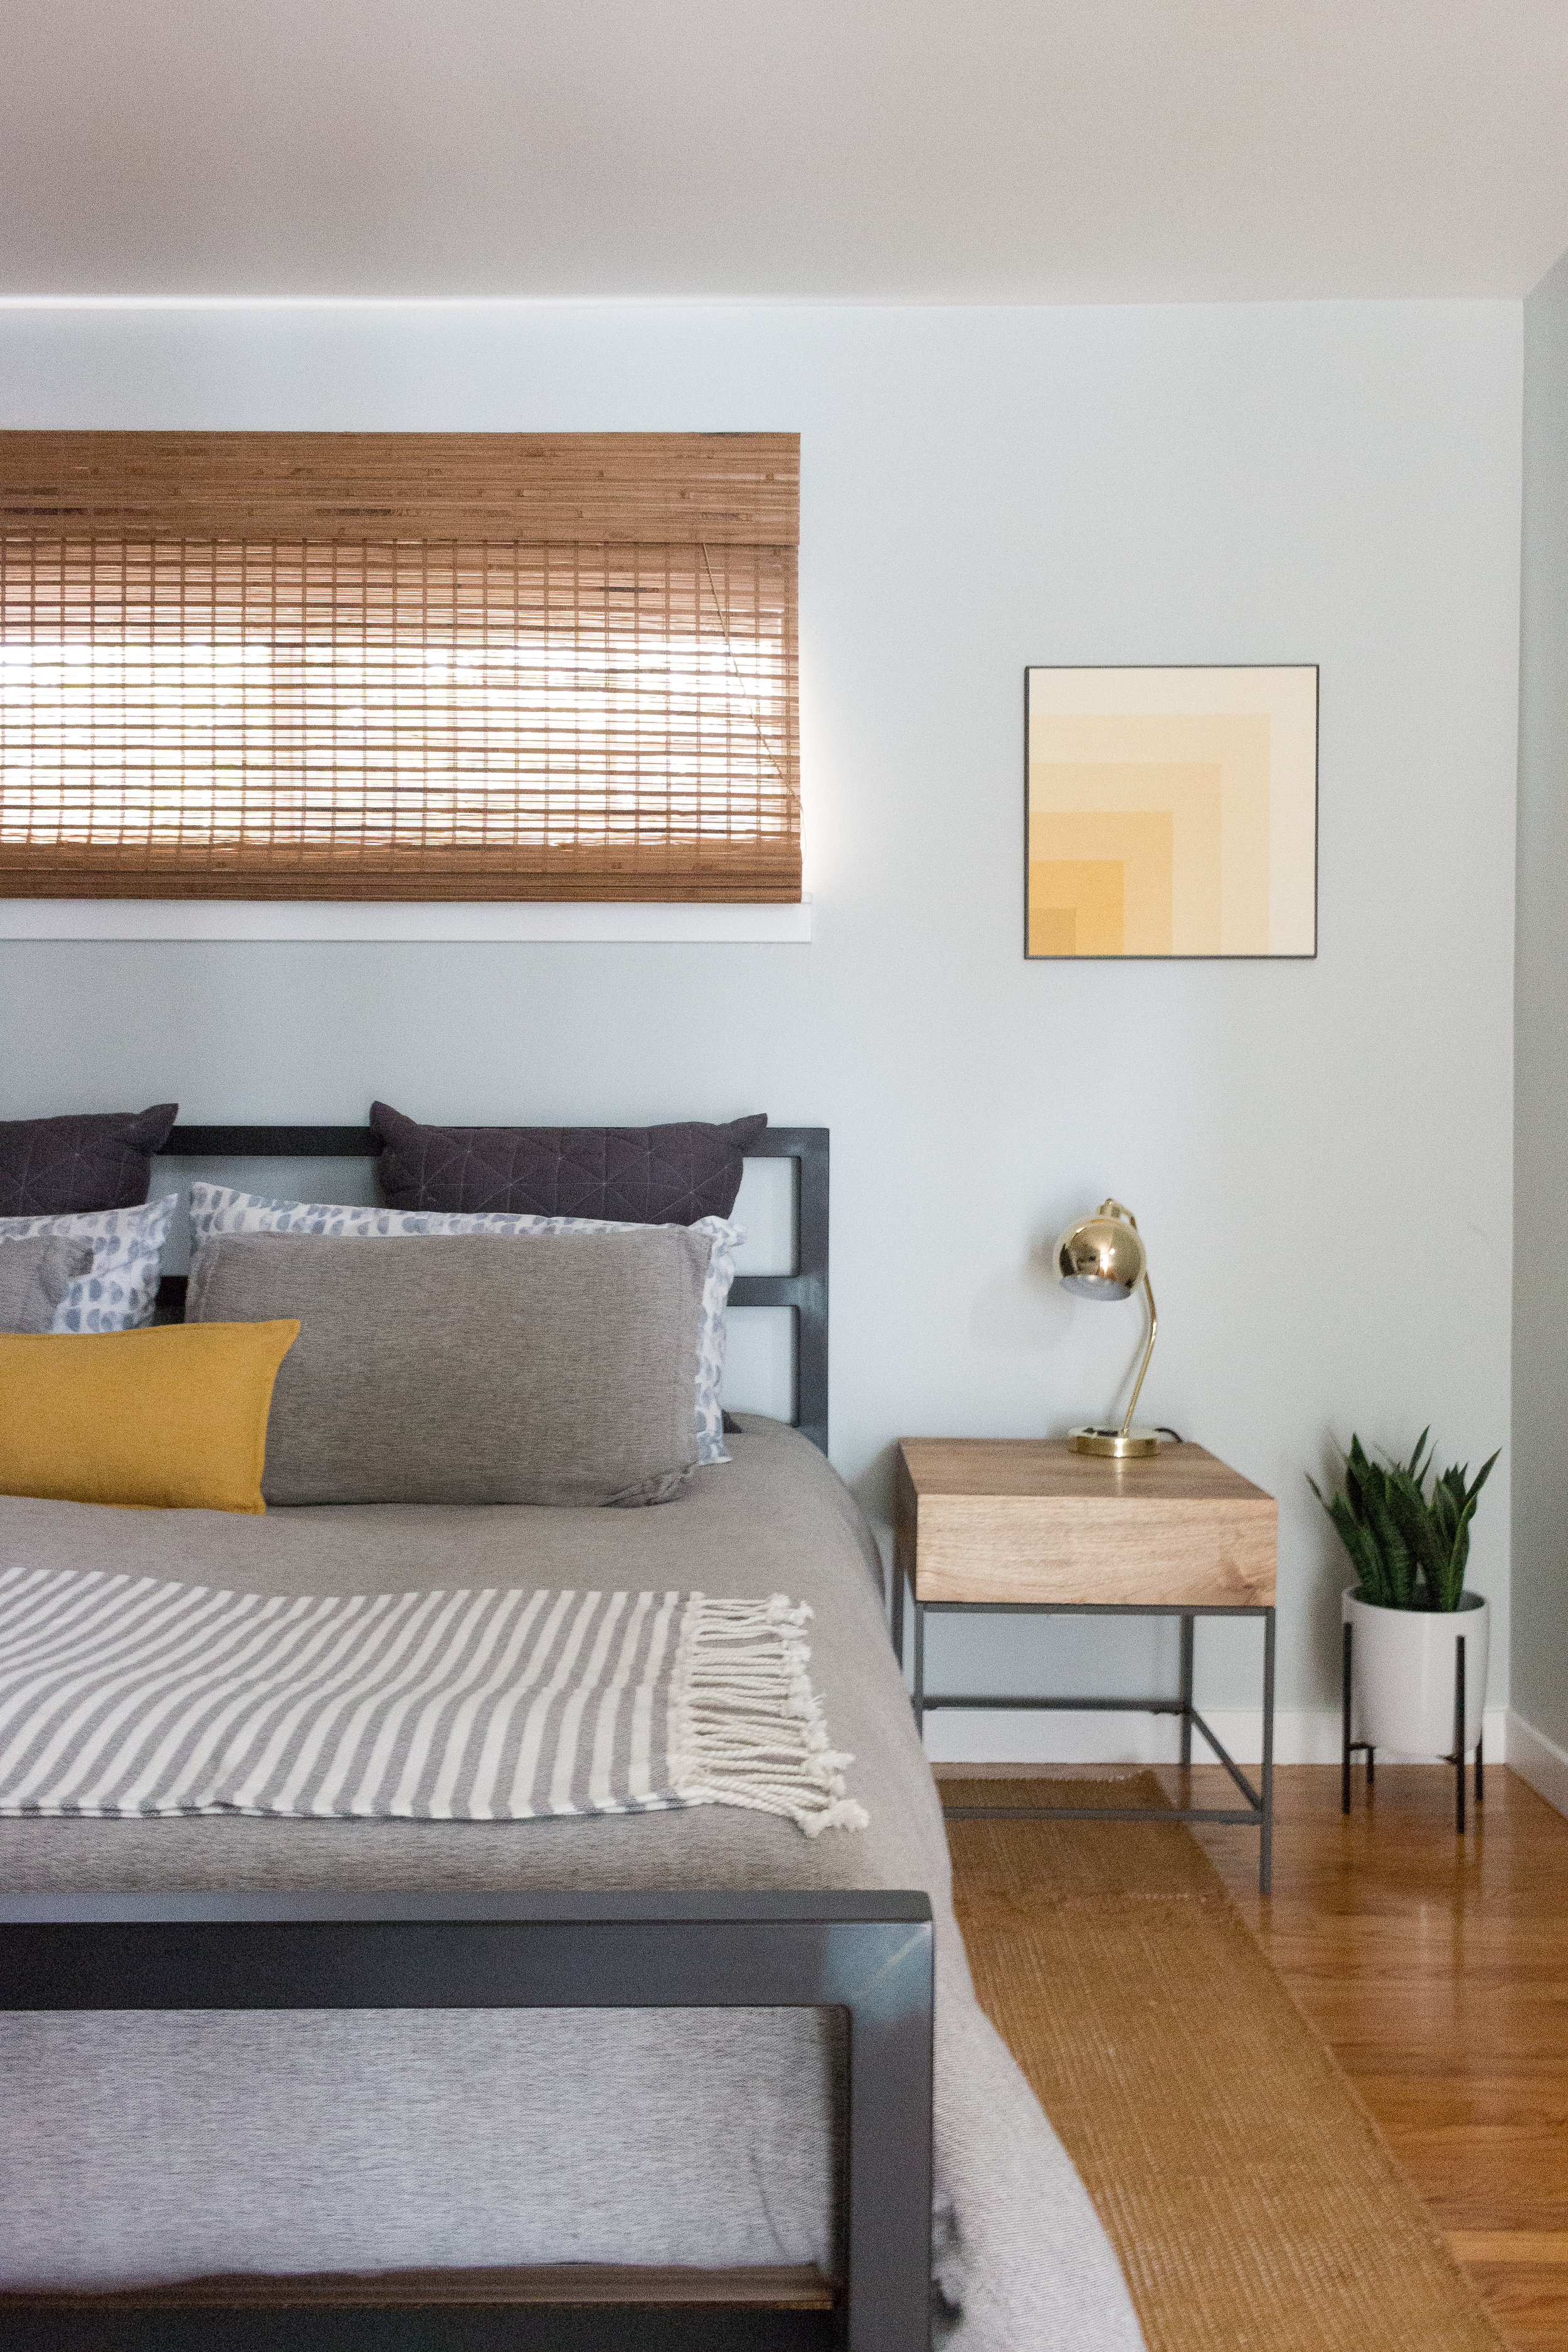
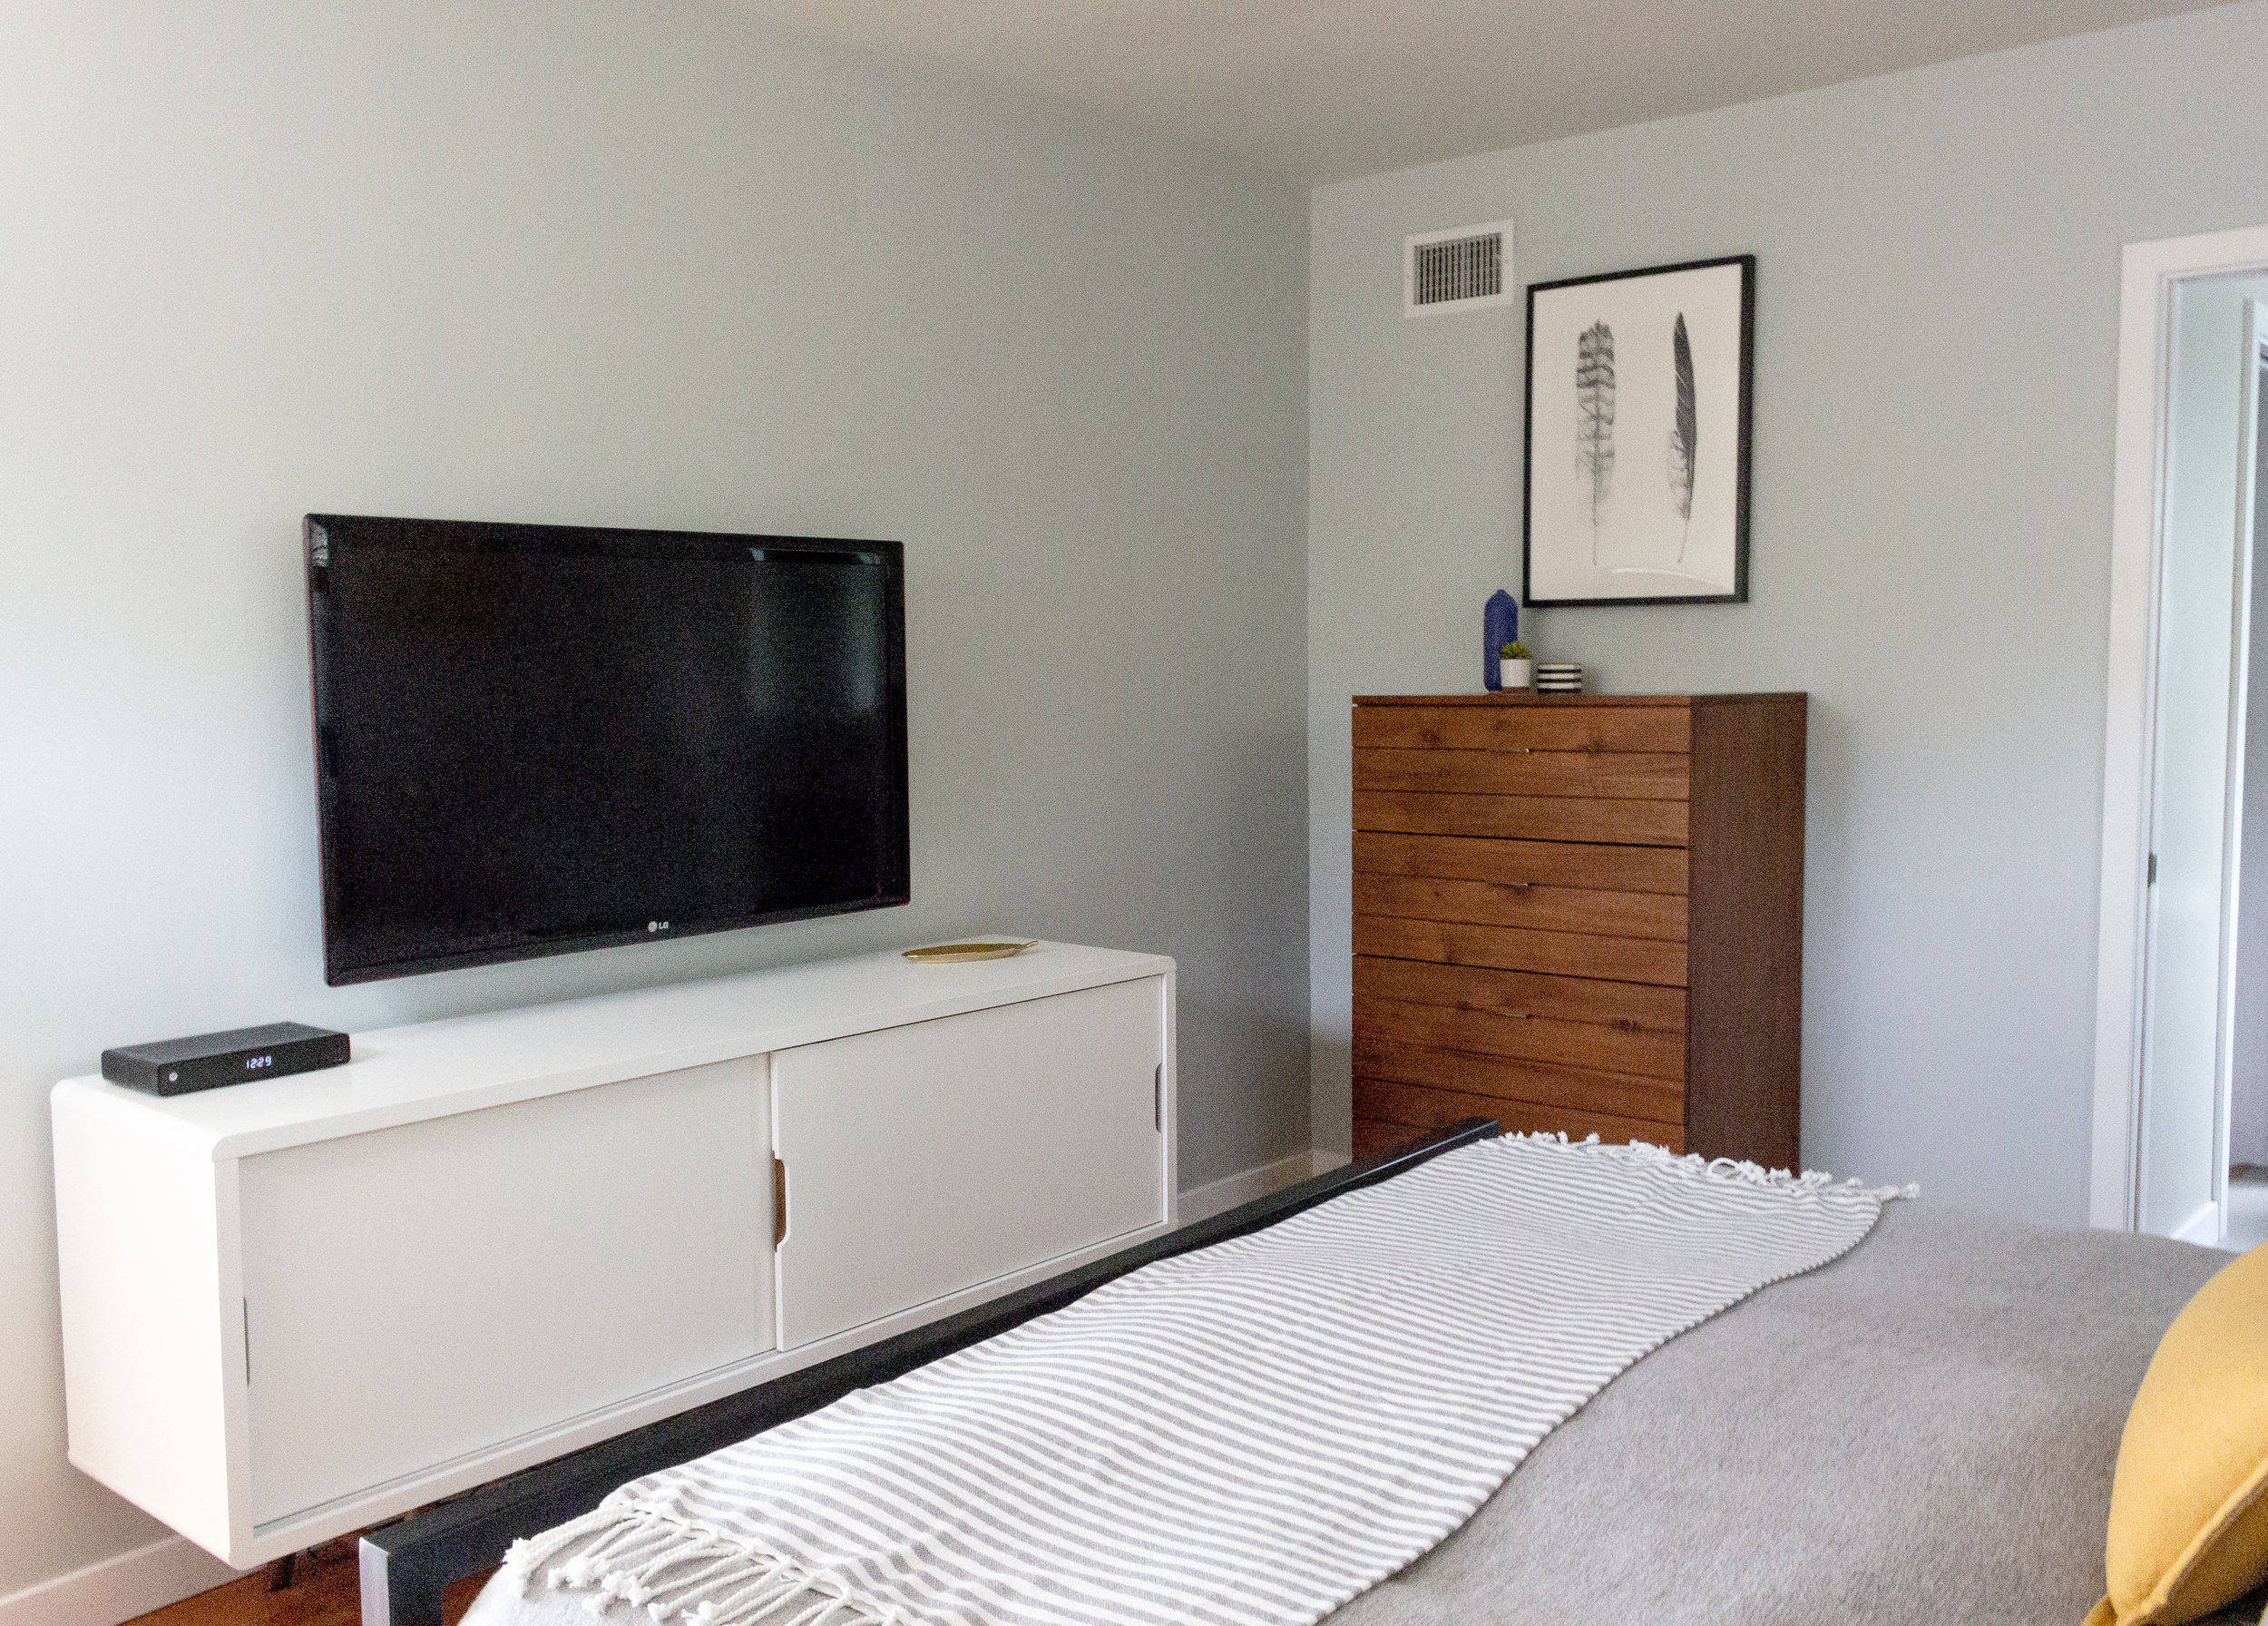
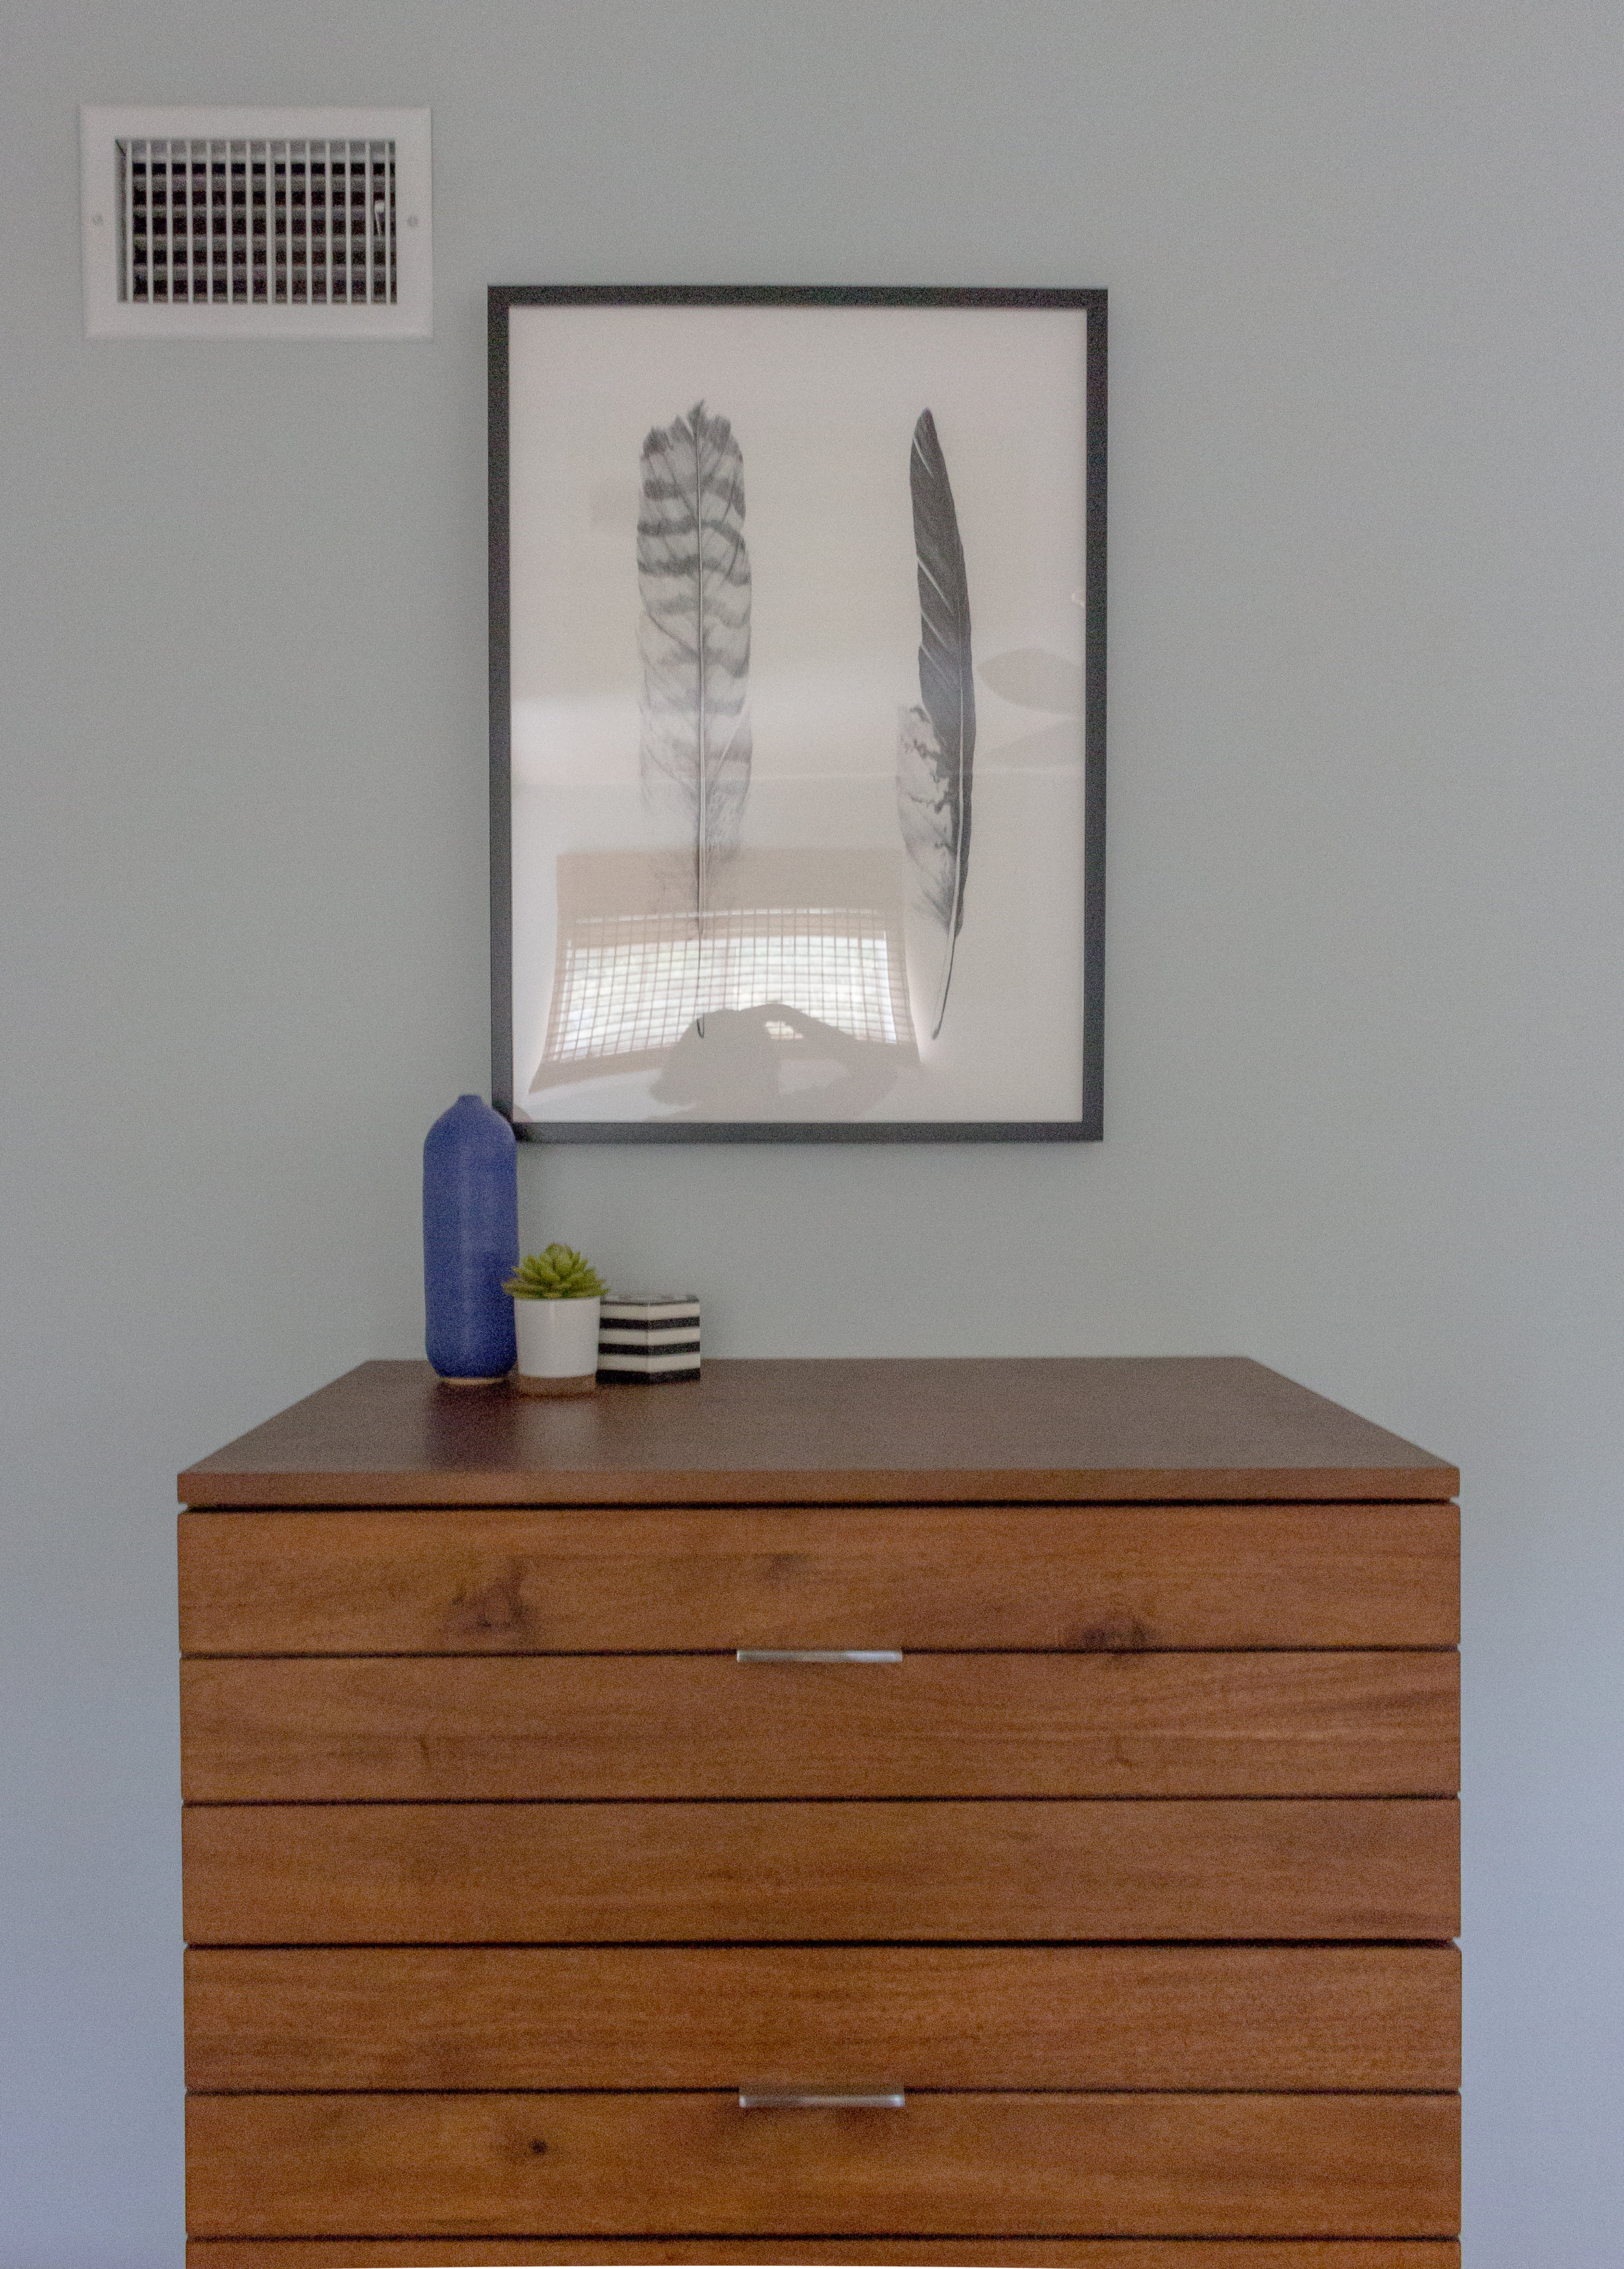
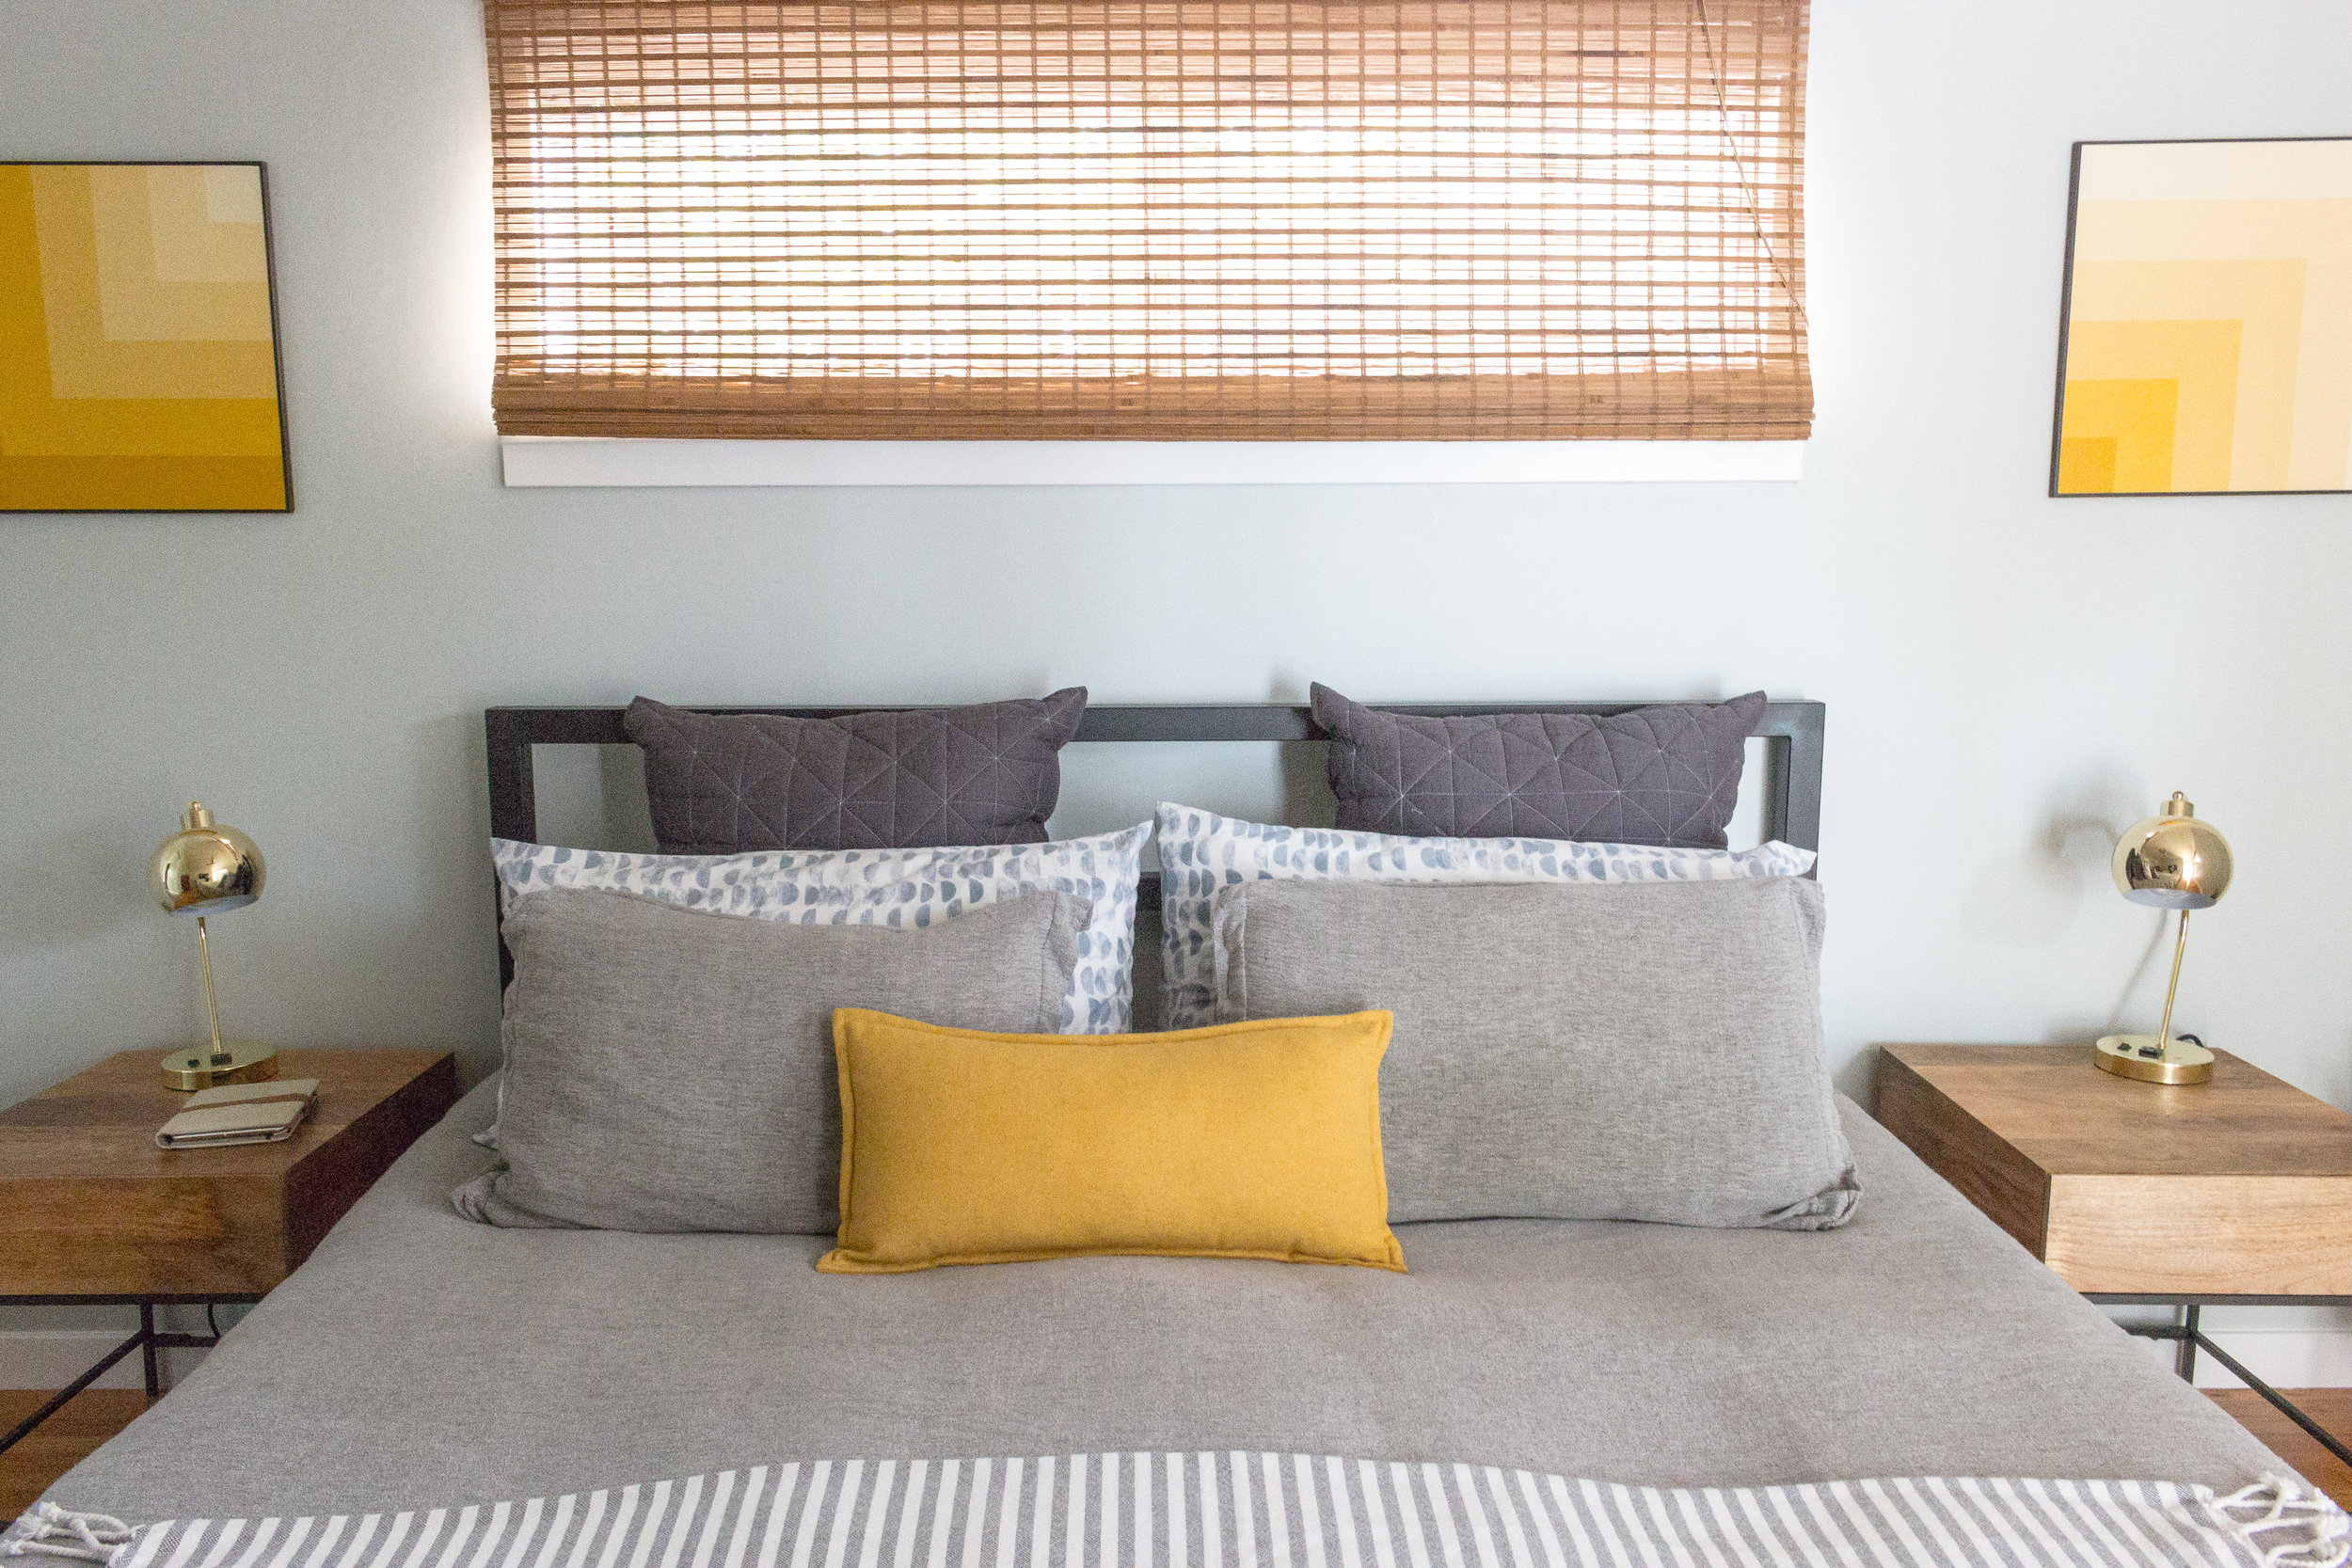
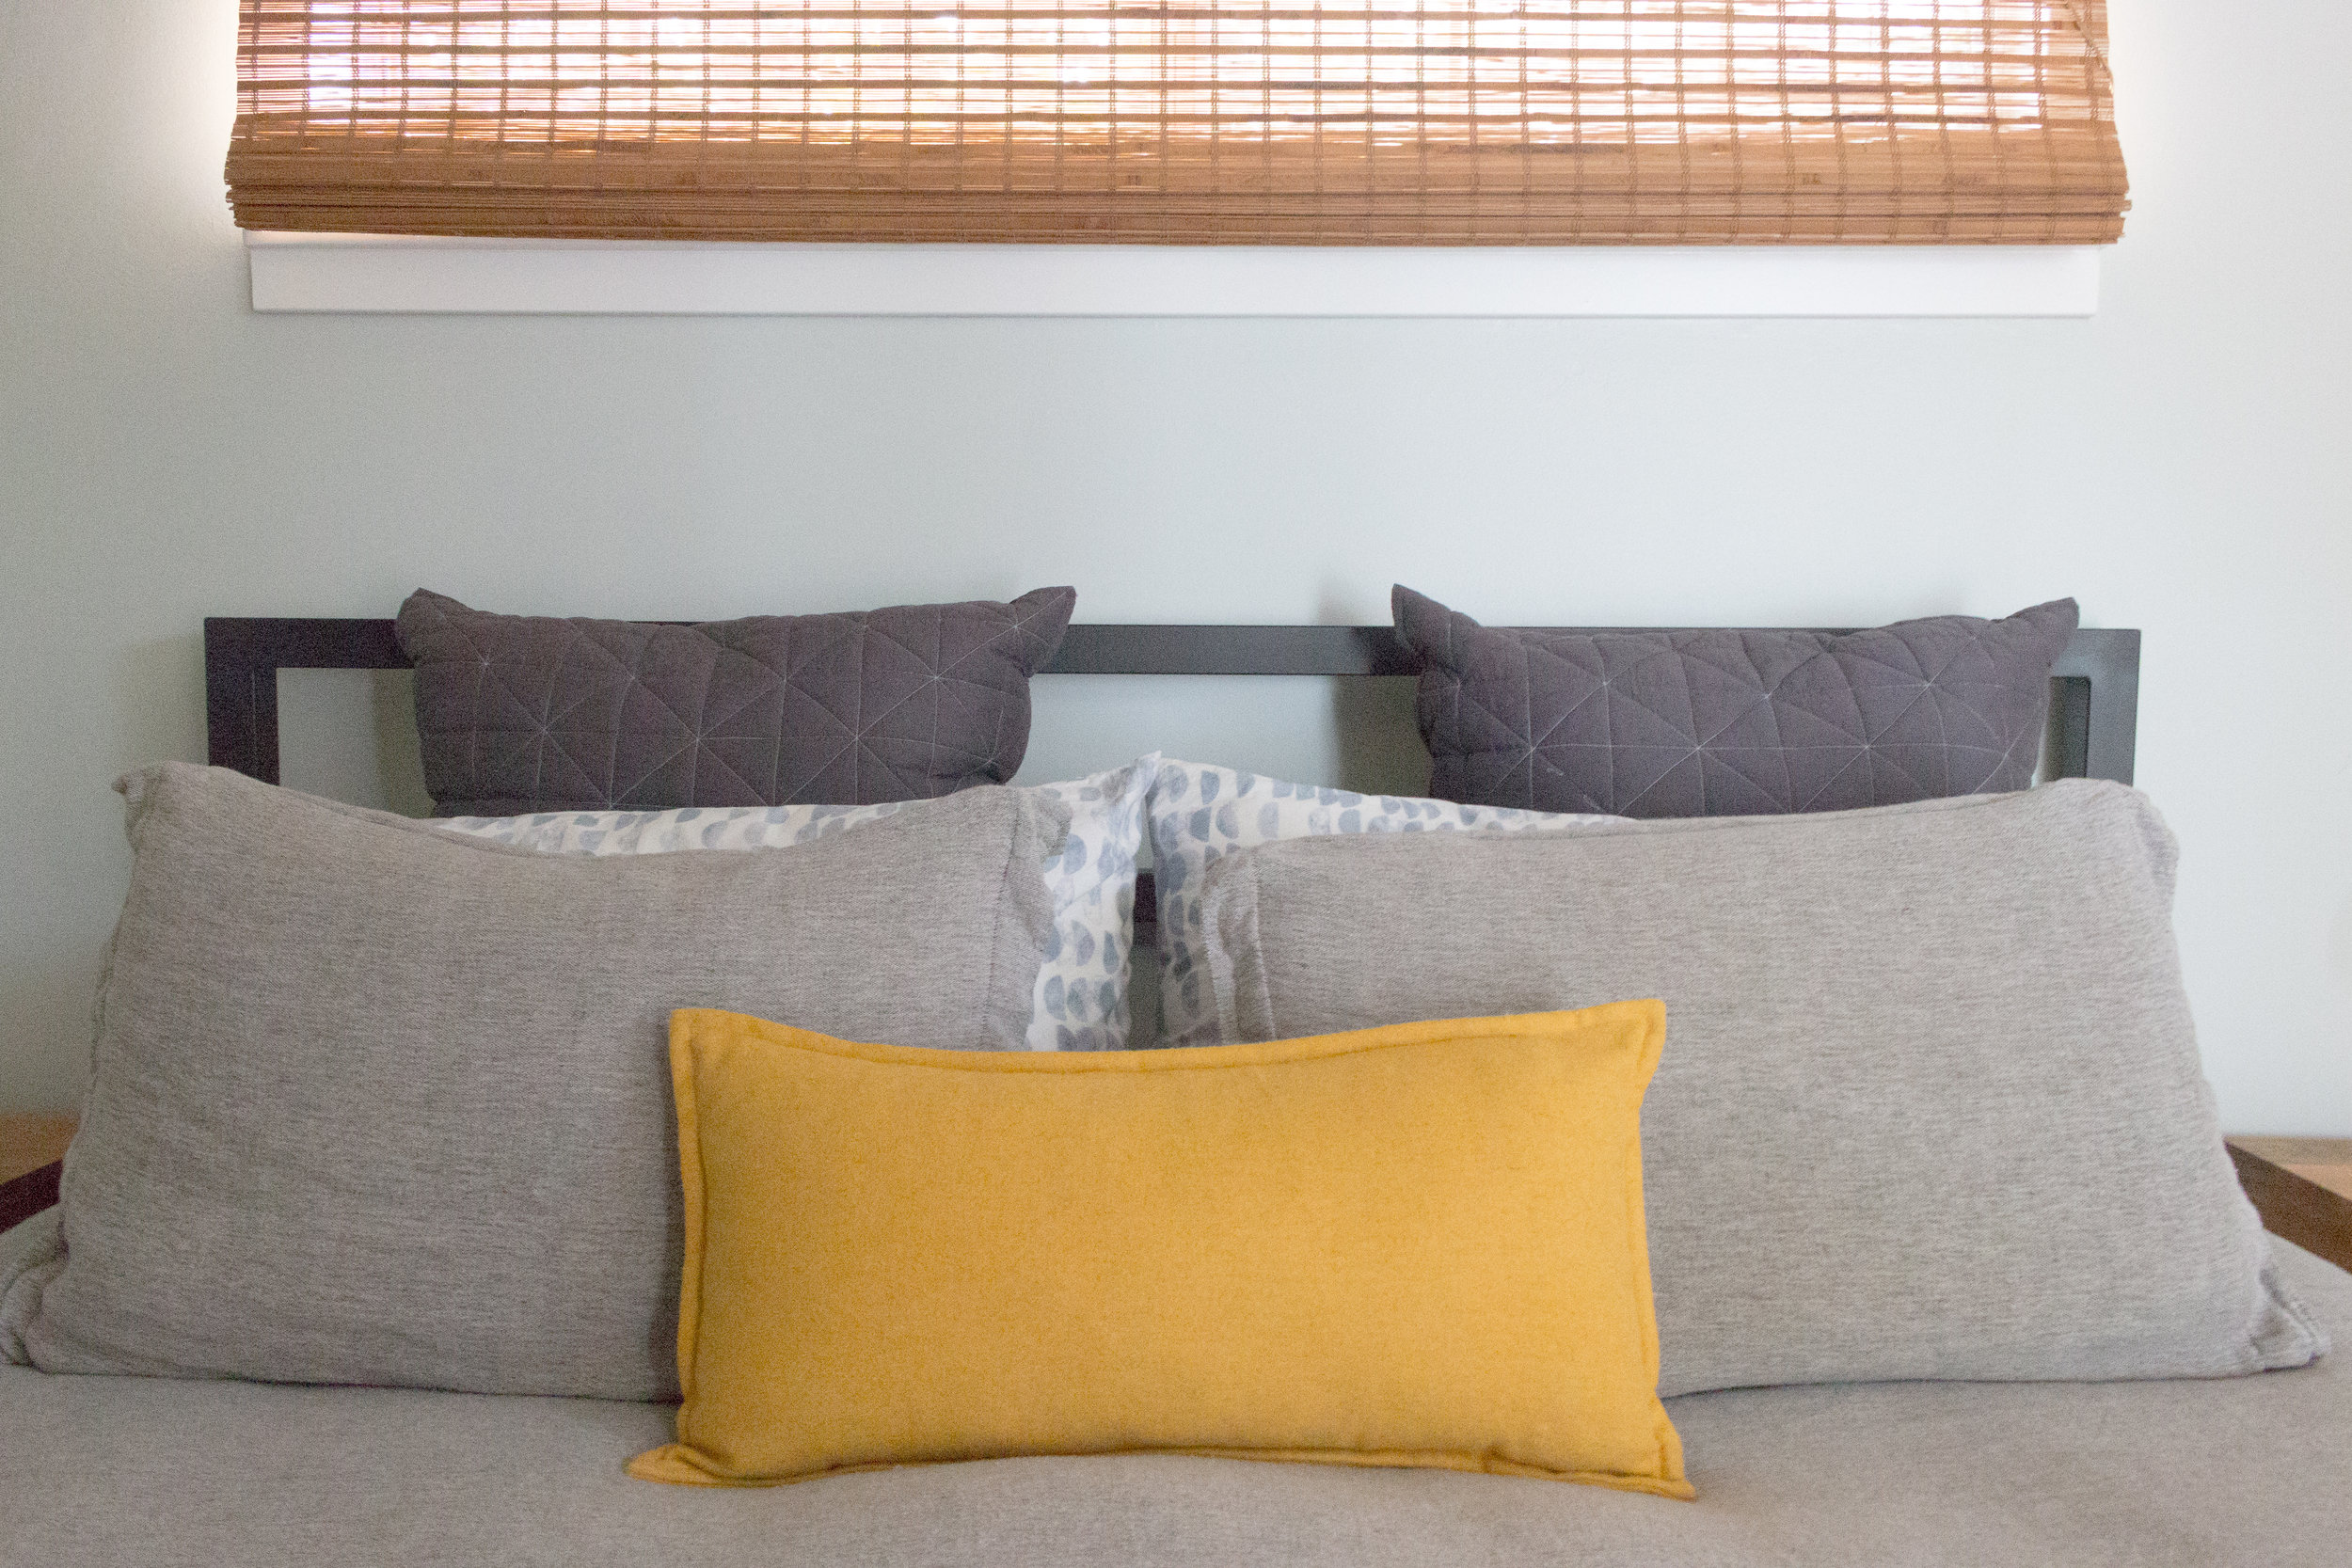
After finishing our clients' living room and nursery, they decided to finally tackle a space thats just for them. For their master bedroom they wanted a serene retreat but with a little dash of fun. Working off of their existing steel bed frame and wood nightstands, we layered in textured bedding in grey and blue tones, along with pops of yellow and brass elements. They had a serious need for extra storage (can you say shoes?) so we resolved this by adding a credenza under their TV and placing a shoe storage unit in a convenient little nook that also doubles as a mini vanity space. Score! We were all very happy with how the space turned out, and good thing we finished it when we did - because their little one arrived shortly after! Check out the how it looked before, design concept and photos of the finished space and let us know what you think! 

xo, k&j

Before:

IMG_6770.JPG IMG_6771.JPG IMG_6772.JPG

Concept:

Screen Shot 2018-05-29 at 1.38.59 PM.png Screen Shot 2018-05-29 at 1.39.18 PM.png Screen Shot 2018-05-29 at 1.39.24 PM.png

After:

EA_Master_01.jpg
EA_Master_04.jpg
EA_Master_02.jpg
EA_Master_05.jpg
EA_Master_06.jpg
EA_Master_07.jpg
EA_Master_08.jpg
EA_Master_09.jpg
tags: interior design, master bedroom, before and after, bedroom design, design concept
categories: design process, interior design
Wednesday 05.30.18
Posted by Joanna Harrison
 

westside living room refresh

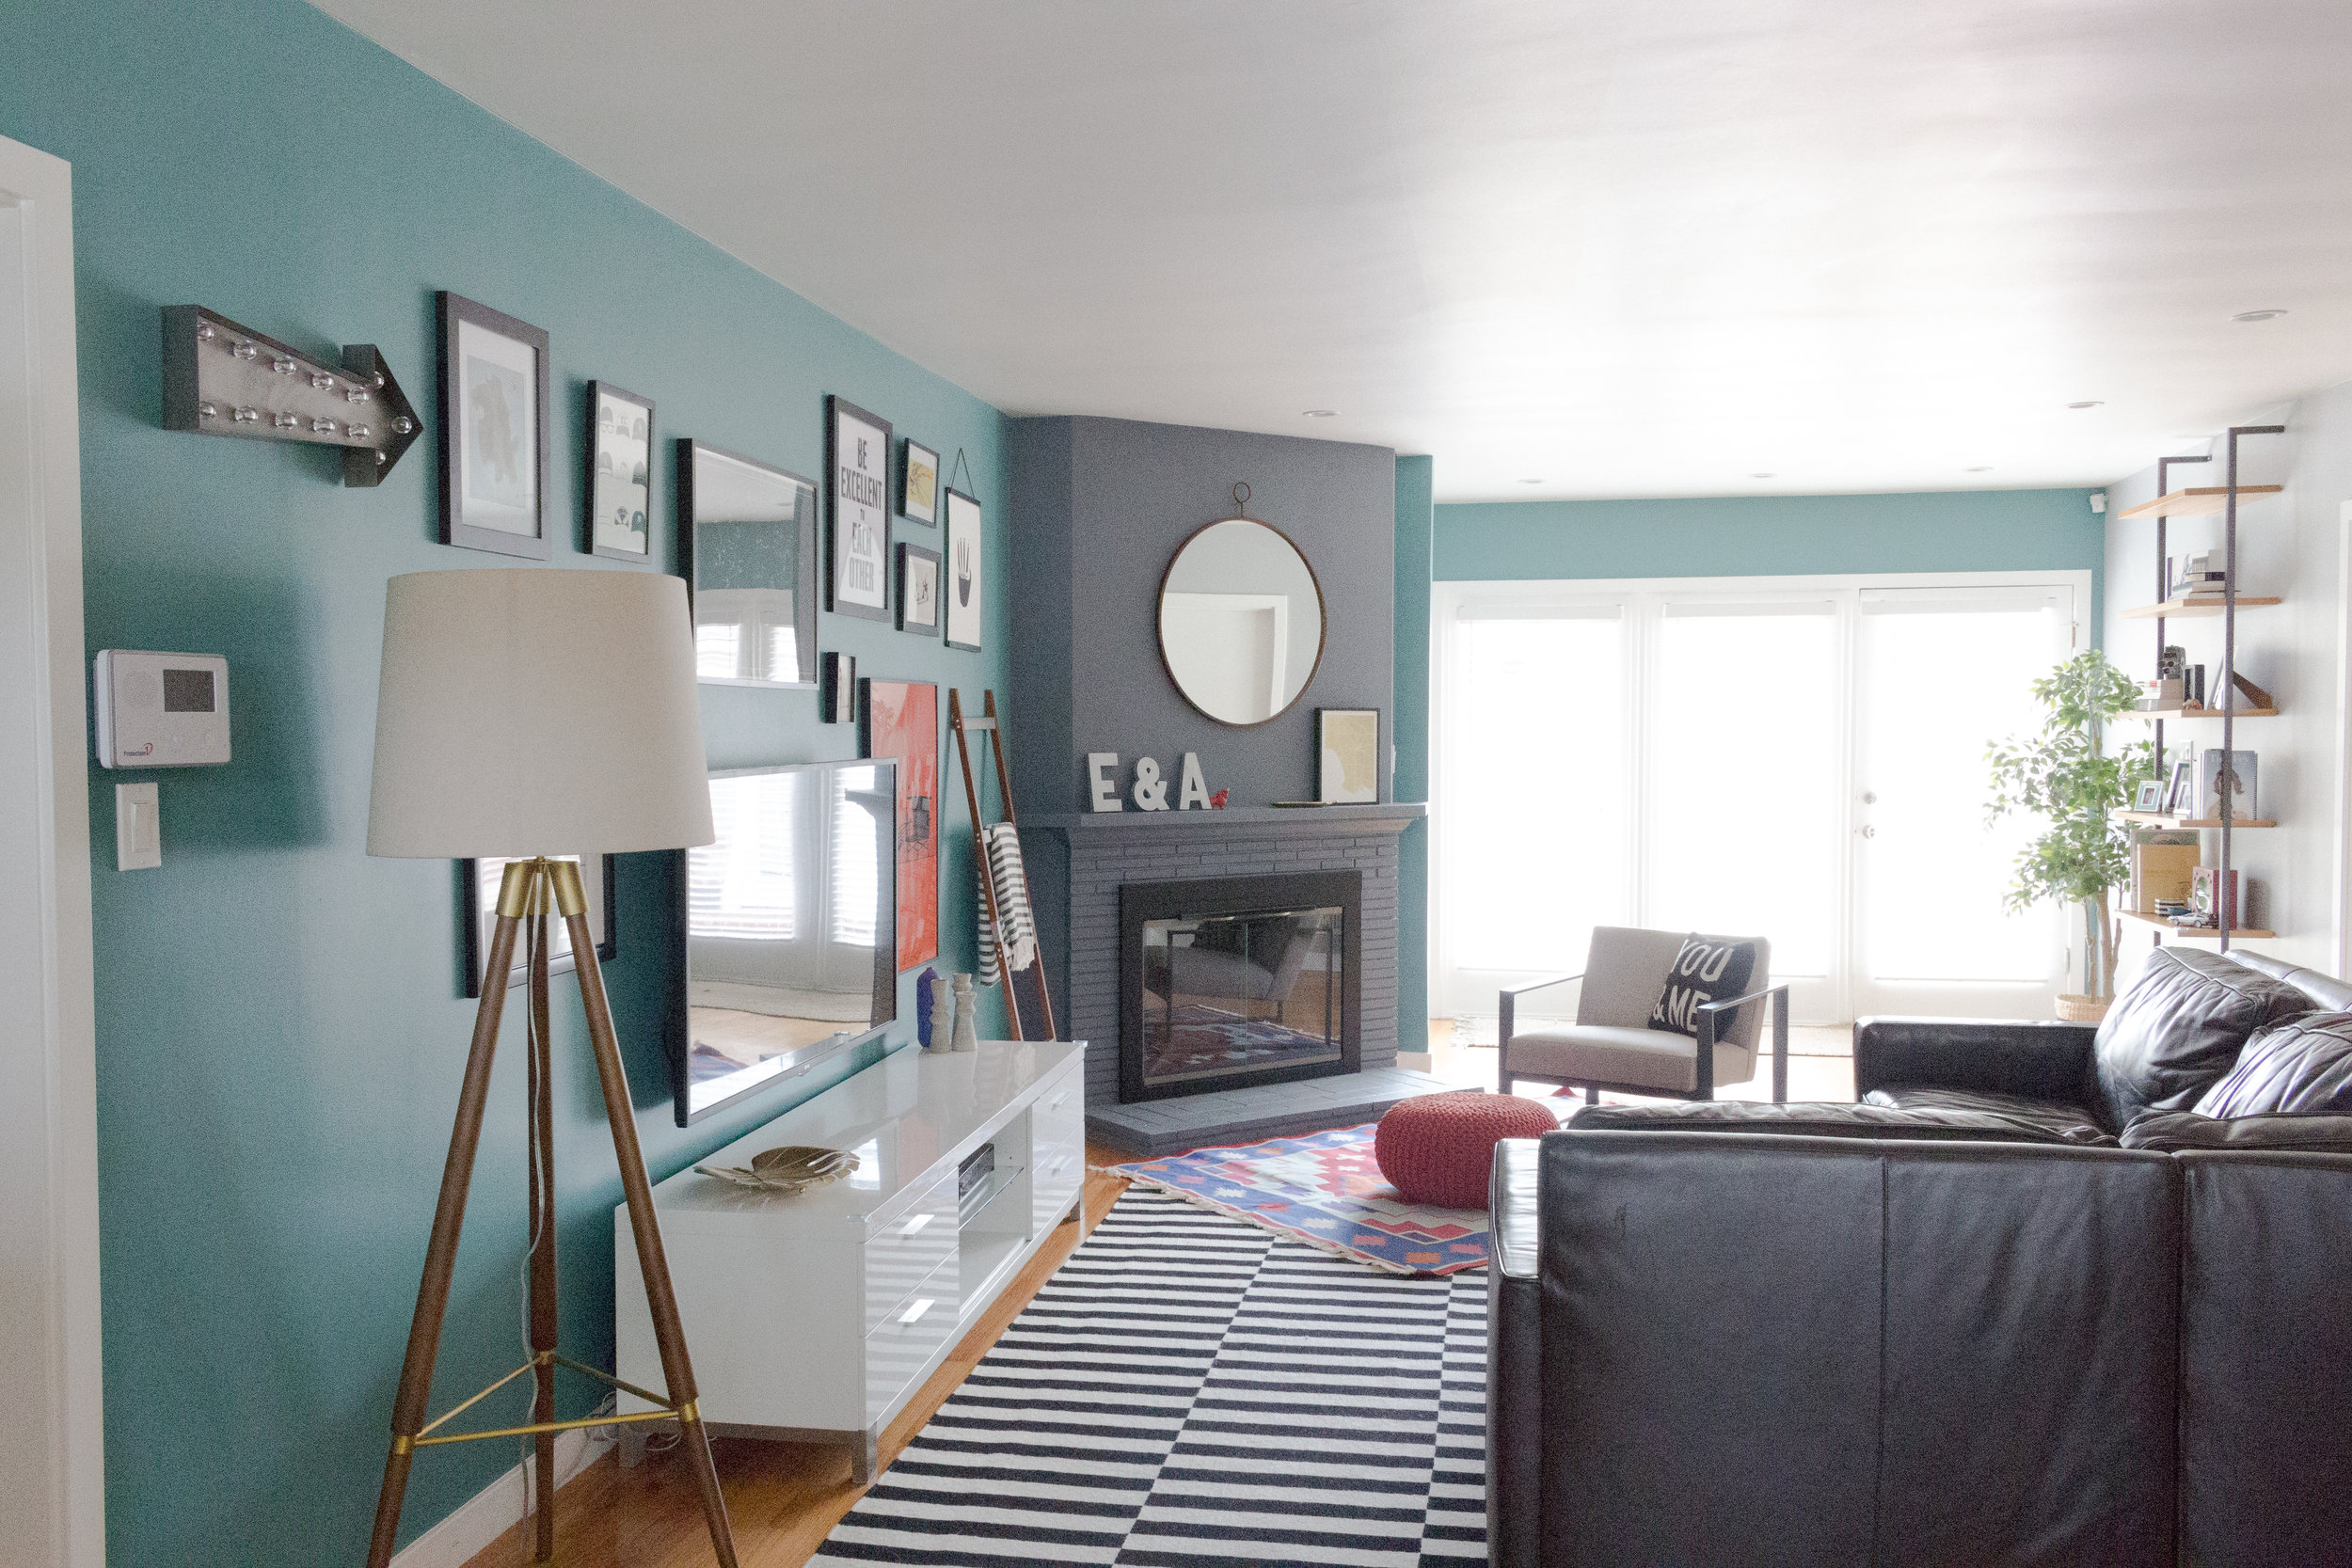
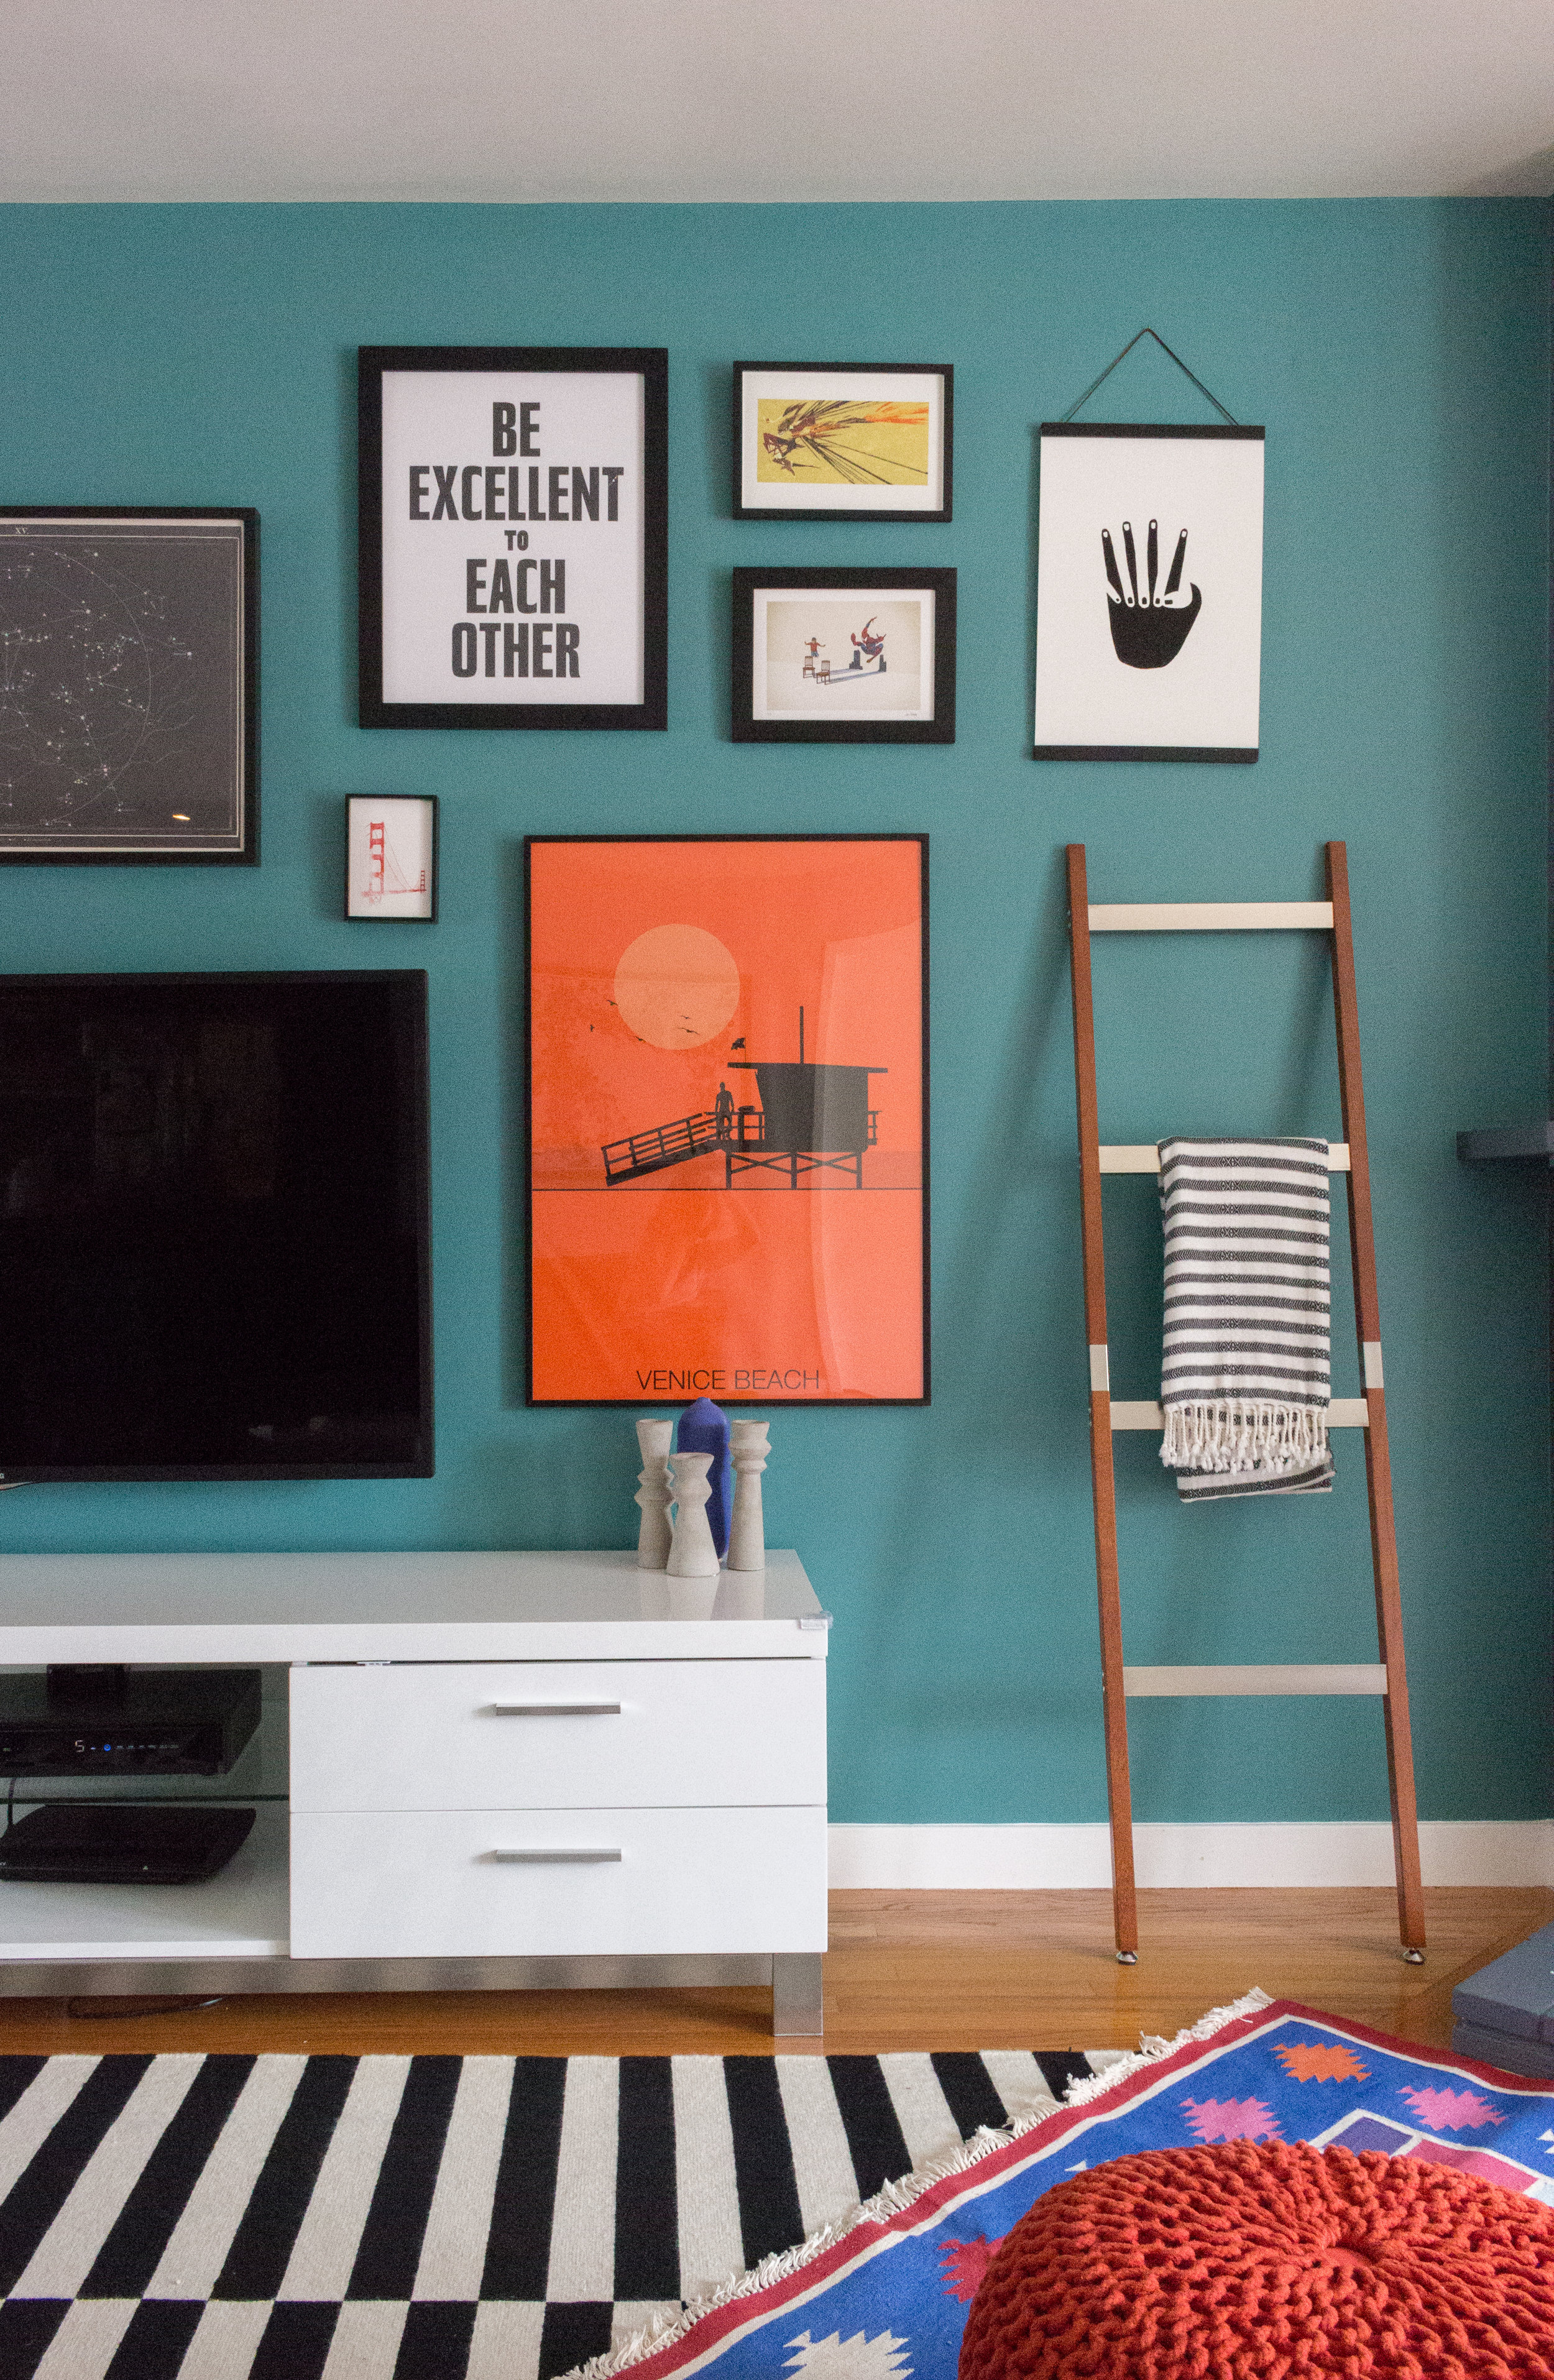
Phew - time sure does fly! Its been over a year since we finished this living room for our lovely clients in Westchester. When we started the project, they already had a few items in play - the white media unit, the teal walls and the leather couch. These guys are certainly not afraid of color so we ran with it - layering some bold rugs, and tying them in with a dark fireplace and colorful gallery wall. We also resolved the awkward space near the back doors by adding a tall bookshelf, that also helps to balance out the fireplace. 

Before:

Concept:

After:

View fullsize EA_Living_01.jpg
View fullsize EA_Living_02.jpg
View fullsize EA_Living_03.jpg
View fullsize EA_Living_04.jpg
View fullsize EA_Living_05.jpg
View fullsize EA_Living_06.jpg
View fullsize EA_Living_07.jpg
View fullsize EA_Living_08.jpg
View fullsize EA_Living_09.jpg

We had so much fun bringing this space together! We'll also be sharing the master bedroom that we recently shot - so check back soon for updates! xo

-kiki & jojo

tags: interior design, interior styling, before and after, living room
categories: design process, interior design
Friday 05.25.18
Posted by Joanna Harrison
Comments: 1
 

Parks Project HQ

Our friends at Parks Project approached us for some help setting up their first "official" HQ. When they outgrew their previous space in the co-founder's garage, they upgraded to an industrial, open concept office - but they still wanted to maintain the outdoorsy, DIY voice of the brand. After working closely with them on the layout and functional needs of the space, we developed a concept board to solidify the aesthetic, and pulled together options for desks, seating and decor. Then they took the reigns and built everything themselves. (They are quite the handy bunch!) I finally got a chance to see the finished space in person and it turned out great - a little industrial, a little minimal, with some DIY and camp vibes thrown in. Here's the concept board and finished photos so you can see the project from start to finish. 

xo, jojo

Concept Board:

PP_ConceptBoard_101617_v2_Page_02.jpg

Finished space:

View fullsize PP_01.jpg
View fullsize PP_02.jpg
View fullsize PP_3.5.jpg
View fullsize PP_3.7.jpg
View fullsize PP_03.jpg
View fullsize PP_04.jpg
View fullsize PP_05.jpg
View fullsize PP_07.jpg
View fullsize PP_08.jpg
View fullsize PP_09.jpg
View fullsize PP_010.jpg
View fullsize PP_011.jpg
View fullsize PP_012.jpg
View fullsize PP_013.jpg
View fullsize PP_014.jpg
tags: commercial design, interior design, HQ, concepts
categories: interior design, design process
Monday 05.14.18
Posted by Joanna Harrison
 
Newer / Older

Powered by Squarespace.